
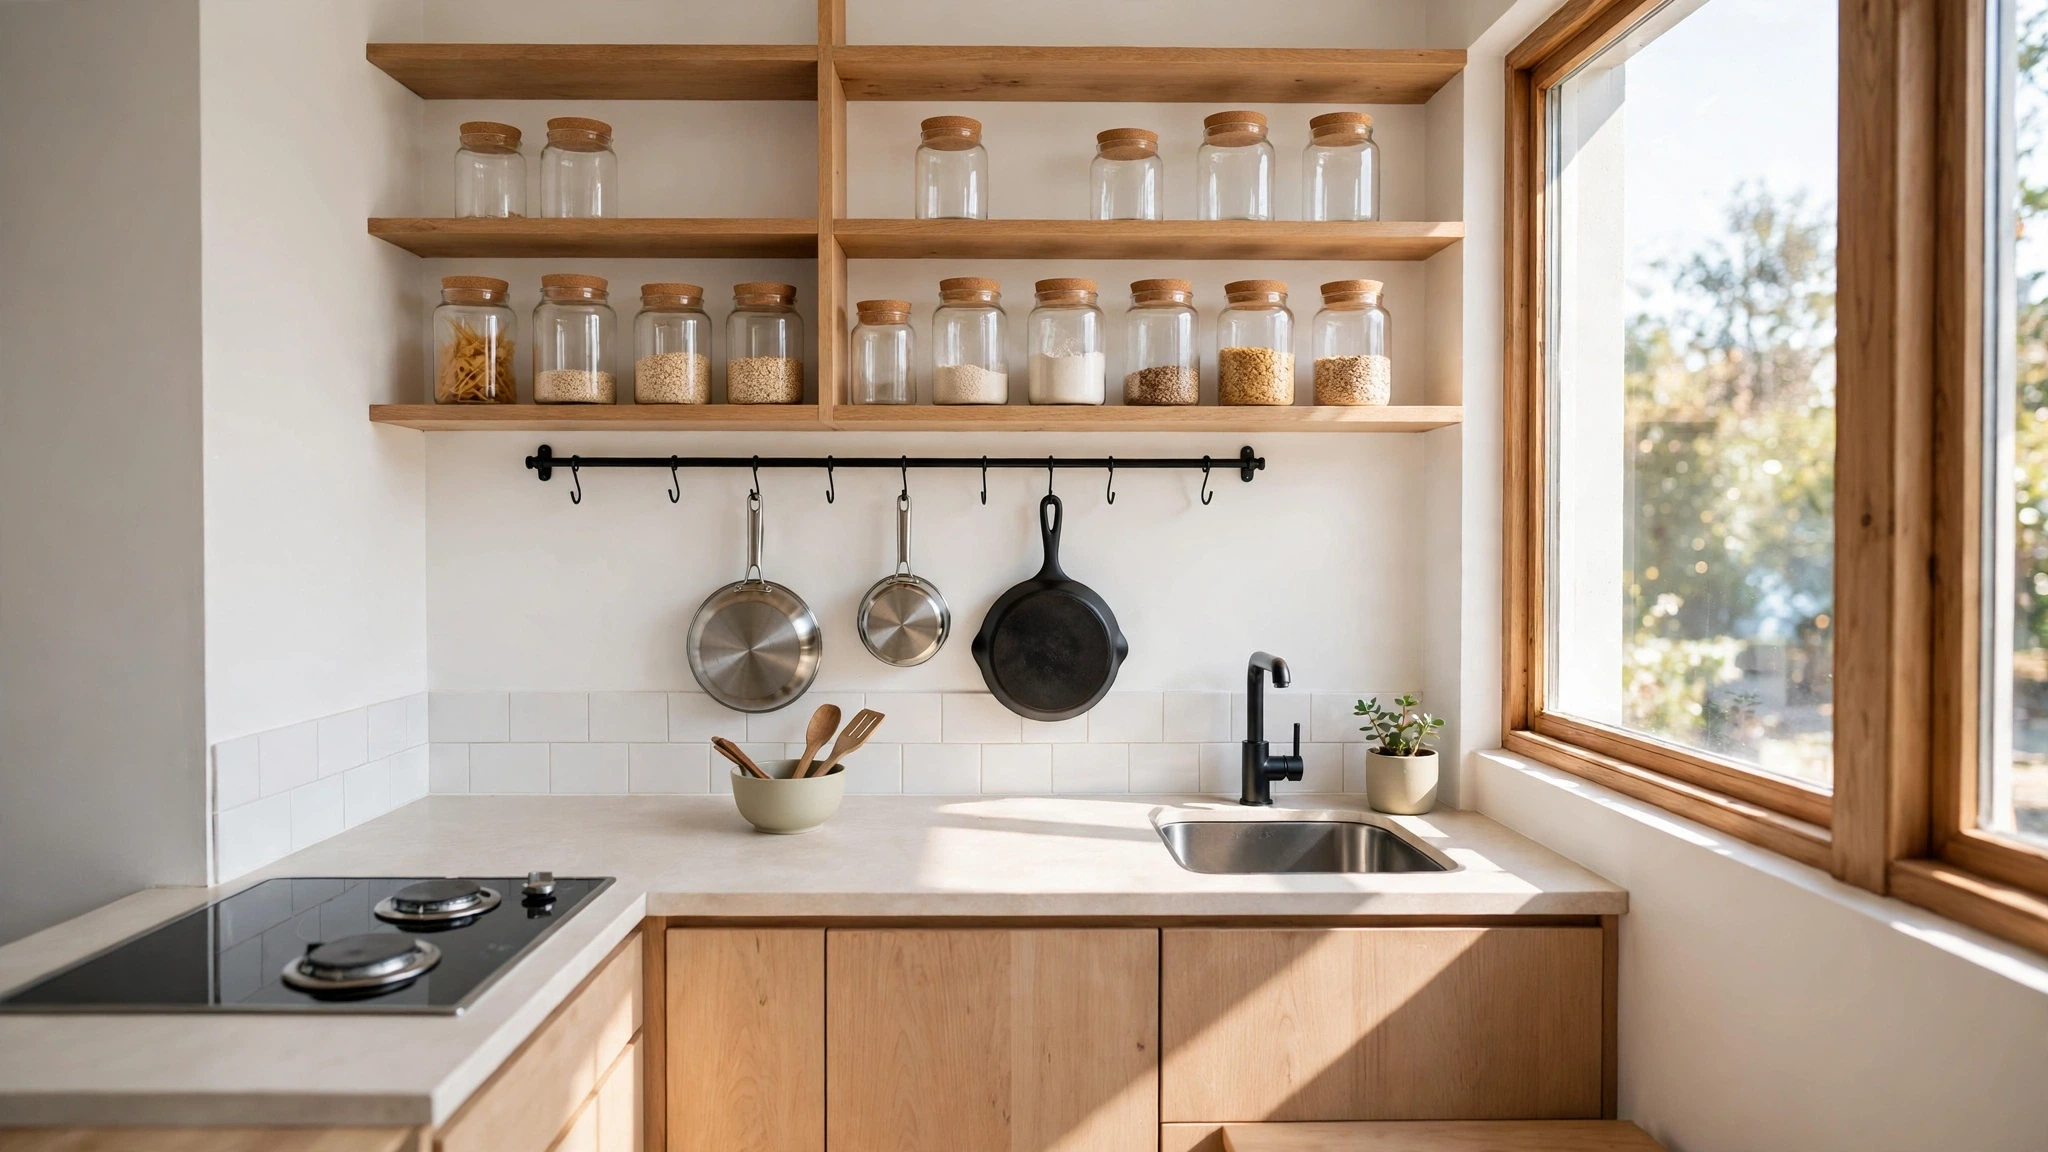

A small apartment kitchen rarely lacks things. It lacks places to put them. One or two cabinets, a short counter, and a fridge that hums in the corner have to hold every pan, plate, spice jar, and appliance you use each day. When storage runs out, the counter becomes the storage, and cooking turns into moving piles from one spot to another.
Good apartment kitchen storage works with the kitchen you already rent. It uses the height inside cabinets, the backs of doors, the gap beside the fridge, and the empty air above cupboards instead of asking for more floor space. Most of it clips, hangs, or slides into place, so it suits the floor plans in most tiny apartment rentals where drilling and building are off the table.
These 15 ideas are planned for real rental kitchens, most of them under 6 square meters of floor. Each one explains why it works, the sizes and prices to look for, who it suits best, and the mistake that most often spoils it. Work through them in order and a cramped kitchen starts to feel twice its size, with a clear counter that flows into the rest of the home like the setups in these small apartment living room layouts.
What Are the Best Apartment Kitchen Storage Ideas for Small Spaces?
The best apartment kitchen storage ideas stack storage upward instead of spreading it across the counter. Risers and turntables double the usable space inside cabinets, a dish rack over the sink frees the draining board, and rails, hooks, and door organizers move everyday tools onto walls and doors. A slim cart in the fridge gap, jars decanted to one matching set, and pans stored upright finish the job without a single screw.
Start with the cabinets, because that is where most small kitchens waste space. Fix the inside of one cabinet and the counter usually clears itself, since the things that lived on the counter finally have a home. Then work outward: doors, walls, gaps, and the space above the fridge and cabinets. Renters who cook daily in a studio apartment kitchen get the fastest results from this order, because every step removes items from the worktop instead of adding new furniture.
Add Risers and Turntables Inside Cabinets
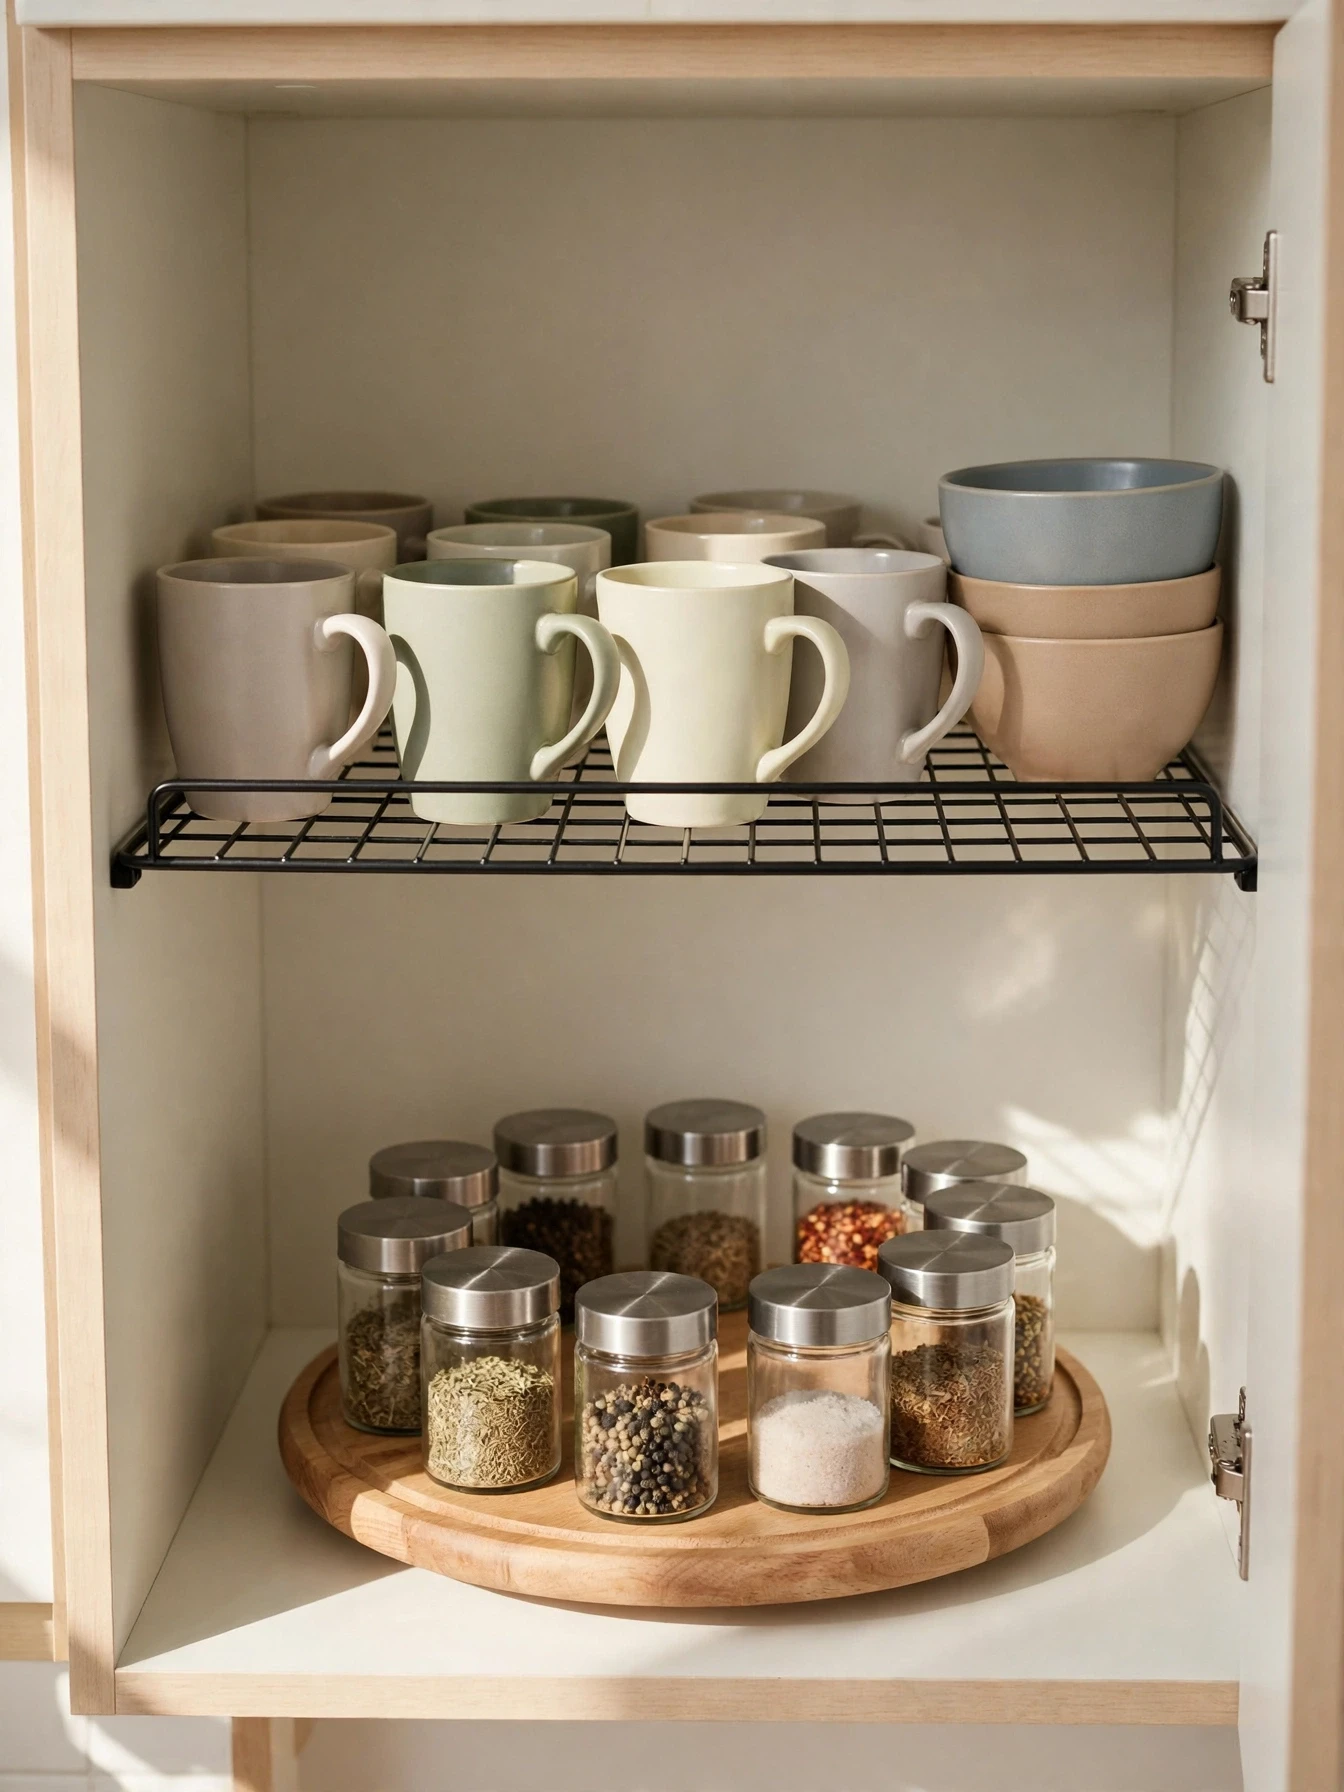
Most rental cabinets waste the top half of every shelf. A typical wall cabinet shelf stands 25 to 35 cm tall, while mugs and glasses use barely 12 cm of it. A simple wire or bamboo riser splits that tall space into two shorter levels, so cups sit below and bowls sit above, and you can see both rows at once.
Measure the inside of the cabinet before you buy. Most risers come in widths of 25, 30, and 40 cm, and a turntable of 25 to 30 cm across fits a standard corner or deep cabinet. One riser costs about $8 to $15, and a basic turntable runs $10 to $18, so a full cabinet makeover usually stays under $40.
Turntables suit spices, sauces, and small jars best, because one spin brings the back row to the front. Risers suit anything heavy or stacked, like plates and mixing bowls. Kitchens with deep cabinets gain the most, since deep shelves are where items go to be forgotten.
The common mistake is buying a riser taller than the items you plan to store under it. Leave at least 2 cm of clearance above the tallest mug, or the shelf becomes a puzzle you fight every morning.
Choose an Over-Sink Dish Rack
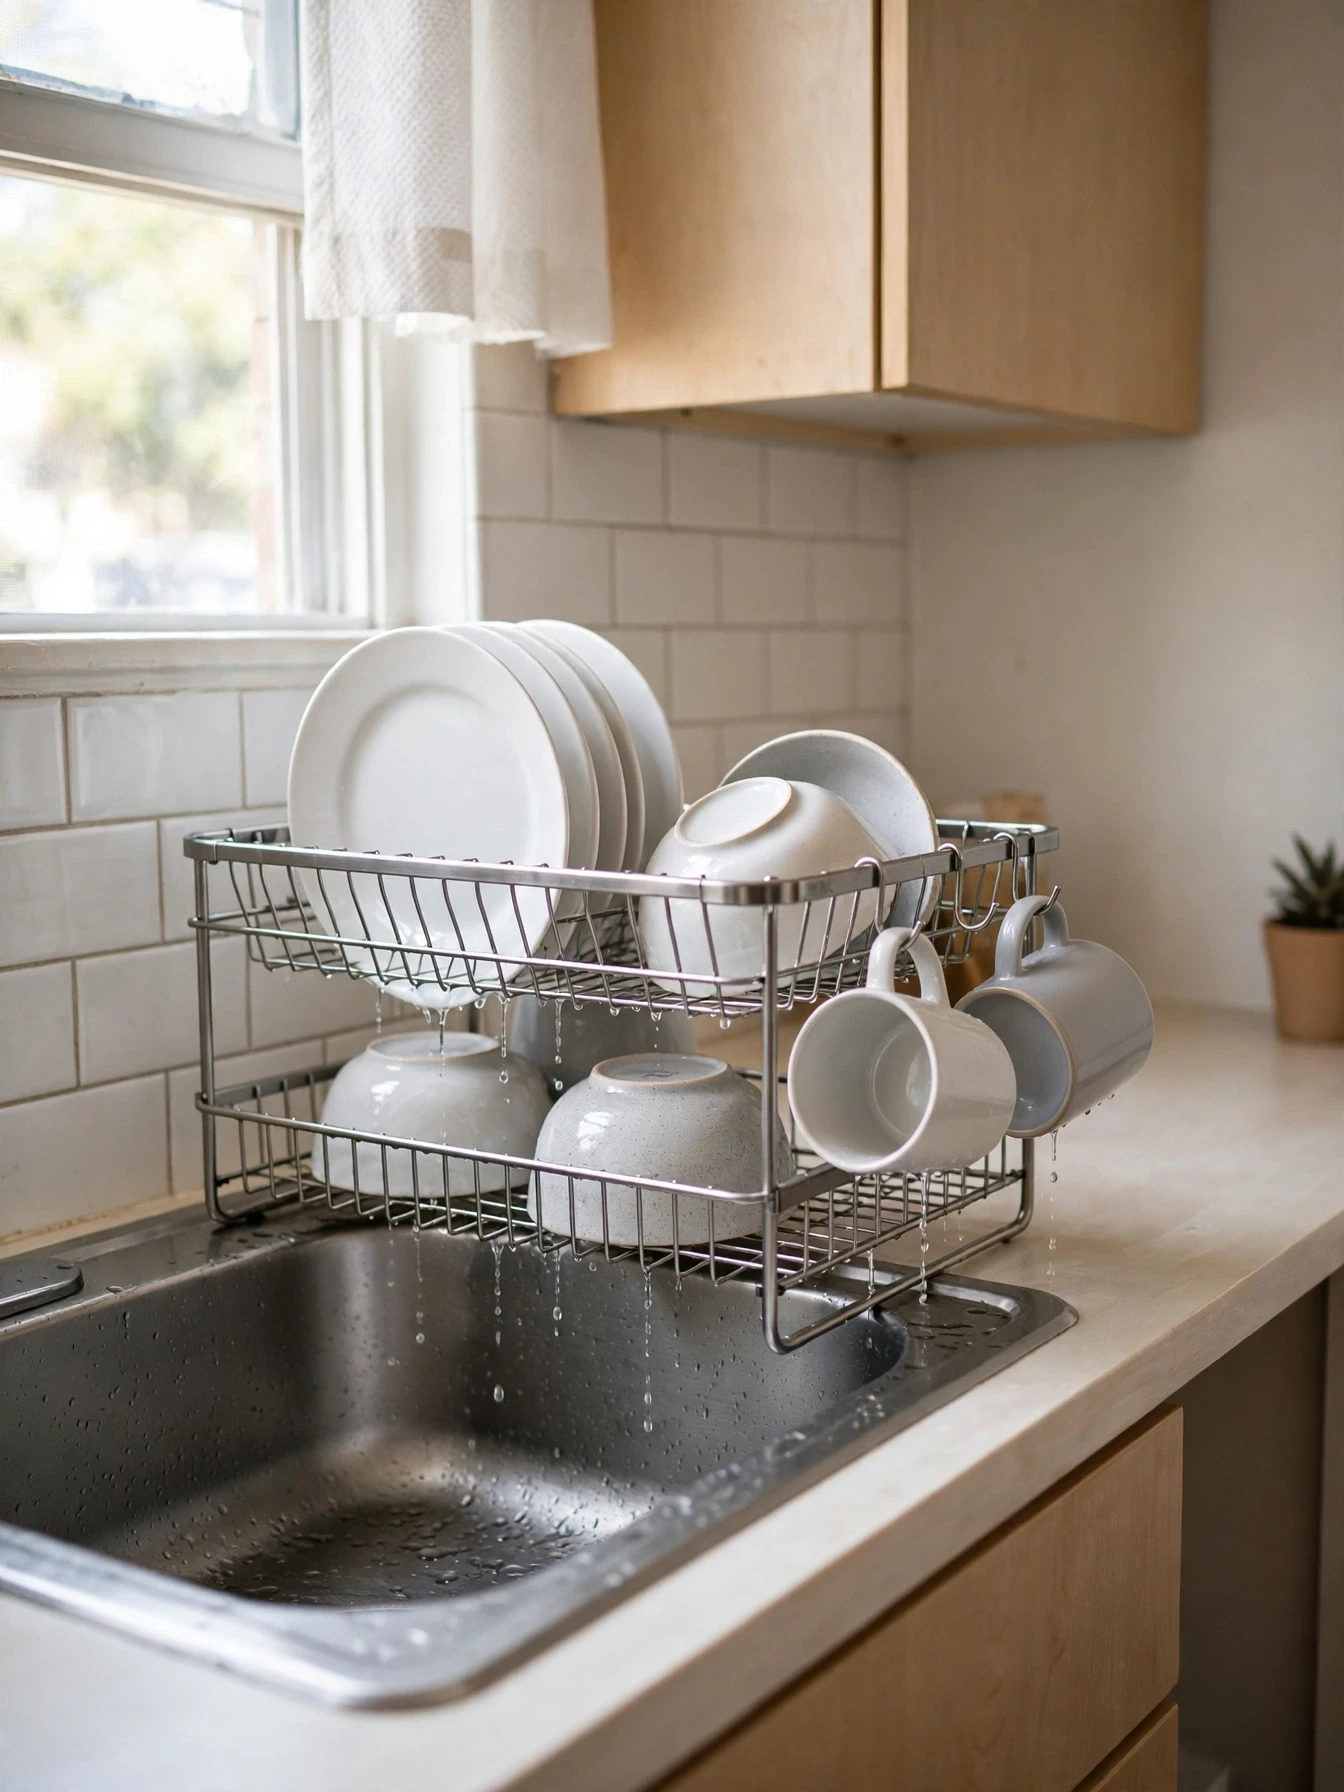
A draining board eats counter space in a small kitchen, and most rental counters have none to spare. An over-sink dish rack moves the whole washing up zone above the sink, where the space was doing nothing. Plates drip straight into the basin, and the counter beside the sink stays free for chopping and cooking.
Measure your sink width and the height from the sink rim to the bottom of the tap or cabinet above. Most over-sink racks adjust between 60 and 100 cm wide and cost $35 to $70 depending on size and material. Stainless steel handles daily use best and resists rust in a steamy kitchen.
This rack suits anyone who washes up by hand, which means most apartment kitchens without a dishwasher. It also works as bonus storage: many people leave everyday plates and mugs on it permanently and free a whole cabinet shelf.
The common mistake is loading the rack with heavy pots it was never built to hold. Keep cast iron and large pans off it, and check the feet sit flat and firm before the first load of dishes.
Mount a Magnetic Strip for Knives and Tools
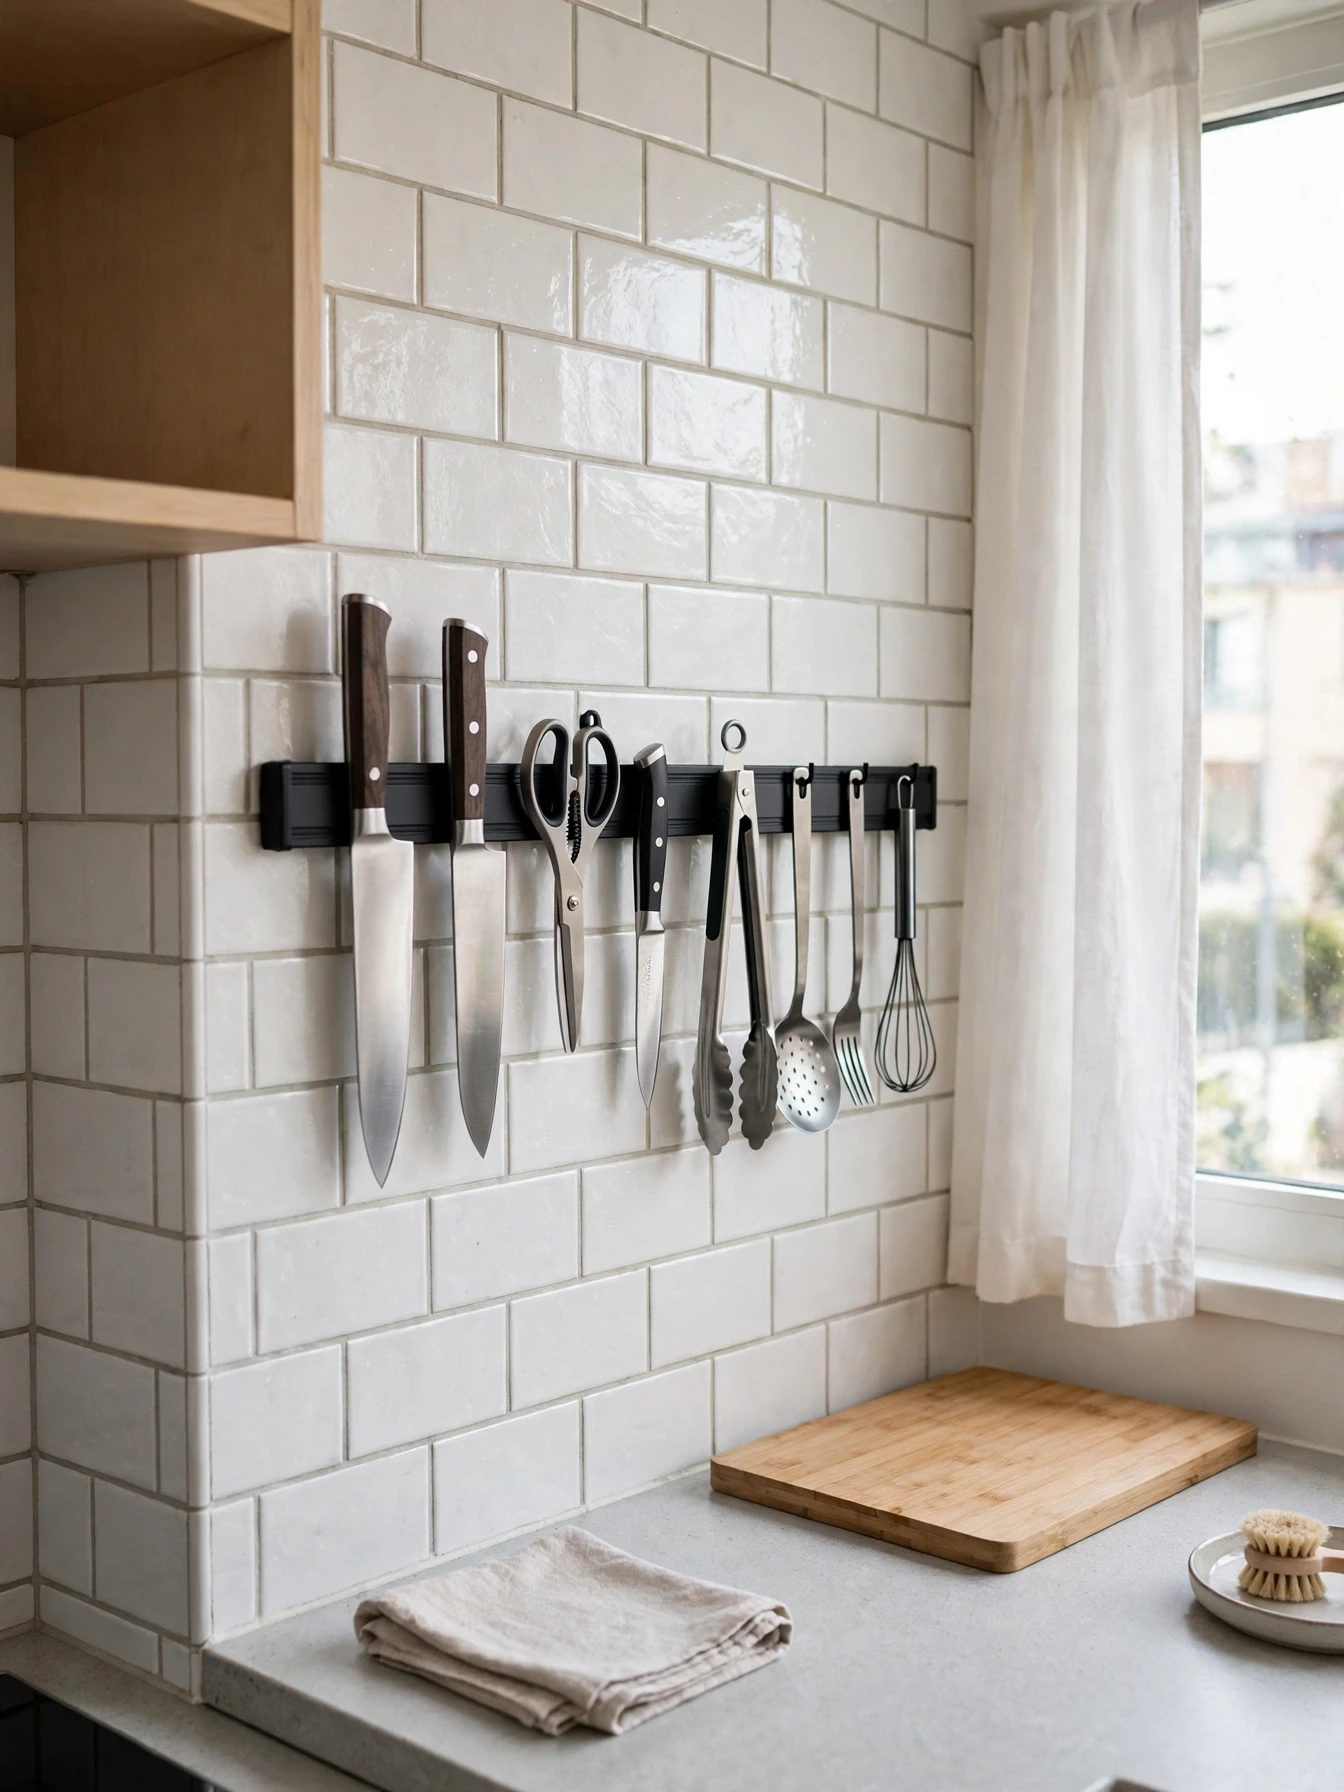
A knife block takes up a square of counter that a small kitchen cannot spare, and loose knives in a drawer are slow to find and hard on the blades. A magnetic strip holds knives, scissors, and metal utensils flat against the wall, visible at a glance and reachable in one movement.
Most strips run 30 to 45 cm long and cost $15 to $30. Renters should look for strong adhesive versions rated for at least 5 kg, or mount the strip inside a cabinet door with the short screws some kits include for that purpose. Test the hold with your heaviest knife before trusting the full set.
Place the strip on the wall section you face while prepping, at about shoulder height, and keep it out of the splash zone directly behind the hob. A strip beside the chopping area beats one above the sink, where wet hands and sharp blades make a poor mix.
The common mistake is sticking the strip to a painted wall that cannot take the weight and watching it peel at 2 a.m. Clean the surface, press the pads for a full minute, and wait the recommended 24 hours before loading it.
Hang Organizers on the Back of Doors
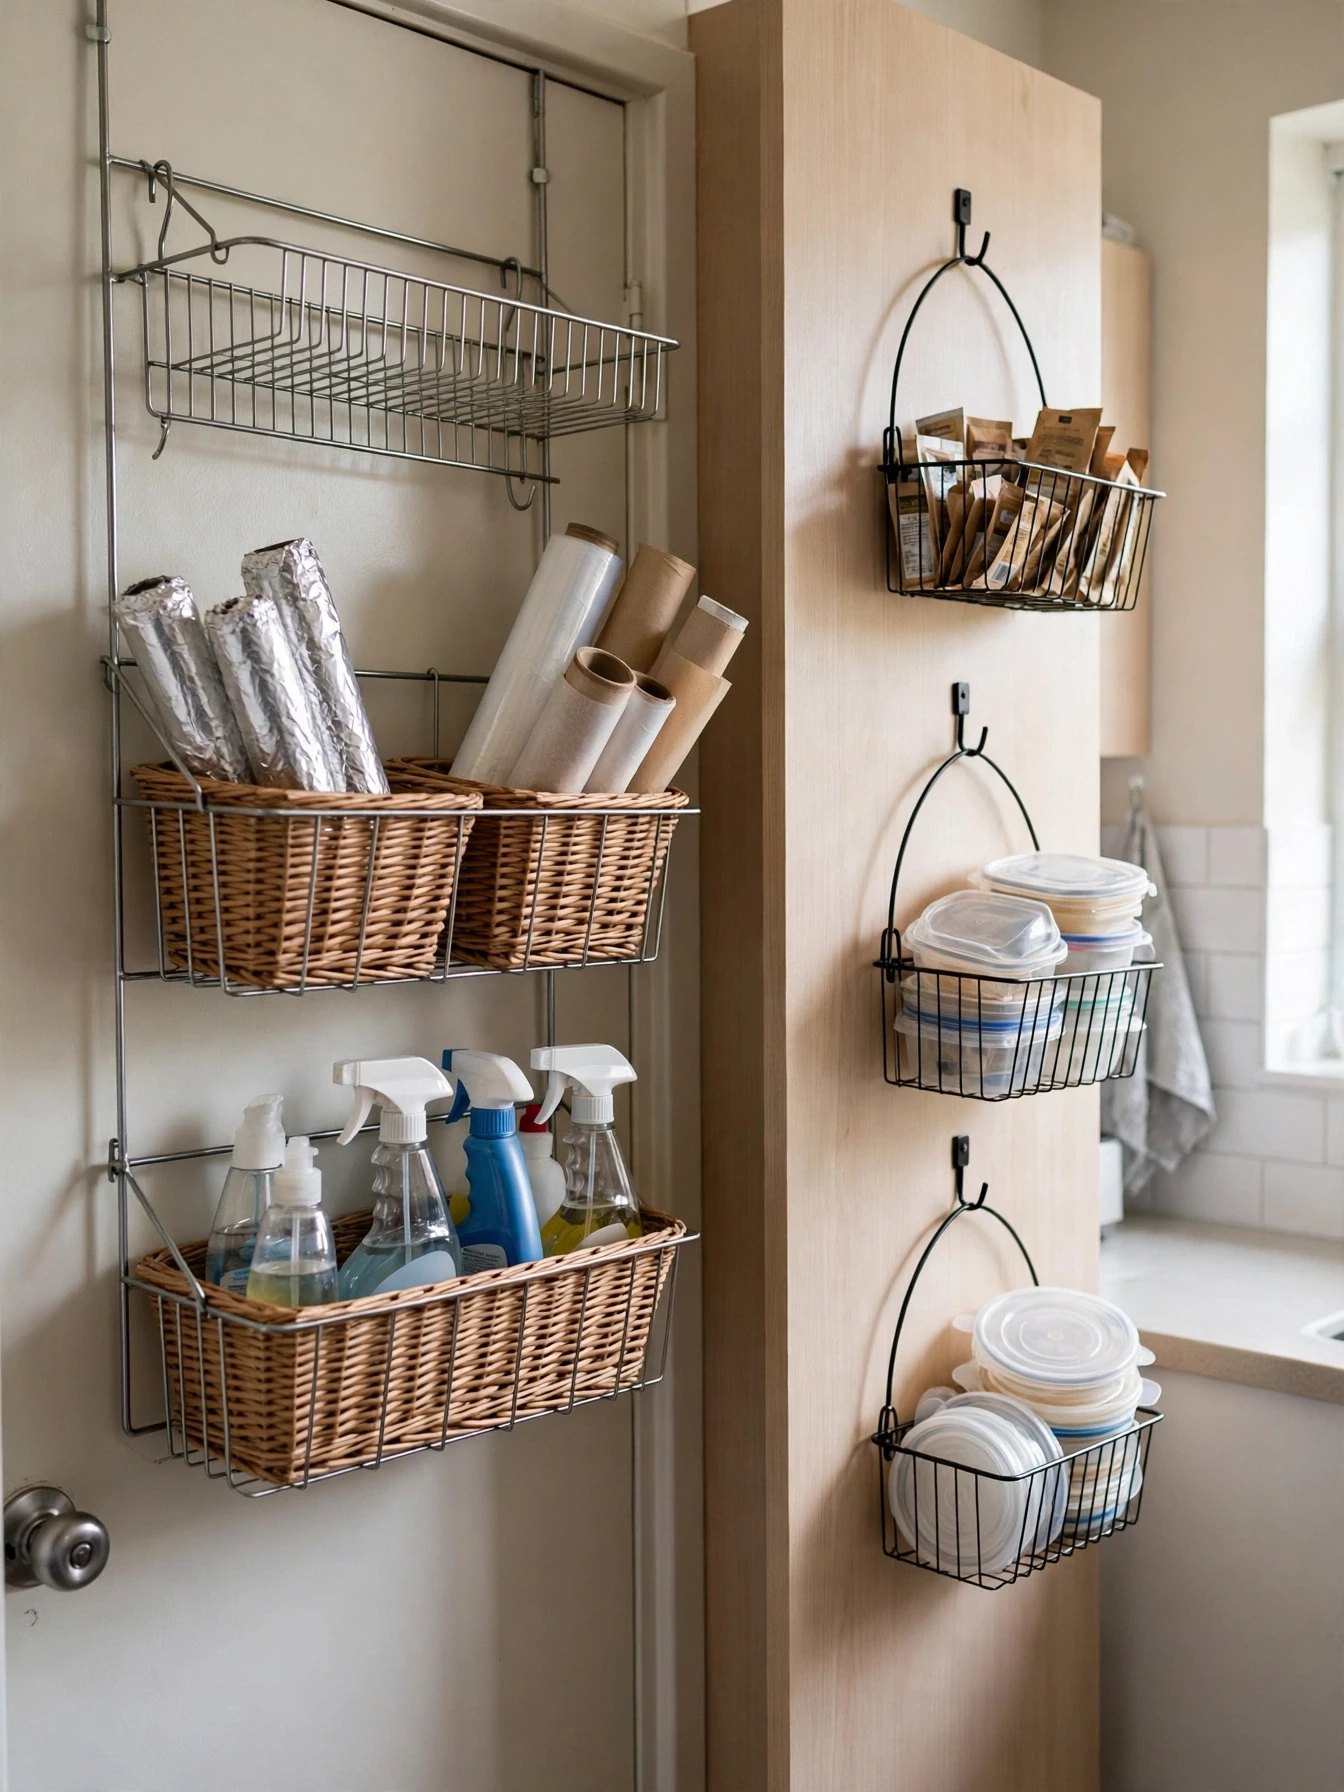
Every door in a rental kitchen hides a storage surface most people never use. An over-door rack or a set of hanging baskets turns the back of the kitchen door, or the inside of a tall cabinet door, into shelves for wraps, cleaning sprays, spice packets, and lids.
Over-door organizers with flat hooks fit standard doors of 35 to 45 mm thickness and cost $15 to $35. Clear pocket organizers work well for seasoning packets and small items, while wire basket versions hold bottles and boxes more securely. Measure the gap between the door and the frame first; the door must still close fully.
This idea suits kitchens with a separate pantry door or a full height cabinet door, and it helps most in homes where one cabinet currently holds a jumble of foil, bags, and wraps. Group items by task, so all baking supplies sit together and all cleaning items sit together.
The common mistake is hanging heavy bottles on a light pocket organizer until the seams tear. Keep glass and full spray bottles in the wire versions, and save the fabric pockets for light packets and rolls.
Clip Under-Shelf Baskets Under Cabinets and Shelves
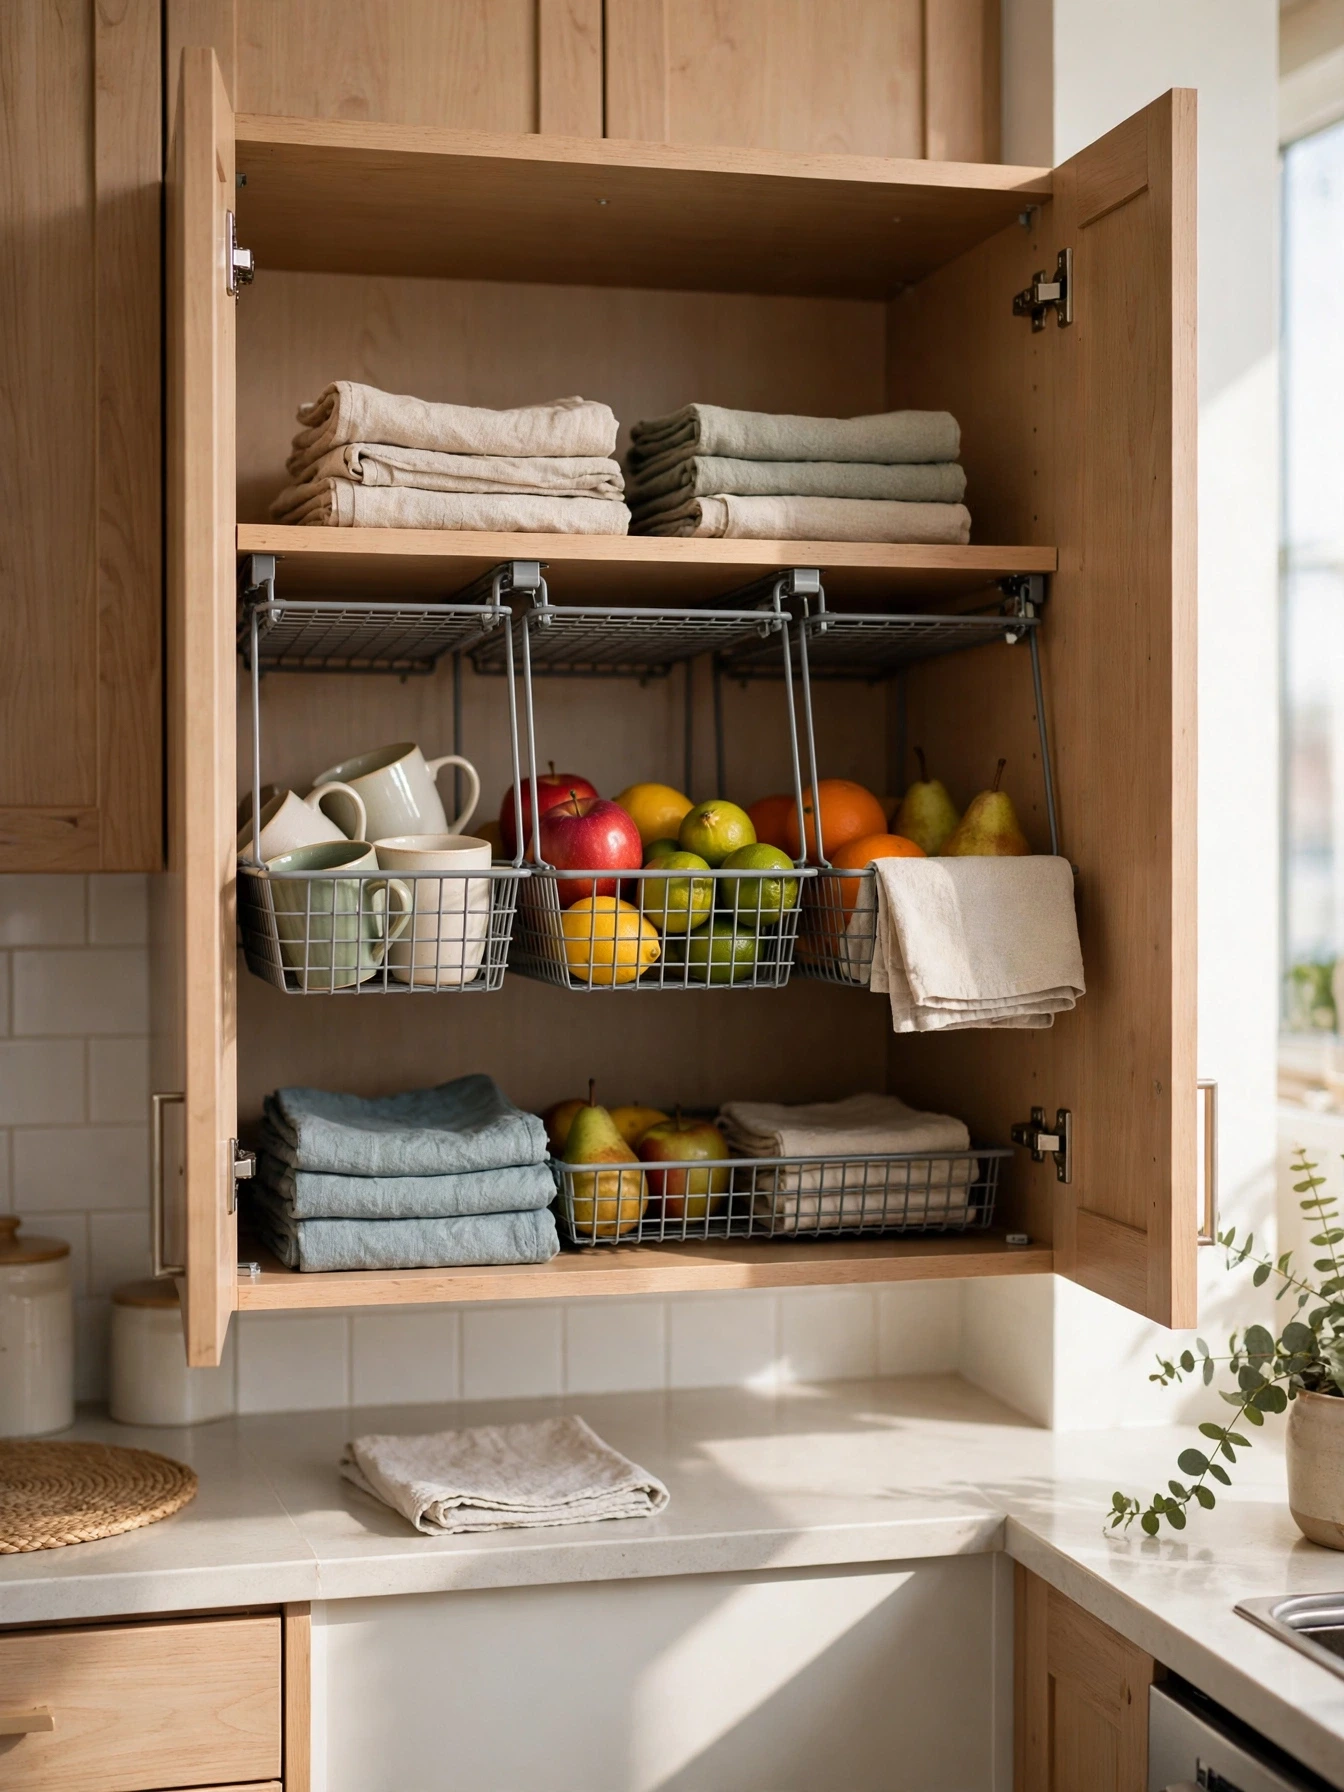
The underside of a shelf is storage space hiding in plain sight. An under-shelf basket slides onto any shelf board and hangs below it, creating a new level for mugs, tea towels, fruit, or packets. Inside a cabinet, one basket can hold everything that usually sprawls across the shelf floor.
Most baskets fit shelf boards up to 3 cm thick and come in widths around 25 to 30 cm, at $8 to $14 each. Two or three baskets inside one cabinet often double its useful space for under $30 total. Choose coated wire, which wipes clean and shrugs off the odd spill.
Under-cabinet versions work outside cupboards too. A basket under a wall shelf can hold bread or onions above the counter, keeping the worktop clear while the food stays in reach. Kitchens with tall, half empty shelves benefit most from this trick.
The common mistake is hanging a basket where a tall item below needs to slide in and out. Check that doors, drawers, and the items on the shelf below still move freely before you load the basket up.
Slide a Slim Rolling Cart Into the Fridge Gap
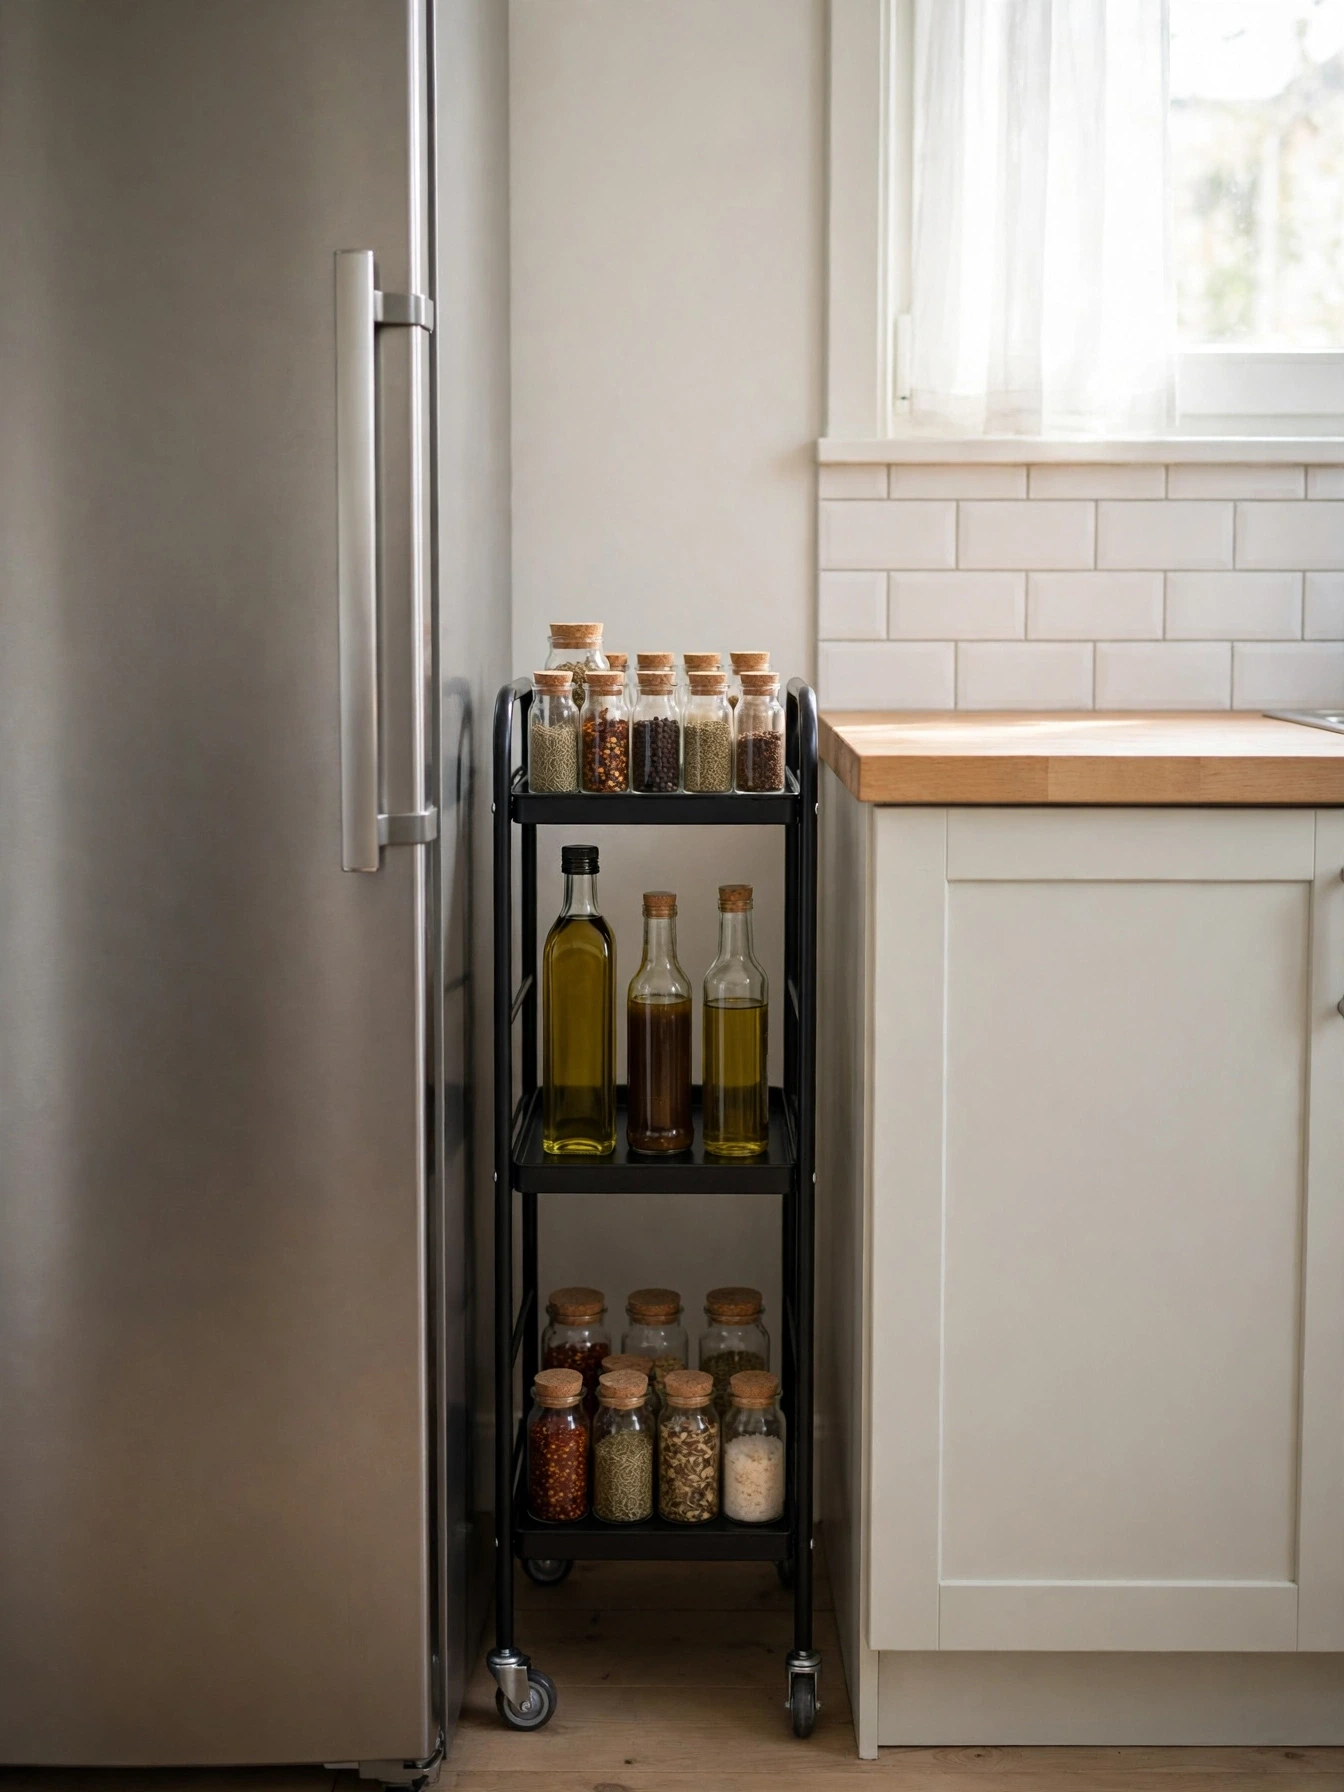
Many rental kitchens have a narrow gap between the fridge and the counter or wall, usually 12 to 20 cm wide. That gap fits almost nothing, except a slim rolling cart built exactly for it. A cart 13 to 15 cm wide with three or four tiers holds oil bottles, sauces, spice jars, and cleaning supplies in a column you pull out with one finger.
Measure the gap at its narrowest point before ordering, and check the floor is level enough for wheels. Slim carts cost $25 to $45 and need no assembly tools beyond a few clip-together shelves. Metal versions carry bottles more steadily than thin plastic ones.
This cart suits kitchens where bottles currently crowd the counter around the hob. Moving ten bottles into the gap changes the whole feel of the worktop. The layout tricks in these micro apartment ideas use the same principle: every narrow gap in a small home can hold one slim, dedicated store.
The common mistake is parking the cart where the fridge door swings into it. Test the fridge door fully open before you settle the cart, and keep anything fragile off the top tier.
Use the Space Above the Fridge
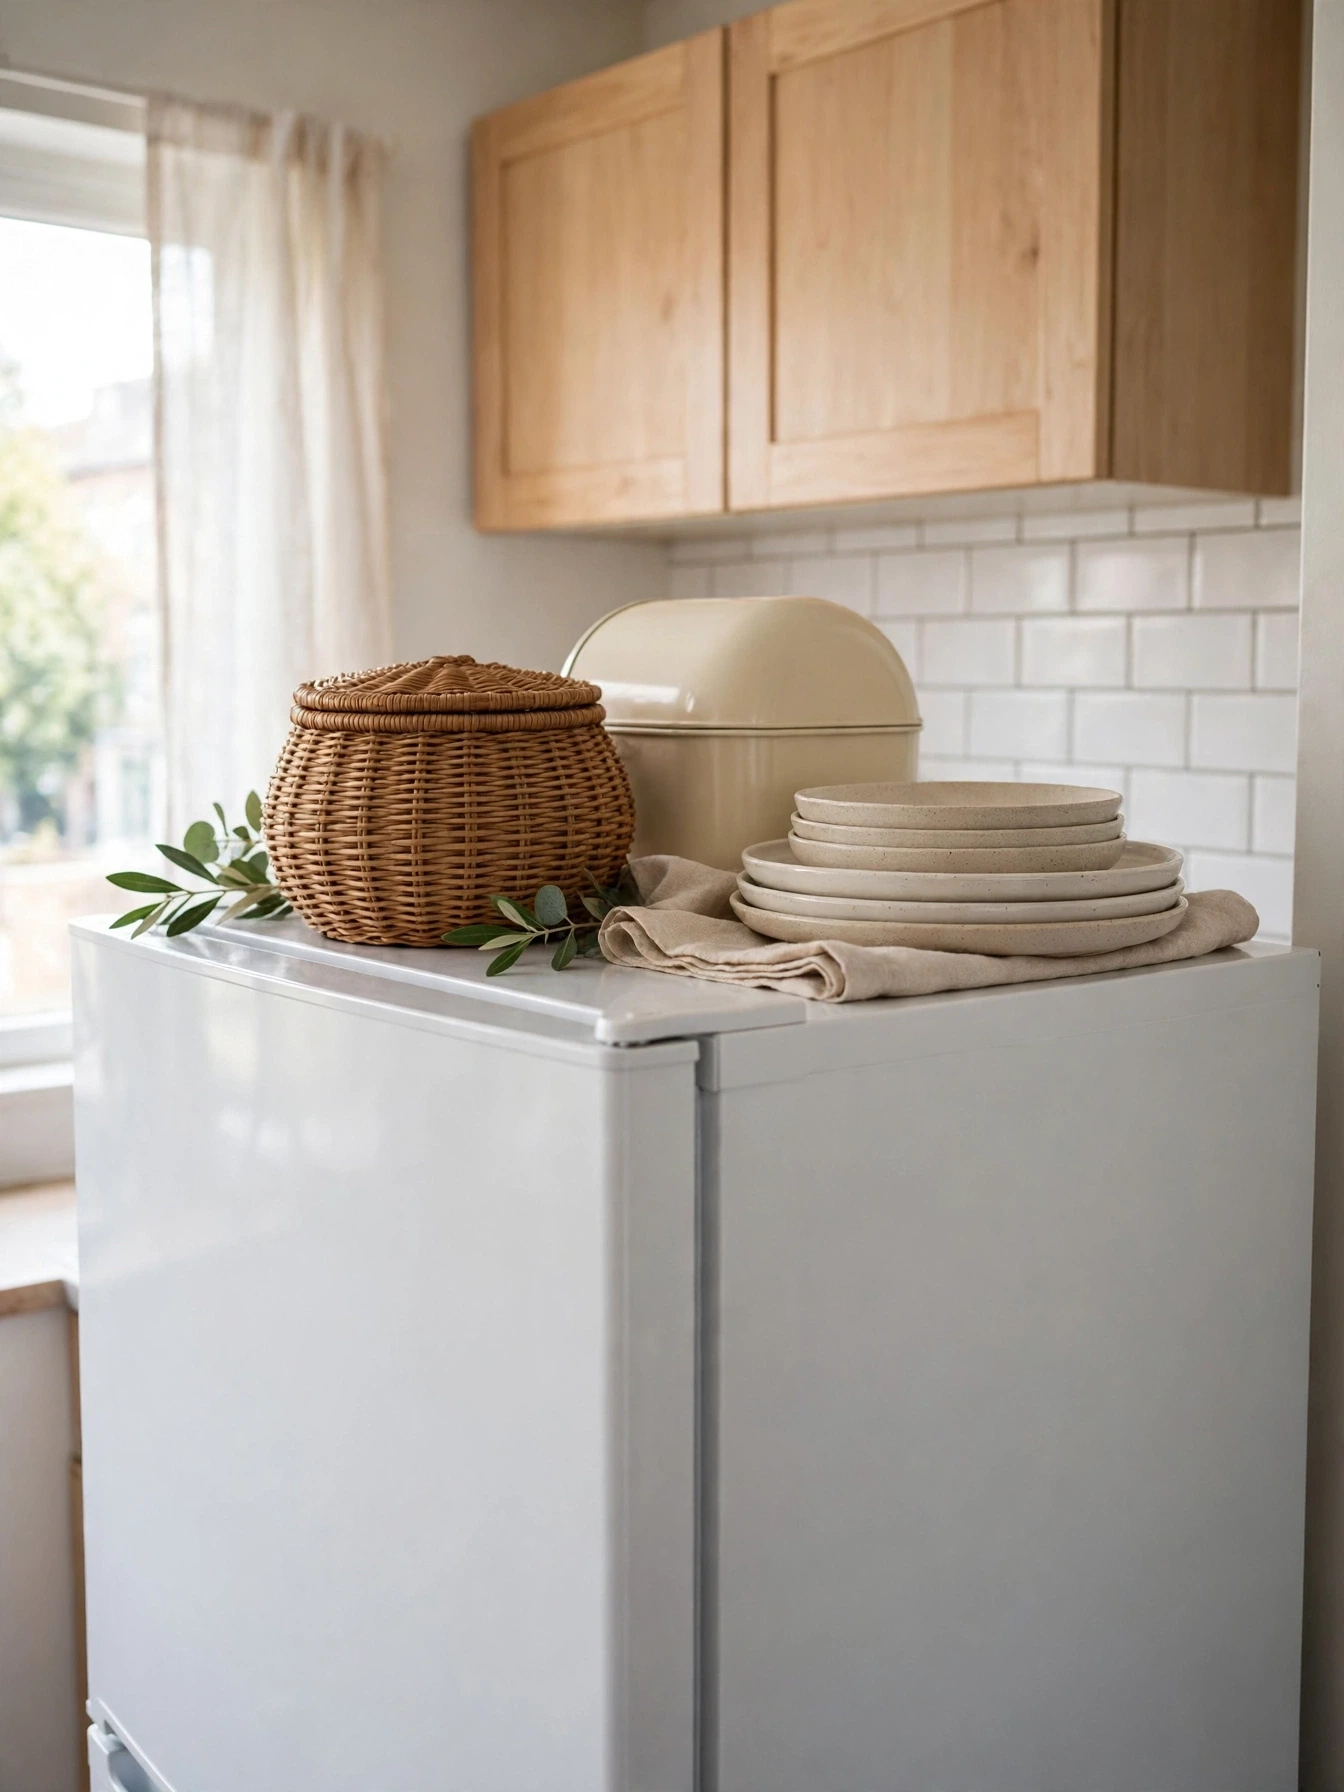
The top of the fridge is the most underused shelf in a small kitchen. In most apartments it offers a flat surface roughly 60 by 60 cm, big enough for a bread bin, a fruit bowl, serving platters, or a basket of baking supplies. Because it sits at eye level or above, it suits things you use weekly rather than daily.
Group items in one or two containers instead of scattering them loose. A lidded basket or a low tray keeps the top looking tidy from the living area and stops small items sliding behind the fridge. A step stool that folds flat behind a door makes the space easy to reach safely.
Keep the fridge vents clear and leave a few centimeters of air space at the back. Avoid storing heavy items, oils that can turn in the warmth, or anything you would hate to drop from head height.
This idea suits anyone with a tall fridge in a kitchen short on cabinets, which describes most rentals. The common mistake is treating the top as a dumping ground for random clutter. One purpose per zone keeps it useful: food storage on one side, serving pieces on the other.
Fit Drawer Dividers That Match Your Tools
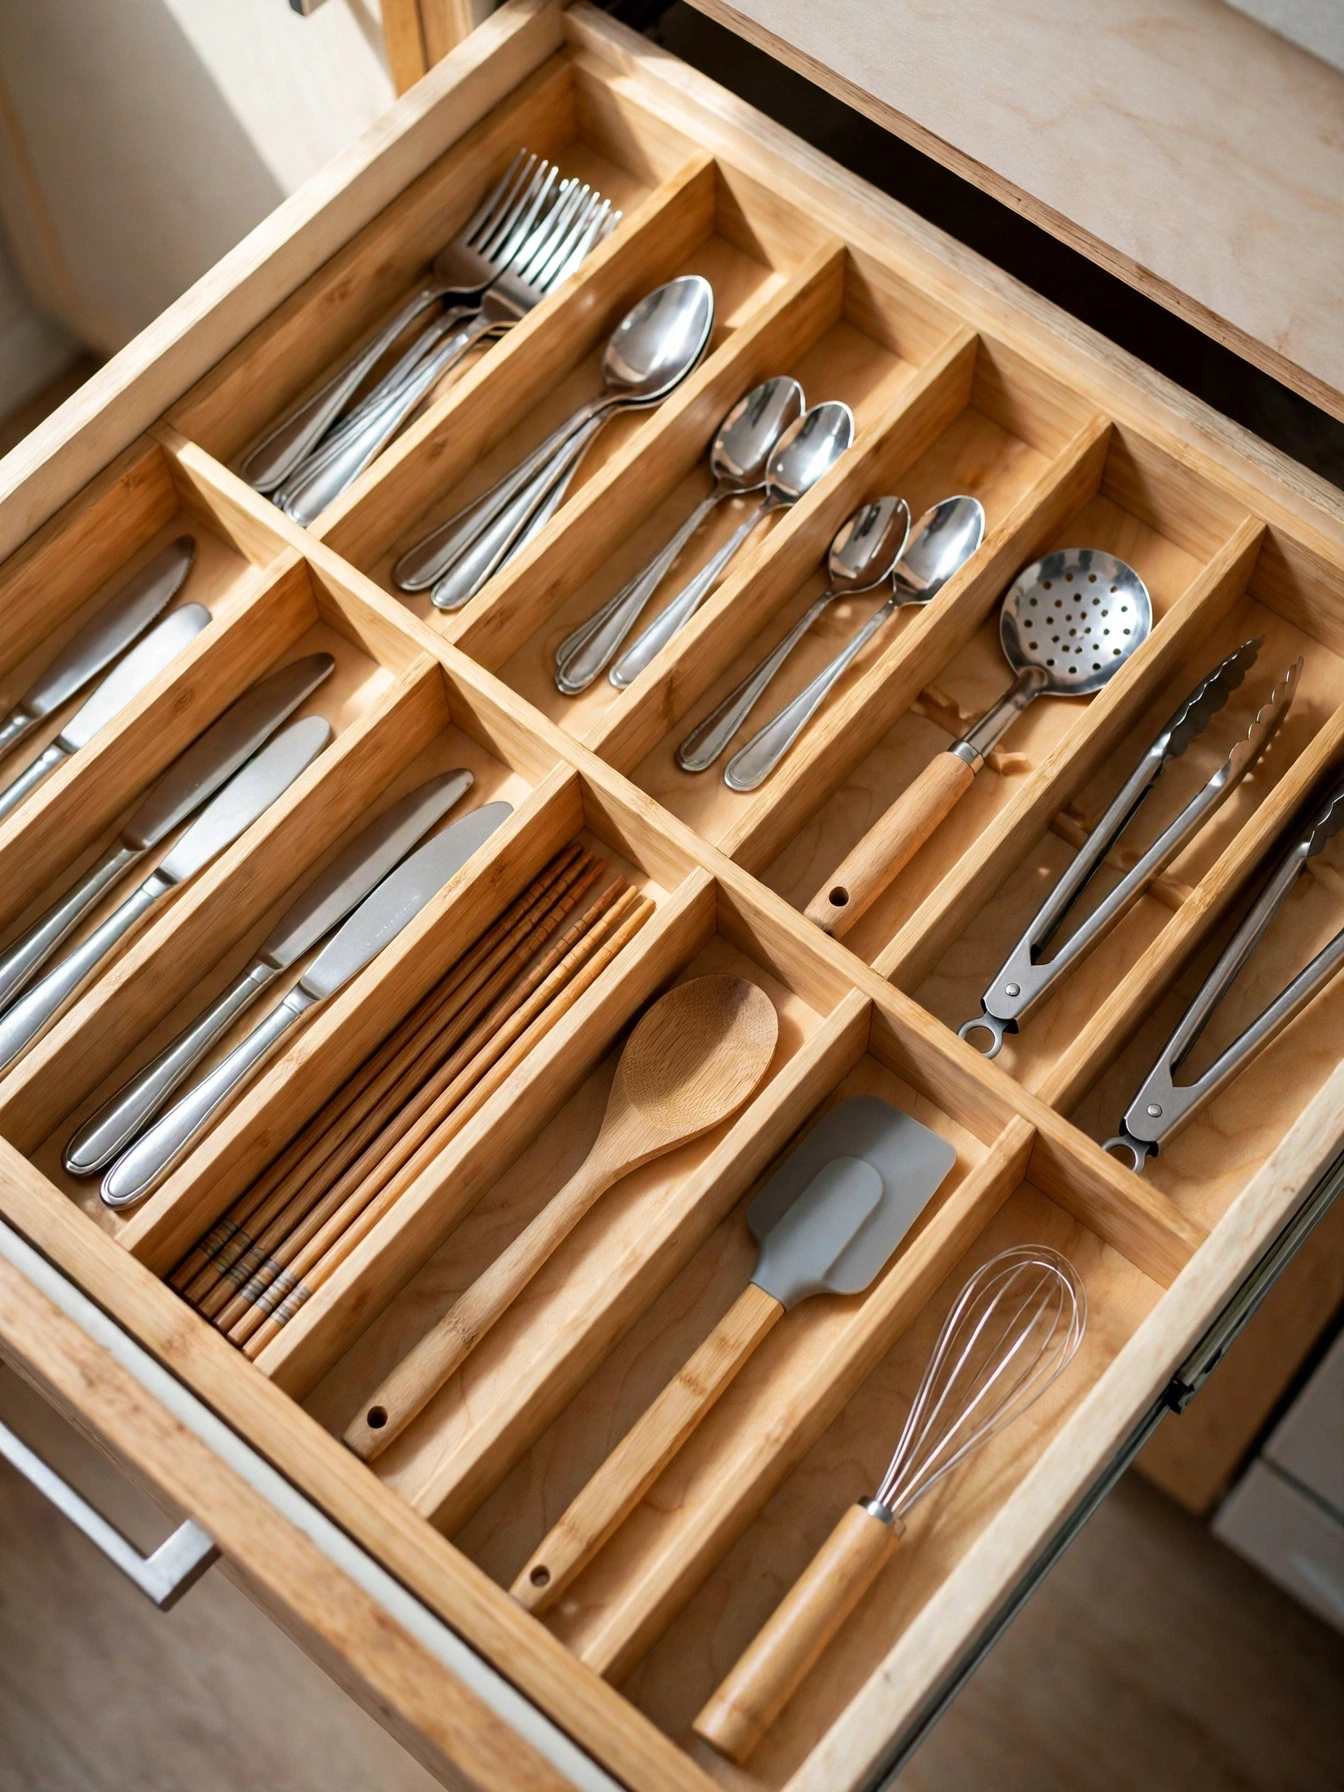
Most apartment kitchens have one cutlery drawer and, if you are lucky, one more for tools. Without dividers, both become a rummage drawer where the peeler hides under the ladle. Dividers give every tool a slot, so you grab what you need without digging.
Adjustable bamboo or spring-loaded dividers cost $12 to $25 and fit drawers from 35 to 55 cm wide. Measure the drawer’s inside depth and height first; low profile dividers under 5 cm tall suit shallow rental drawers best. For utensils, a diagonal insert can fit long tools into a short drawer.
Sort before you divide. Lay everything out, group it by task, and be honest about duplicates: most small kitchens hold three spatulas where one good one would do. Dividers work best when the drawer holds less, not when they simply fence in the same clutter.
The common mistake is buying a fixed tray that almost fits and rattles in the extra space. Adjustable dividers press against the drawer sides and stay put, which makes them the safer buy for odd rental drawer sizes.
Decant Staples Into Matching Jars
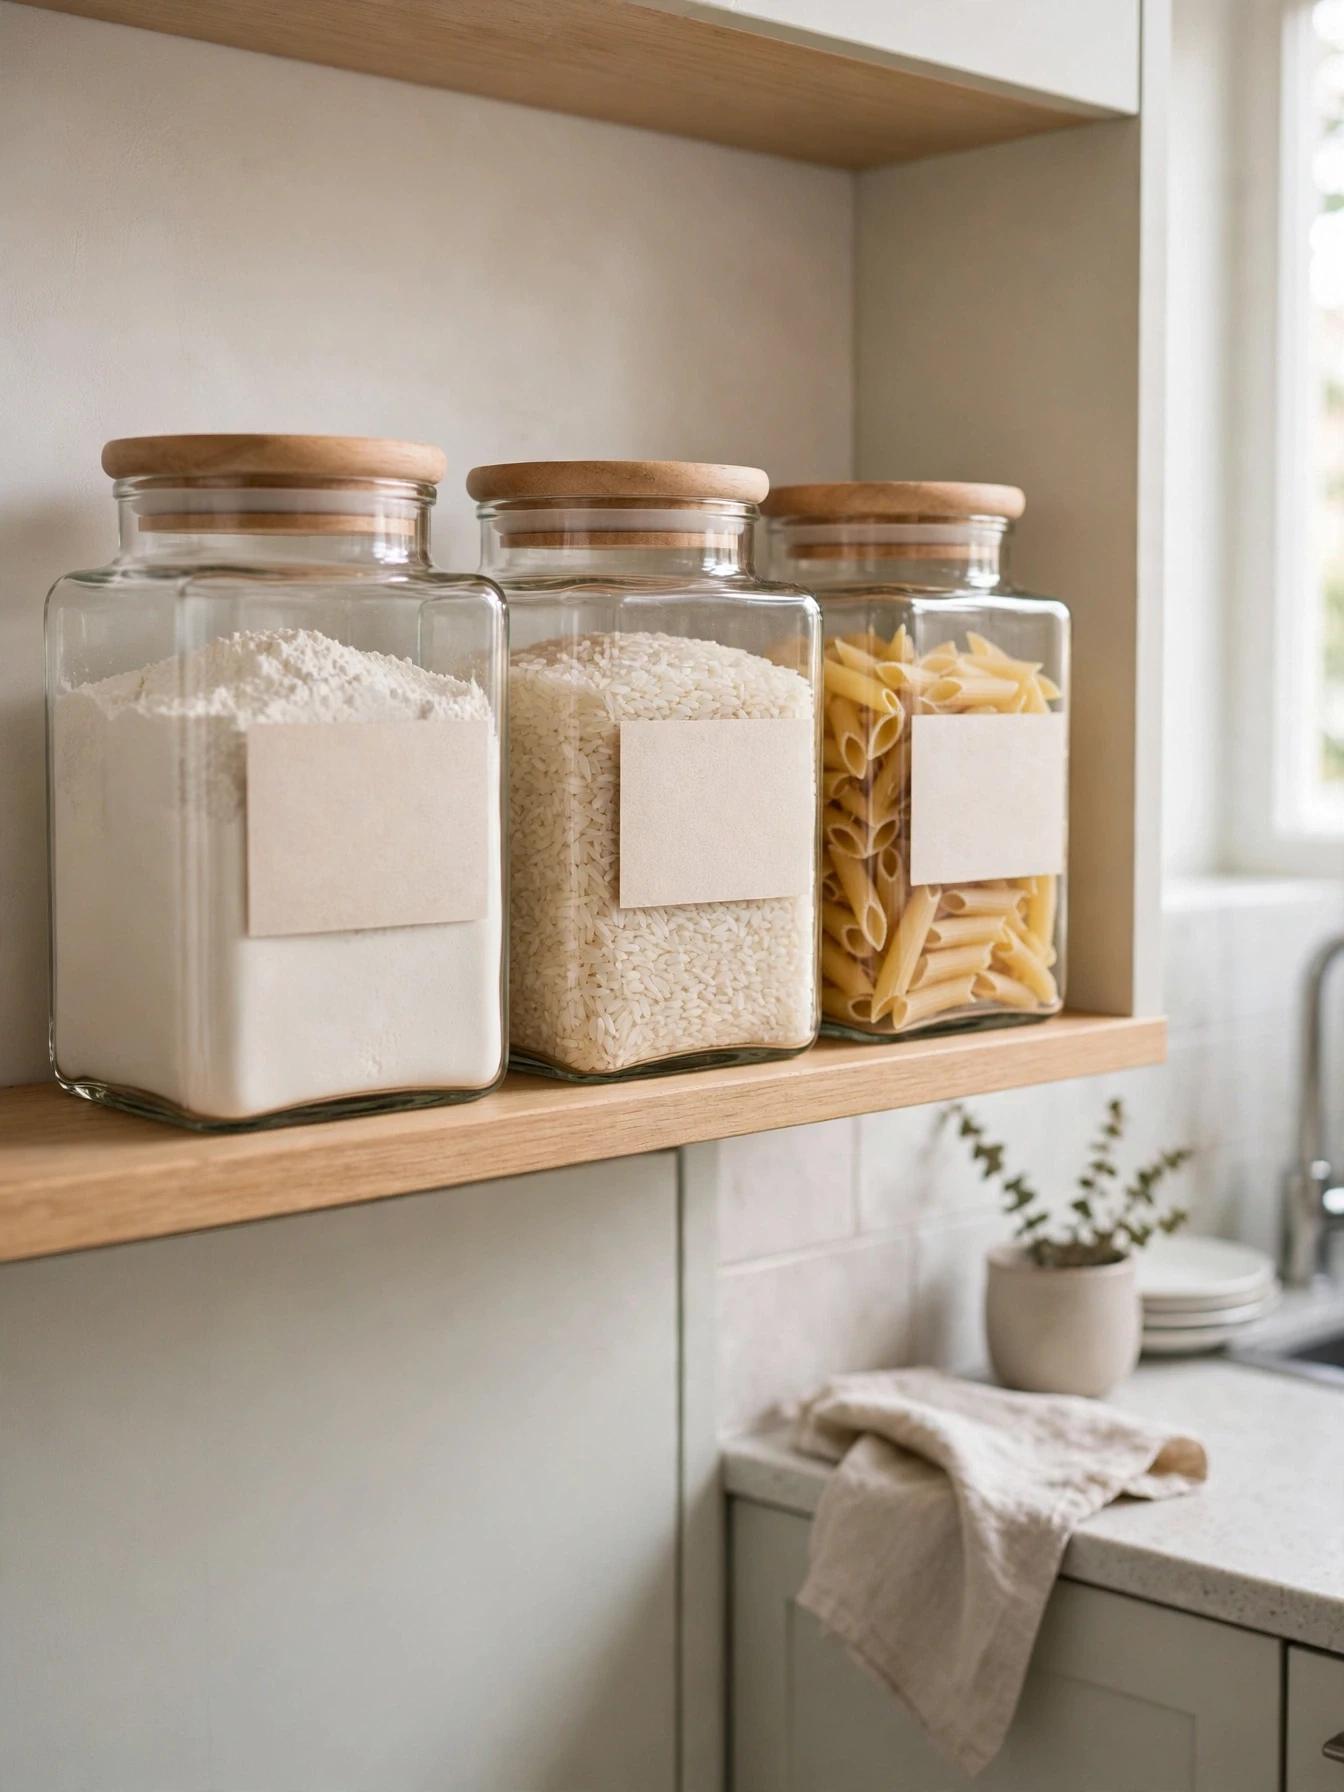
Half open bags of flour, rice, and pasta waste space and spill at the worst moments. Decanting staples into matching jars or containers stacks them neatly, shows you what is running low, and lets you fit more into the same cabinet. Square containers use shelf space better than round ones because they sit edge to edge with no gaps.
A set of six to ten airtight containers costs $20 to $40. Choose two or three sizes only, so lids swap freely and stacks stay stable. Jars of 1 to 1.5 liters suit flour and rice for most households, while 500 ml jars handle lentils, sugar, and coffee.
Label each jar with the contents and the use-by date from the original packet. Clear jars on one open shelf can also look calm and pretty, the way the displays in these kawaii kitchen decor setups show, as long as every jar follows the same size and lid.
Singles and couples who buy staples in small bags gain the most, because decanting turns five floppy packets into one tidy row. The common mistake is decanting everything, including things you rarely use. Keep slow items in their original packets in the pantry zone instead.
Store Pans and Lids Vertically
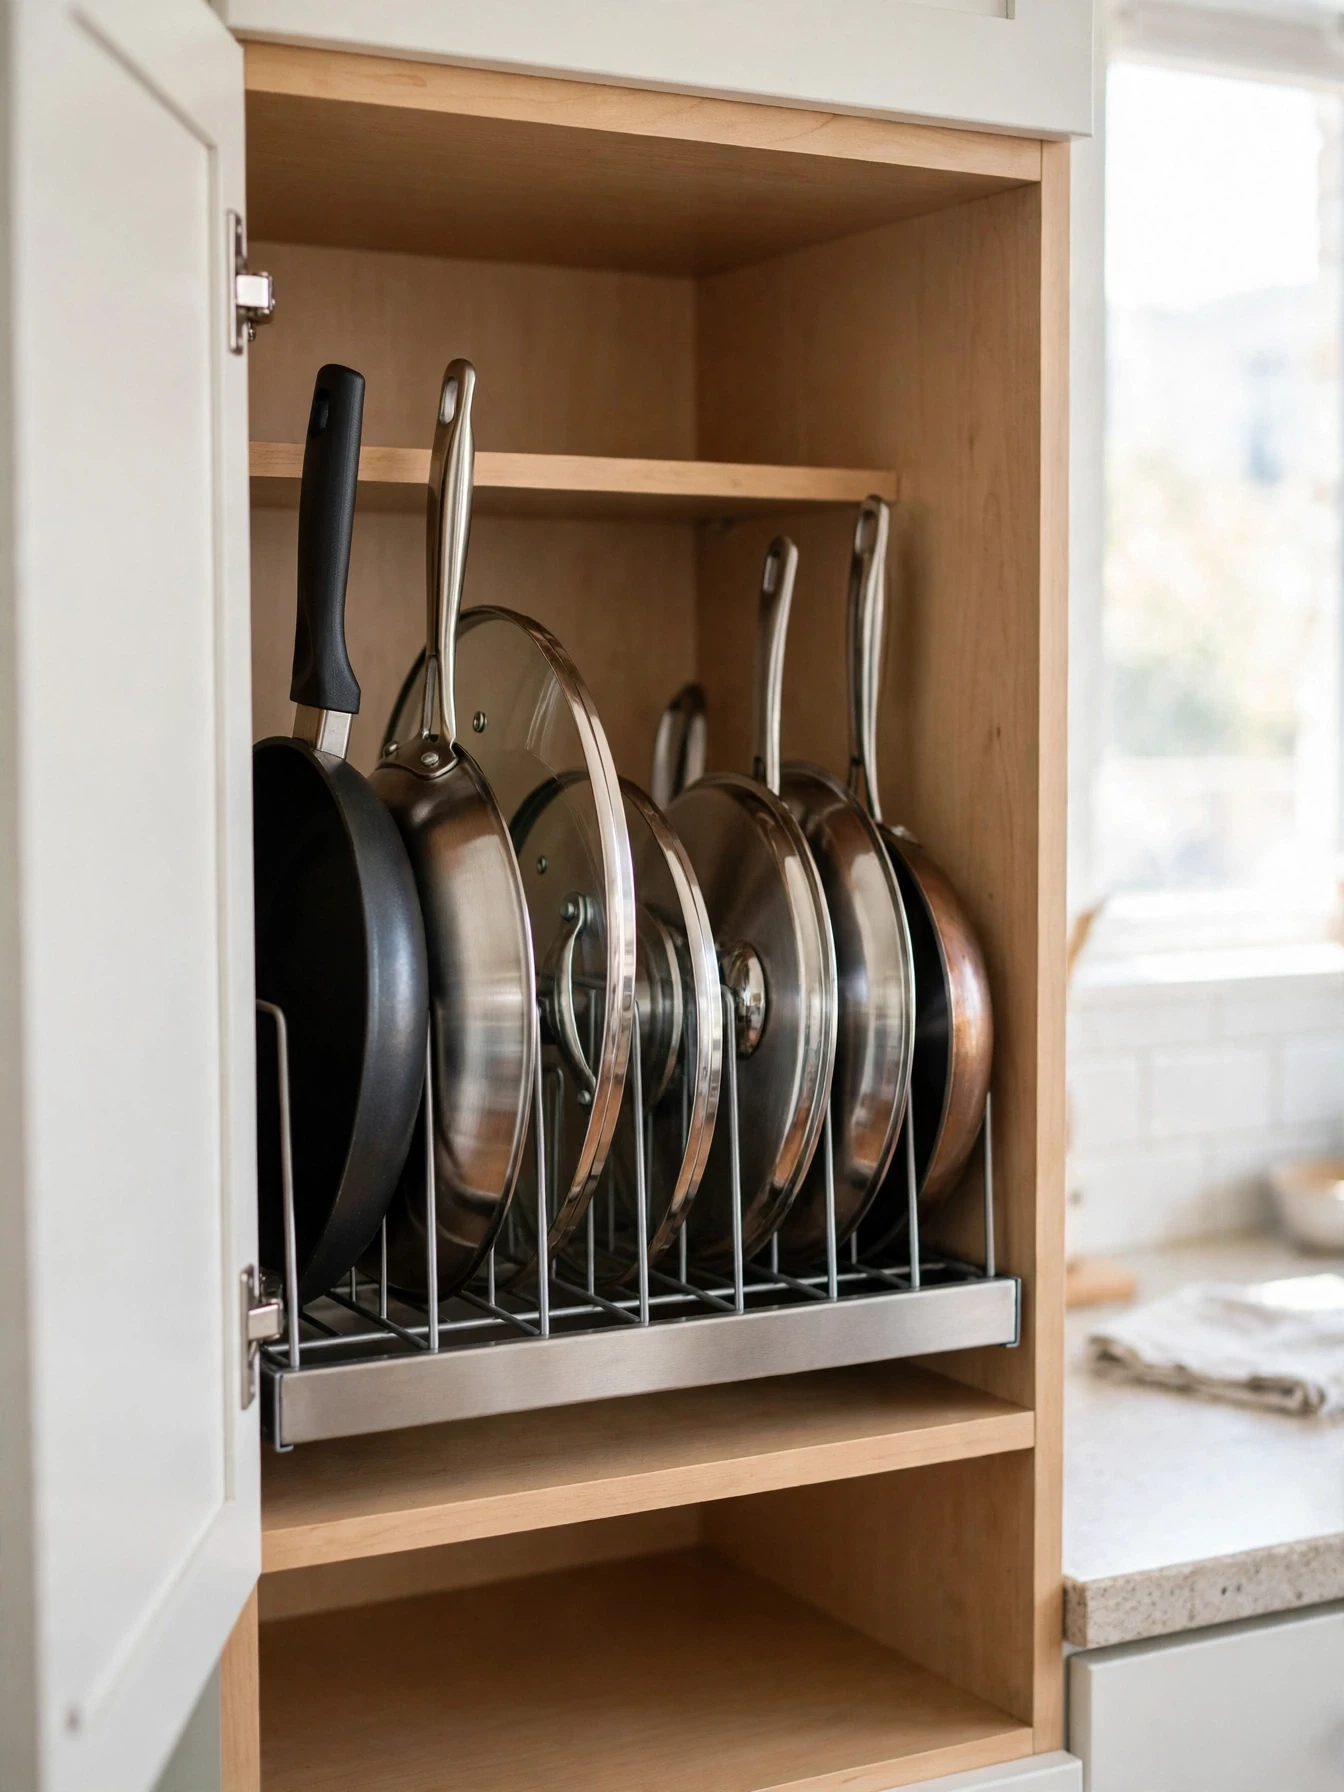
Stacked pans waste space and punish you every time the pan you need sits at the bottom. Storing pans and lids vertically, like files in a rack, uses the full height of a cabinet and lets you slide out any single pan without moving the rest.
A vertical pan rack or a simple file style divider costs $15 to $25 and fits cabinets from about 30 cm tall. Heavy skillets stand at one end, lighter pans in the middle, and lids in their own slim rack on the cabinet door or in the same rack’s narrow slots.
Measure your largest pan across, handle included, before buying. In many small cabinets the rack works better placed sideways, with pans sliding in from the front. Non-stick pans benefit most, since vertical storage stops the scratching that stacking causes.
This idea suits anyone whose pan cabinet currently sounds like a drum kit at dinner time. The common mistake is forcing a tall stockpot into the rack. Keep the one or two biggest pots nested together beside the rack and file only the flat items.
Hang Hooks and Rails Without Drilling
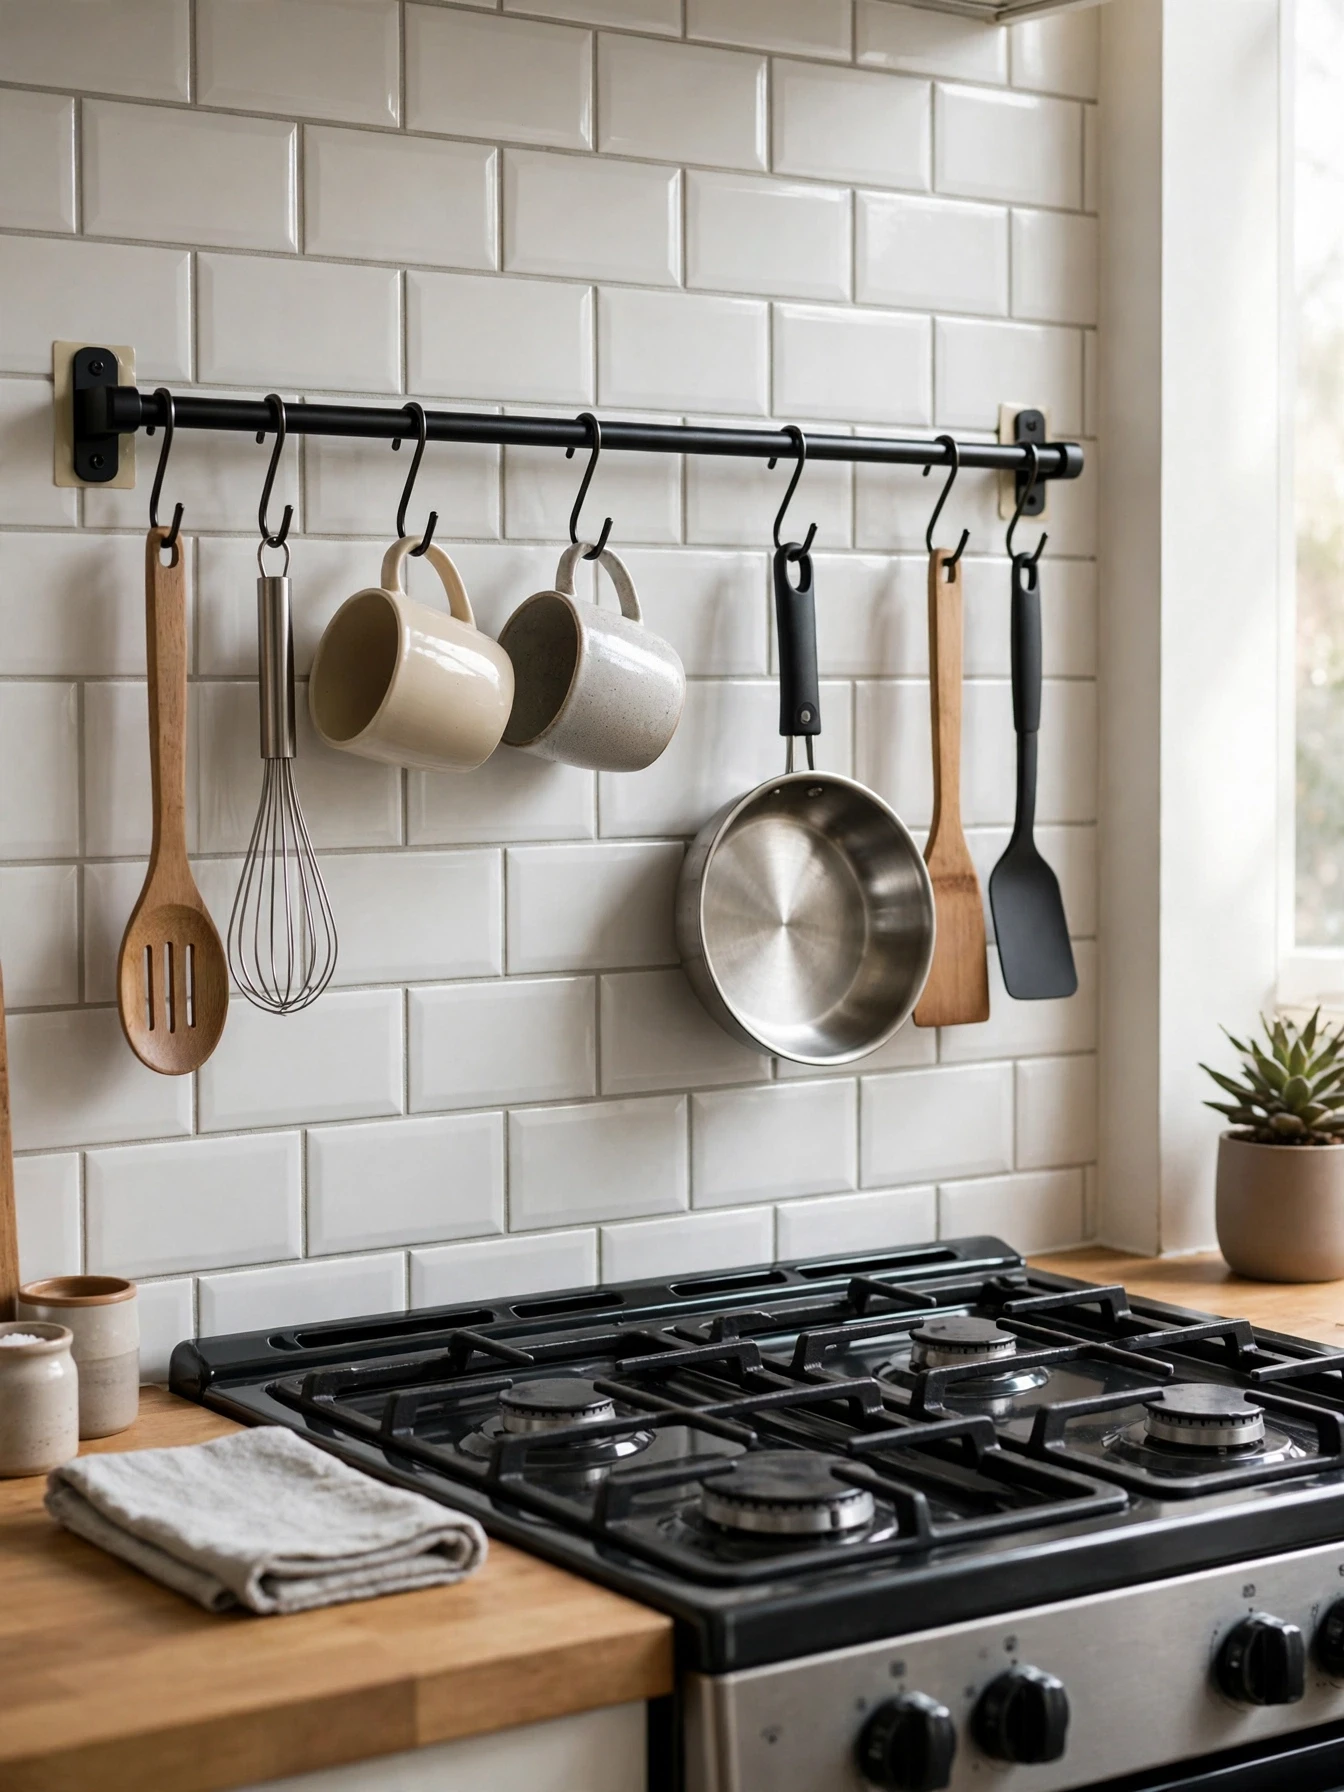
Rental walls can still hold storage if you choose the right fixings. A rail with S-hooks holds utensils, mugs, and small pans along the backsplash or a side wall, and modern adhesive rails and hooks carry surprising weight without a single hole. This is vertical apartment kitchen storage at its cheapest.
Adhesive rails cost $12 to $25, and a pack of hooks runs $6 to $10. Look for hooks rated at 2 to 5 kg each and rails tested on tile or smooth painted surfaces. Over-cabinet hooks that loop over a door top edge need no adhesive at all and come off in seconds on moving day.
Hang the rail where your hands naturally work: beside the hob for utensils, near the kettle for mugs. Keep hooks spaced a few centimeters apart so items do not clang together every time you brush past.
Cooks who reach for the same five tools daily gain the most from a rail, because those tools leave the drawer and the drawer clutter drops with them. The common mistake is hanging a rail behind the hob where steam and grease coat everything. Beside the hob, not above it, is the sweet spot.
Use the Gap Above the Cabinets
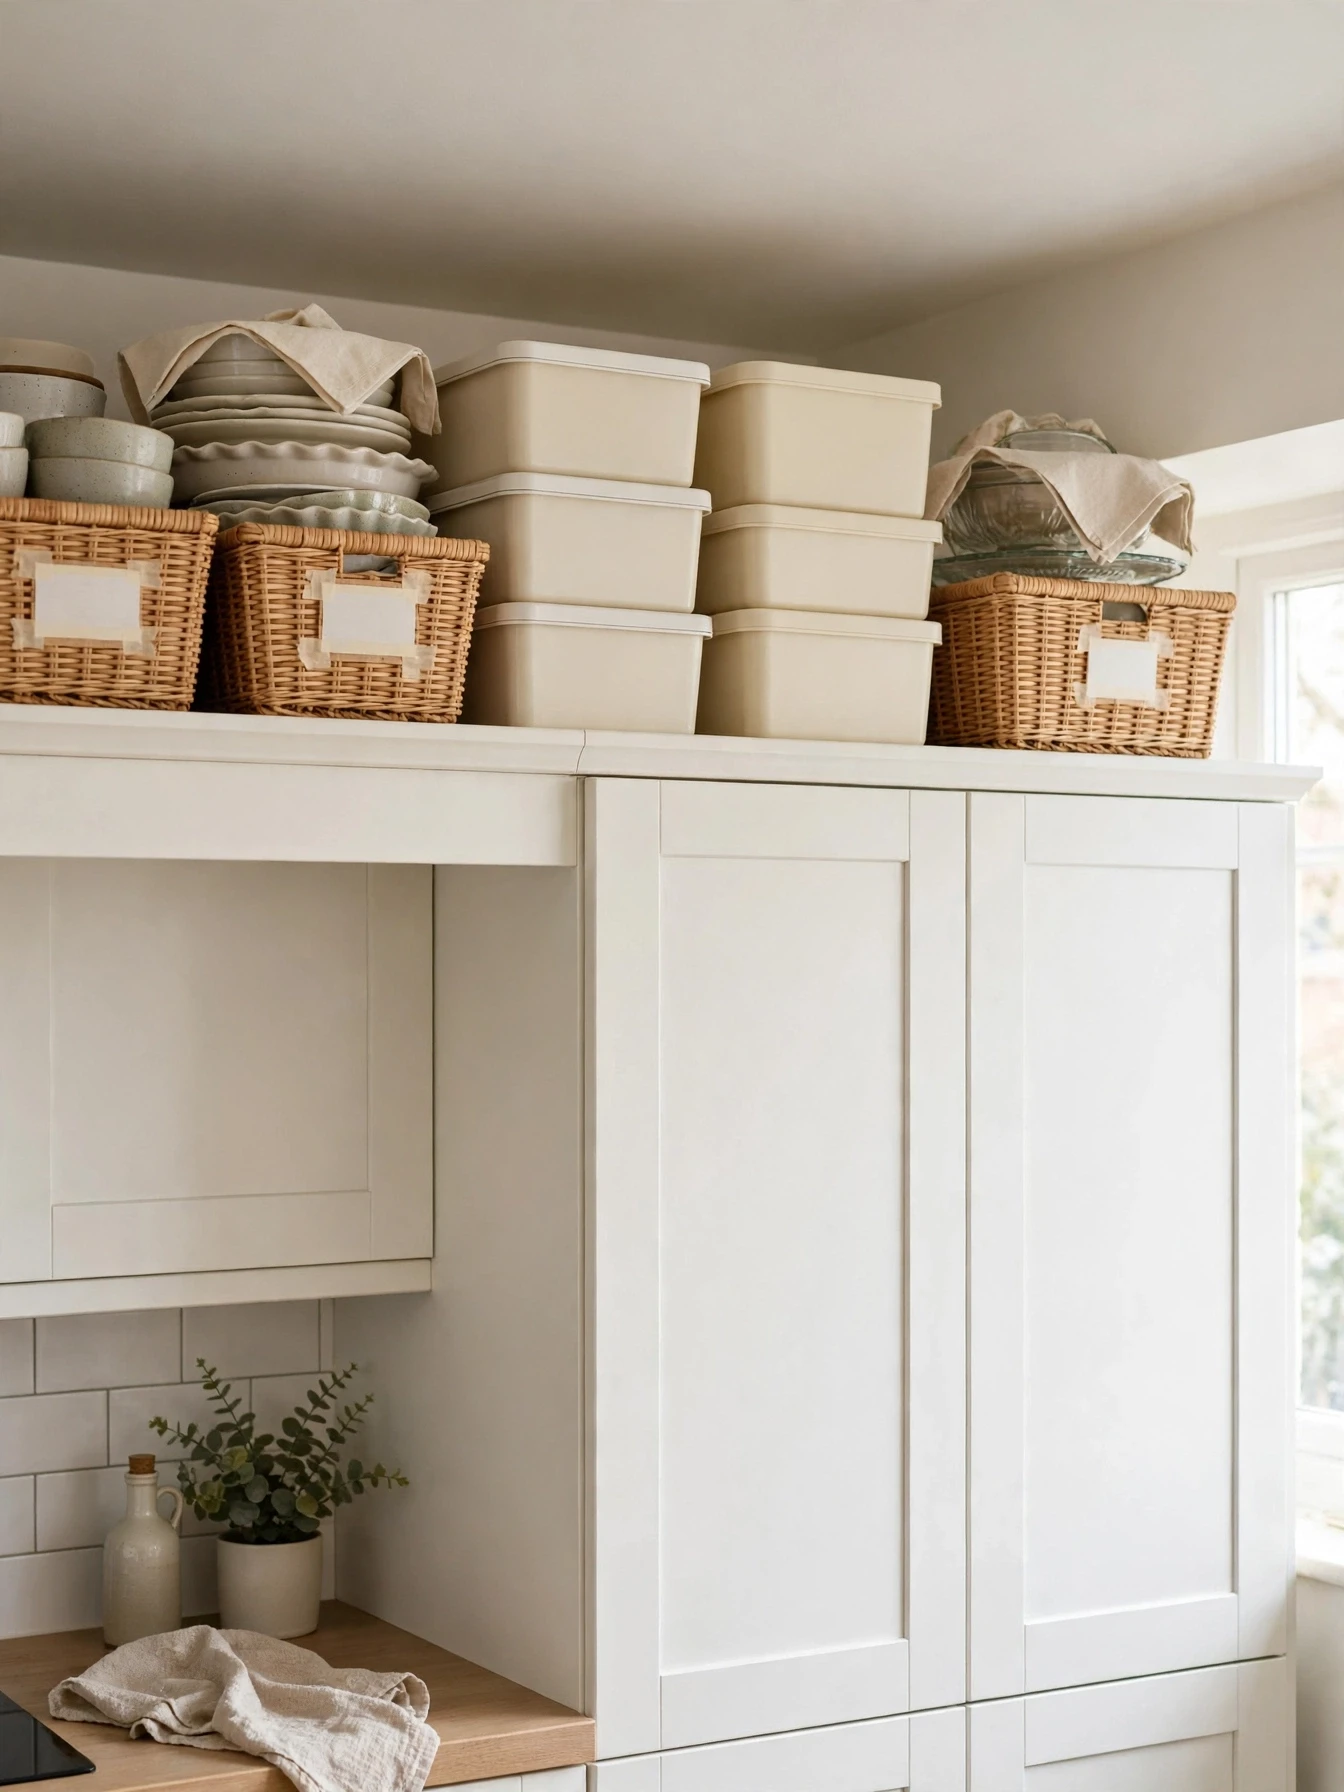
Many apartment kitchens stop their cabinets 20 to 40 cm below the ceiling. That gap looks like dead space, but it holds baskets and boxes for items you use a few times a year: the big roasting pan, holiday serving dishes, spare jars, and the blender base you only use for parties.
Matching baskets or lidded boxes keep the gap looking calm rather than dusty and random. Boxes around 30 cm wide stack neatly, and a set of three costs $20 to $35. Label the front of each box, because you will not remember which one holds the roasting pan by December.
Only store items you can lift down safely with a step stool. Anything you need weekly belongs lower, and anything heavy or fragile belongs somewhere else entirely. A quick wipe of the cabinet tops before you start keeps dust off everything you store.
This idea suits seasonal cooks and anyone who hosts a few times a year in a small home. The common mistake is filling the gap with loose items that gather grease and dust in full view. Containers with lids are the whole point of the idea.
Build a Small Pantry Zone on One Shelf
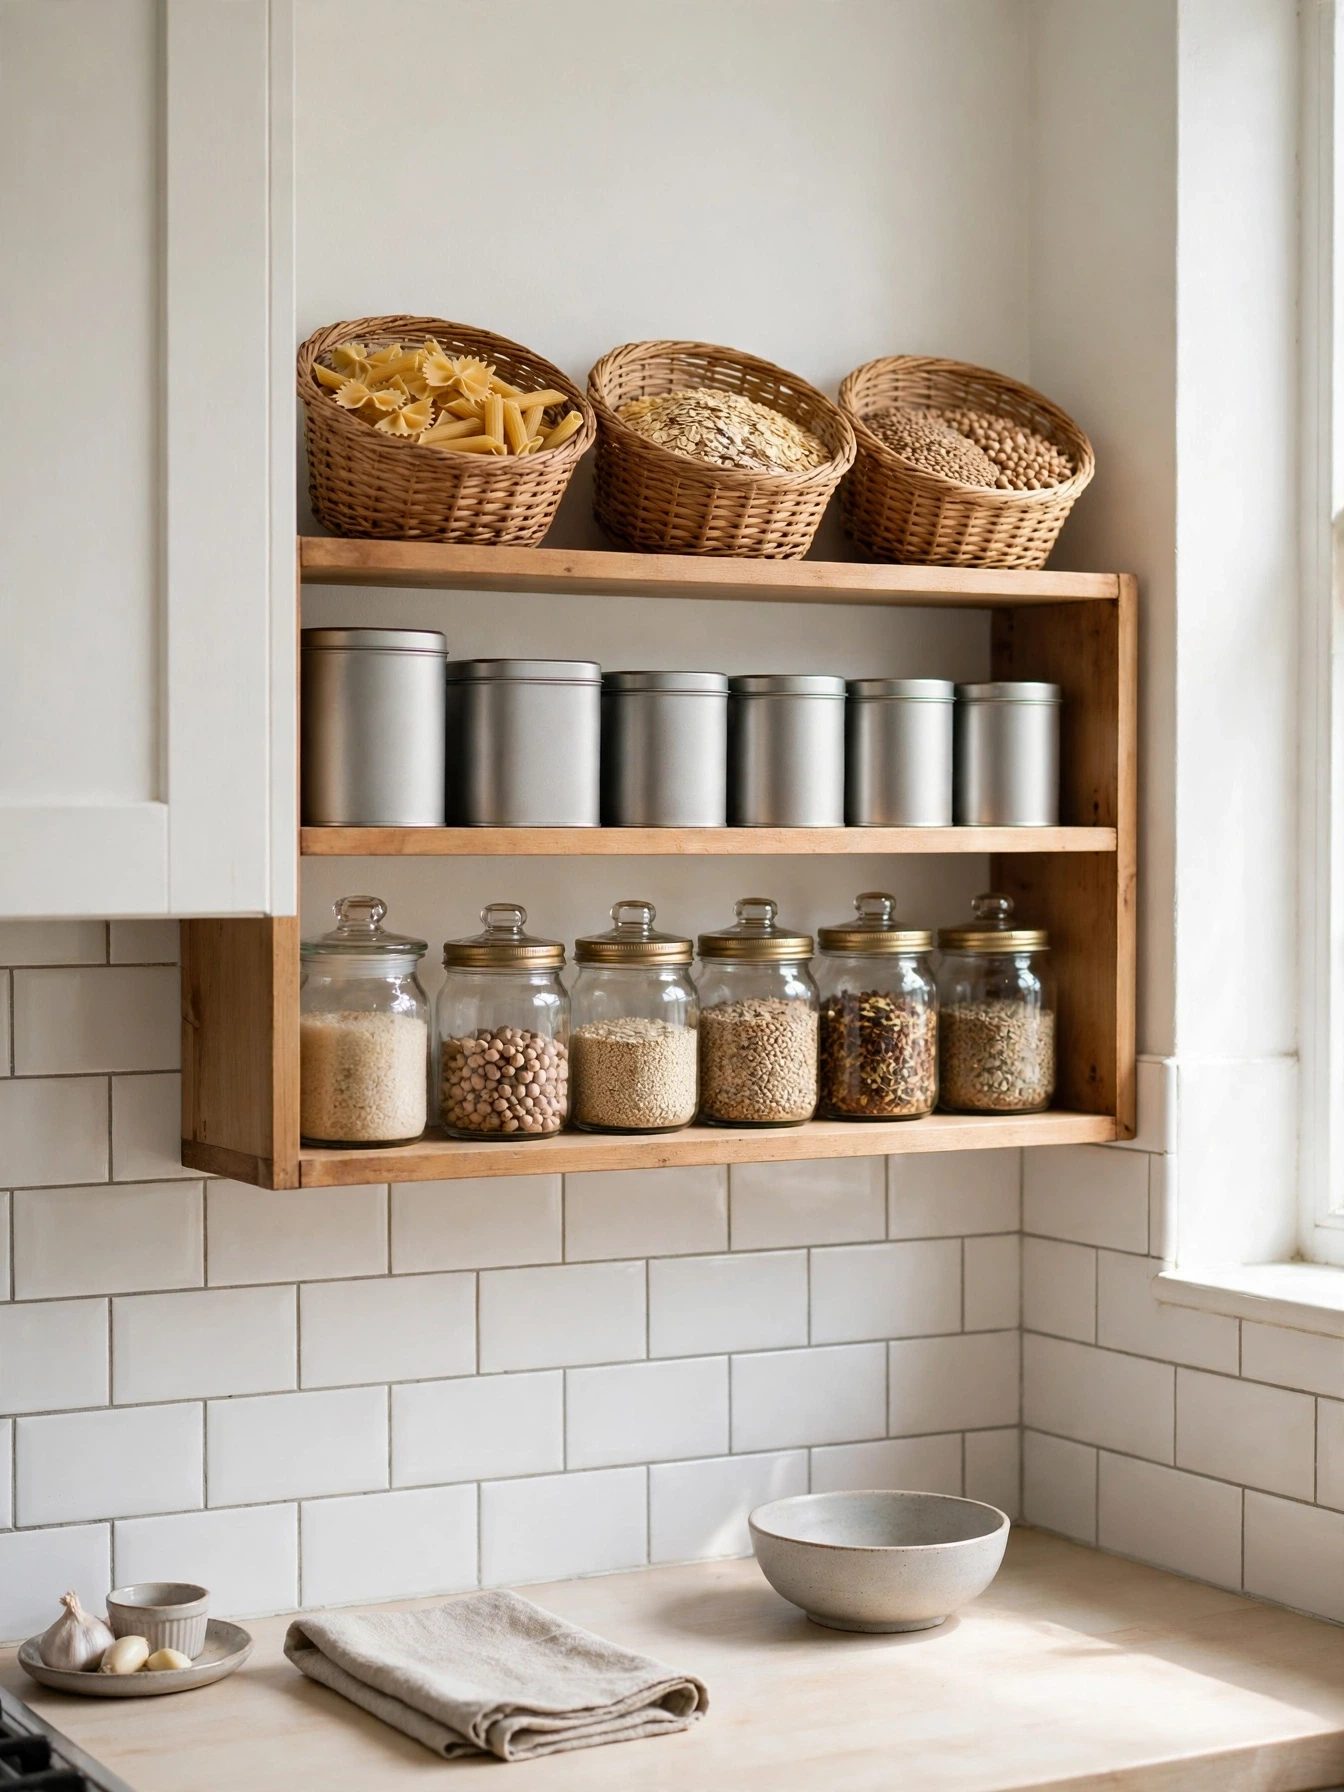
A small kitchen does not need a pantry room. It needs one shelf, or half of one cabinet, where all dry food lives together. A single pantry zone ends the habit of stashing food in every corner and makes shopping lists obvious, because you can see at a glance what is running low.
Clear one shelf of about 60 to 80 cm wide and group food by type: breakfast items, cooking staples, snacks, and tins. Small baskets at $3 to $6 each corral packets that slip around. The simple zoning method in this guide to apartment pantry organization scales down well to a single shelf.
Keep the zone at eye or waist level so you use it daily. Front row for this week’s items, back row for spares. When a shelf starts to overflow, the answer is to eat from it for a week, not to start a second zone in a random cupboard.
Busy households that share a kitchen gain the most, because everyone learns the one place food lives. The common mistake is letting non-food items creep onto the shelf. The moment cleaning sprays join the pasta, the zone stops working as a pantry.
Add a Sink-Area Caddy for Daily Essentials
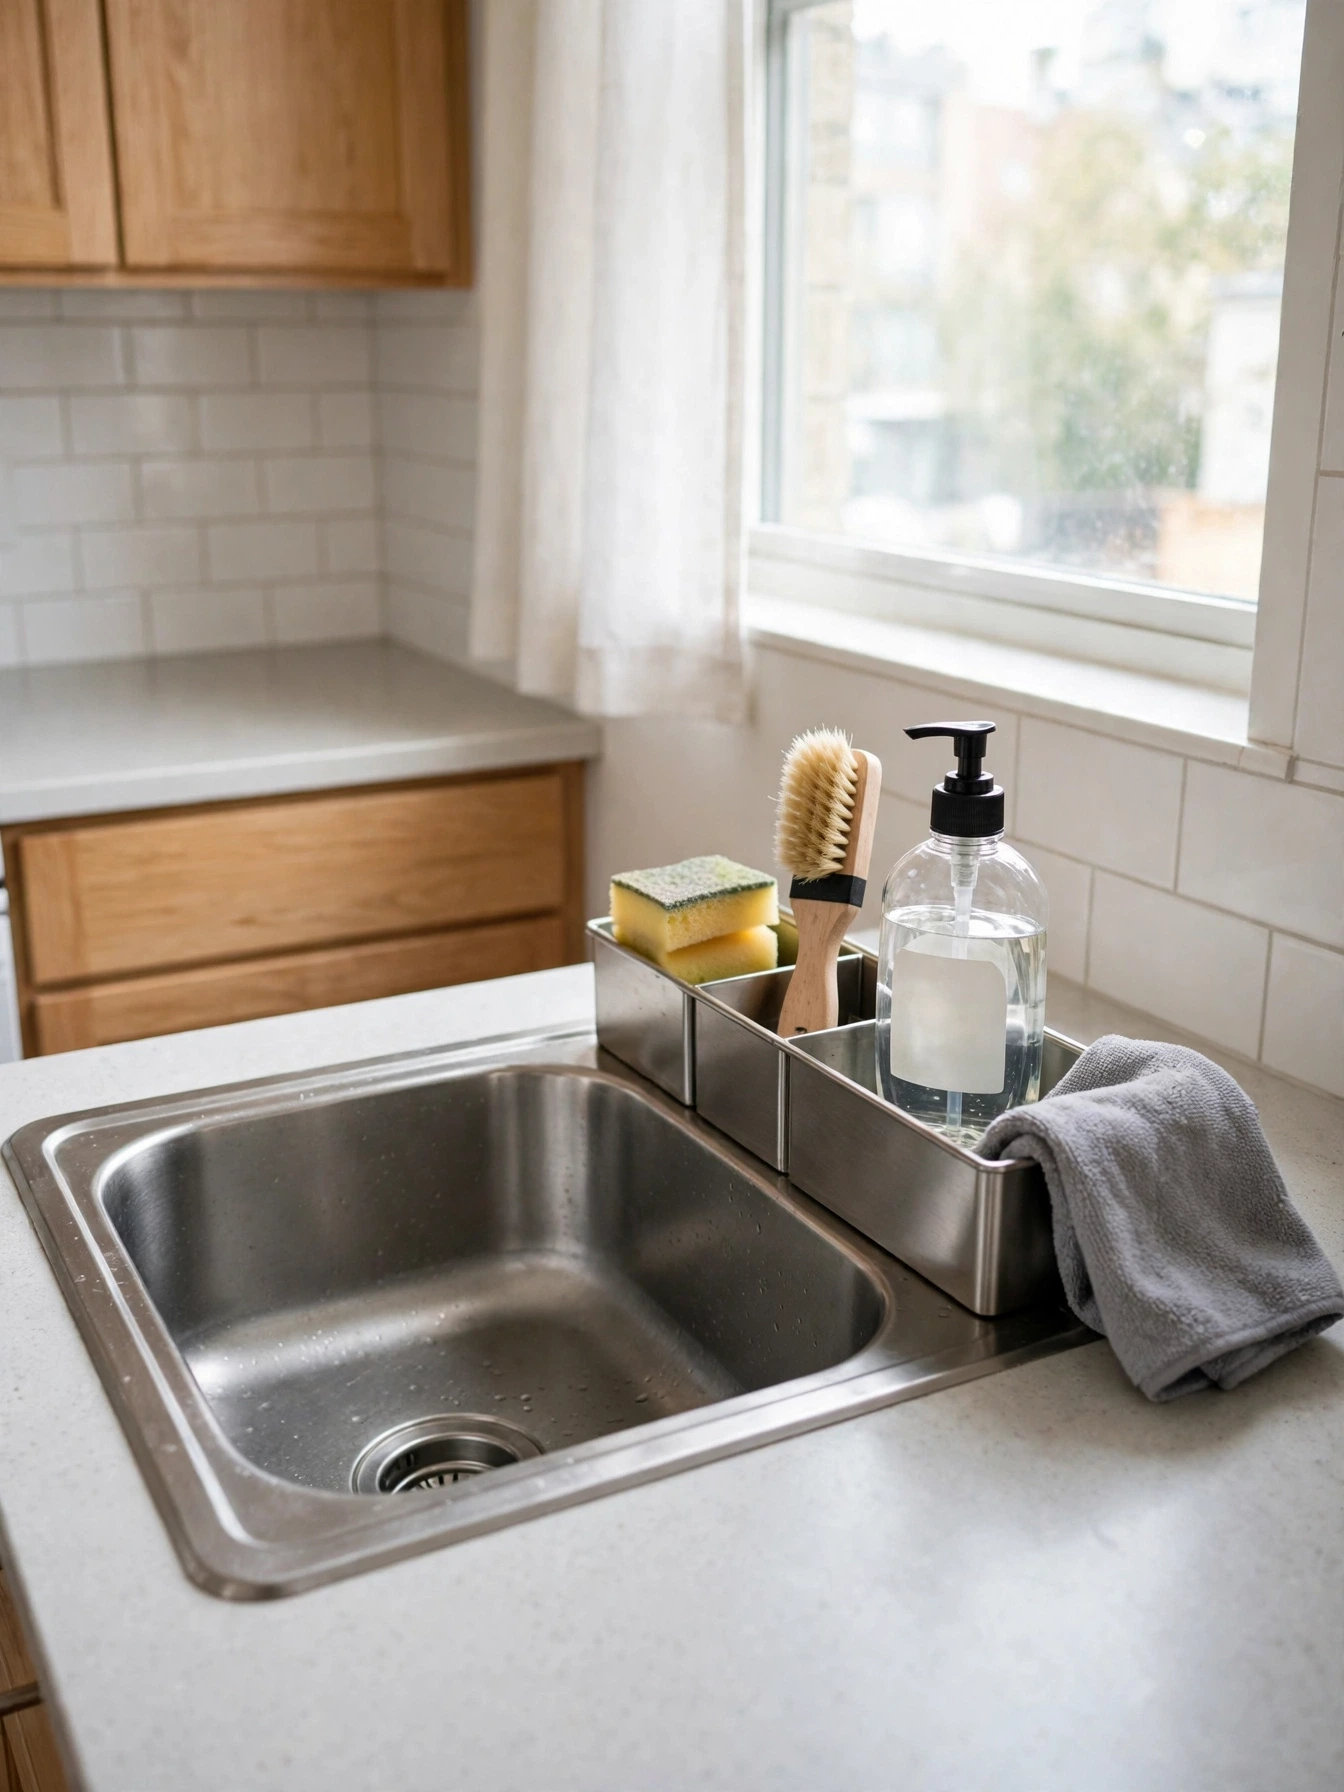
The area around a small sink collects clutter fast: washing up liquid, a sponge, a brush, hand soap, and a cloth all compete for a few centimeters of counter. A caddy groups them into one compact footprint, ideally one that drains into the sink so the counter stays dry.
Sink caddies cost $10 to $20. Over-faucet and suction models suit sinks with no spare counter at all, while a slim tray caddy of about 20 by 10 cm fits most rental counters. Stainless steel or silicone last longest in constant water; cheap plastic cracks and stains within months.
Raise sponges and cloths off the counter inside the caddy so they dry between uses and stop smelling. Wring the cloth, stand the brush upright, and empty any drip tray every few days as part of the normal washing up.
This idea suits every small kitchen, but especially studios where the sink area is visible from the sofa. The common mistake is buying a caddy wide enough to become a second clutter shelf. If it holds more than the five daily essentials, it is too big.
Store Rarely Used Appliances Outside the Kitchen
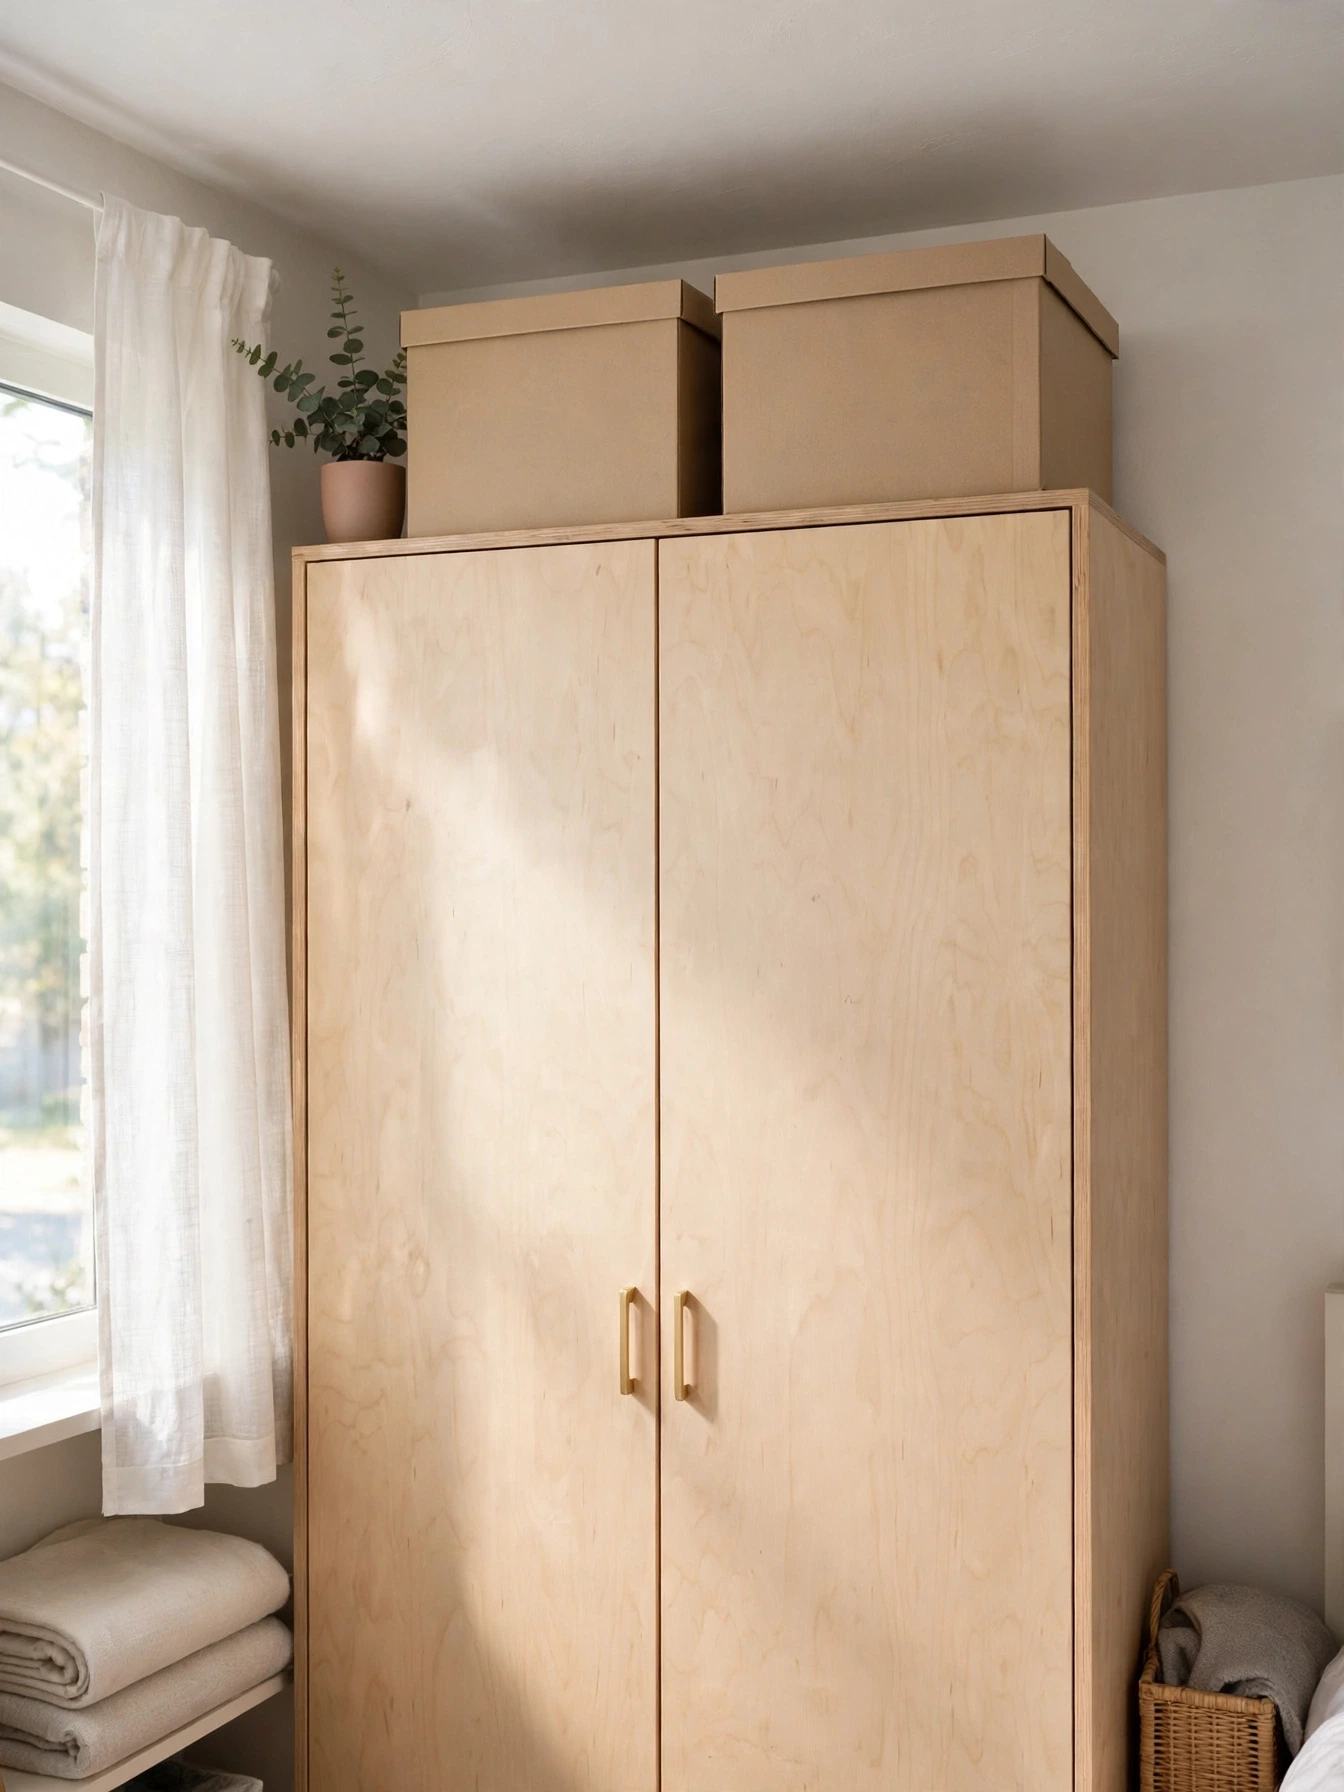
The slow cooker, the waffle maker, and the big food processor might come out once a month, yet they sit in prime kitchen cabinets all month long. Moving rarely used appliances out of the kitchen frees space for the things you touch every day, which is the real goal of good apartment kitchen storage.
Good homes for them include the top of a wardrobe, a lidded box under the bed like the storage shown in these apartment bedroom decor setups, or a shelf in the hall closet near the small apartment laundry corner. Keep each appliance in a labeled box with its cord and parts together, so fetching it takes one trip.
Be honest about the one month rule. If an appliance has not run in three months, it does not deserve kitchen space, and if it has not run in a year, it probably deserves a new home entirely. Keep the kettle, toaster, and coffee maker where they are; daily tools stay, monthly tools move.
Singles in studios gain the most, because one freed cabinet can hold an entire pantry zone. The common mistake is storing appliances somewhere so awkward that you stop using them altogether. A labeled box you can reach in one minute is storage; a box behind three other boxes is a goodbye.
Common Mistakes to Avoid
Buying Organizers Before Measuring
A riser 2 cm too wide or a cart 1 cm too fat is money wasted and clutter added. Measure every cabinet, drawer, and gap with a tape, note the numbers in your phone, and shop with those numbers in front of you. Rental kitchens vary wildly, even between flats in the same building.
Storing Things You Never Use
Storage products cannot fix a kitchen that holds too much. Gadgets used once a year, chipped mugs, and duplicate tools eat the space your daily cooking needs. Clear out first, count what remains, and only then buy organizers sized for the real collection.
Blocking Counters With Storage
Every organizer that lands on the counter trades prep space for storage space, and in a small kitchen prep space wins. If a product does not go inside a cabinet, on a door, on a wall, or in a gap, think twice before it joins the worktop.
Ignoring the Space Above and Below
Most people organize only the shelves they can see at eye level. The gap above the cabinets, the top of the fridge, and the area under shelves often hold as much again. Look up and down before you conclude the kitchen is full.
Mixing Food and Cleaning Products
Cleaning sprays stored beside open food packets are a safety problem and a smell problem. Give chemicals one home, ideally under the sink or on a door rack, and keep the pantry zone for food only.
Forgetting How You Actually Cook
Pretty systems fail when they fight your habits. If you always chop beside the sink, the knives belong beside the sink, not in the tidiest drawer across the room. Arrange storage around your real routine and the system maintains itself.
Budget-Friendly Tips
Start with one cabinet, not the whole kitchen. A single riser and one turntable cost under $30 and prove the system works before you spend more. Most people find the first cabinet teaches them exactly what the rest of the kitchen needs.
Shop secondhand and discount stores for baskets, jars, and racks. Storage basics hold up well used, and a matching set of jars often costs half the new price. Wash everything well, and check turntables spin smoothly before you buy.
Use what you already own first. Shoe boxes wrapped in paper become drawer dividers, a spare baking tray becomes a sink caddy base, and a strong gift bag holds packets upright in the pantry zone. Renters setting up a first kitchen can stretch the budget further by pairing these swaps with a first apartment move in checklist so nothing gets bought twice.
Buy multiples only after the first one earns its place. One under-shelf basket that works justifies two more; three bought on a guess often fit nowhere. Storage you cannot use becomes the hardest clutter to throw out.
Set a small monthly budget, around $15 to $25, and improve one zone at a time. A kitchen organized over two or three months usually ends up better planned than one kitted out in a single expensive afternoon.
Keep every receipt until the item is installed and loaded. Sizes are the main reason organizers go back, and a quick return beats a year of working around the wrong fit.
A One-Day Kitchen Reset Plan
Start in the morning by emptying one cabinet at a time onto the table. Wipe the shelves, group everything by type, and set aside duplicates and anything unused for three months. Decide each cabinet’s job before anything goes back: one for food, one for dishes, one for pans.
Late morning is for the fitted storage. Install risers, turntables, and drawer dividers, then load each cabinet slowly, front row for daily items and back row for spares. Fit the pan rack and hang the magnetic strip or rail before lunch, while the tape measure and step stool are still out.
Spend the afternoon on the small zones. Set up the sink caddy, the over-sink rack, the door organizers, and the pantry shelf. Slide the slim cart into the fridge gap and load it with the bottles that crowded the counter. Finish with the fridge top and the gap above the cabinets, using labeled boxes only.
In the evening, cook a normal dinner in the reset kitchen and notice what still annoys you. One small tweak after a real meal beats another shopping trip. Days like this are the fastest way a rental starts to feel designed, much like the whole-home approach in these studio apartment decor ideas, because every object finally has one clear home.
Frequently Asked Questions
How do I add storage to a small apartment kitchen without drilling?
Use adhesive rails and magnetic strips, over-door racks, under-shelf baskets, and freestanding risers and carts. Every idea in this guide either clips, hangs, sticks, or stands, so the kitchen can return to its original state on moving day with nothing to fill or repaint.
What is the cheapest apartment kitchen storage upgrade?
A cabinet riser at about $8 to $15 usually gives the fastest gain, because it doubles one shelf instantly. A turntable for spices is the close second. Start inside the cabinets before spending on anything that sits on the counter.
How wide should a slim cart for the fridge gap be?
Measure the gap at its narrowest point and choose a cart at least 1 to 2 cm narrower. Most rental gaps run 12 to 20 cm, and carts of 13 to 15 cm wide suit the common sizes. Check the fridge door still opens fully with the cart in place.
Where should I store appliances in a small apartment?
Keep daily appliances like the kettle and coffee maker in the kitchen. Move monthly appliances into a labeled box on a wardrobe top, under the bed, or on a closet shelf outside the kitchen, with cords and parts kept together so each one is quick to fetch.
How do I organize a kitchen with only two cabinets?
Give each cabinet one clear job: food in one, dishes and pans in the other. Add risers inside both, hang tools on a rail, and use a door organizer for wraps and cleaning items. A single pantry shelf zone and an over-sink rack can double the working storage without more cabinets.
Can I use the space above my kitchen cabinets in a rental?
Yes, as long as you store items in lidded baskets or boxes and place nothing heavy or fragile up there. The space needs no fixings, and everything lifts down on moving day. Keep the boxes labeled and wipe the cabinet tops first.
Conclusion
A small rental kitchen holds more than it first appears to. The space was always there, hiding inside tall cabinets, behind doors, beside the fridge, and above the cupboards. Risers, rails, racks, and one slim cart simply turn that hidden space into storage you can use every day, without drilling, building, or spending like a renovator.
Start with one cabinet this week and let the clear counter convince you. Good apartment kitchen storage is not about owning more organizers. It is about giving the things you already own one sensible home each, so cooking in a small space feels easy again.