
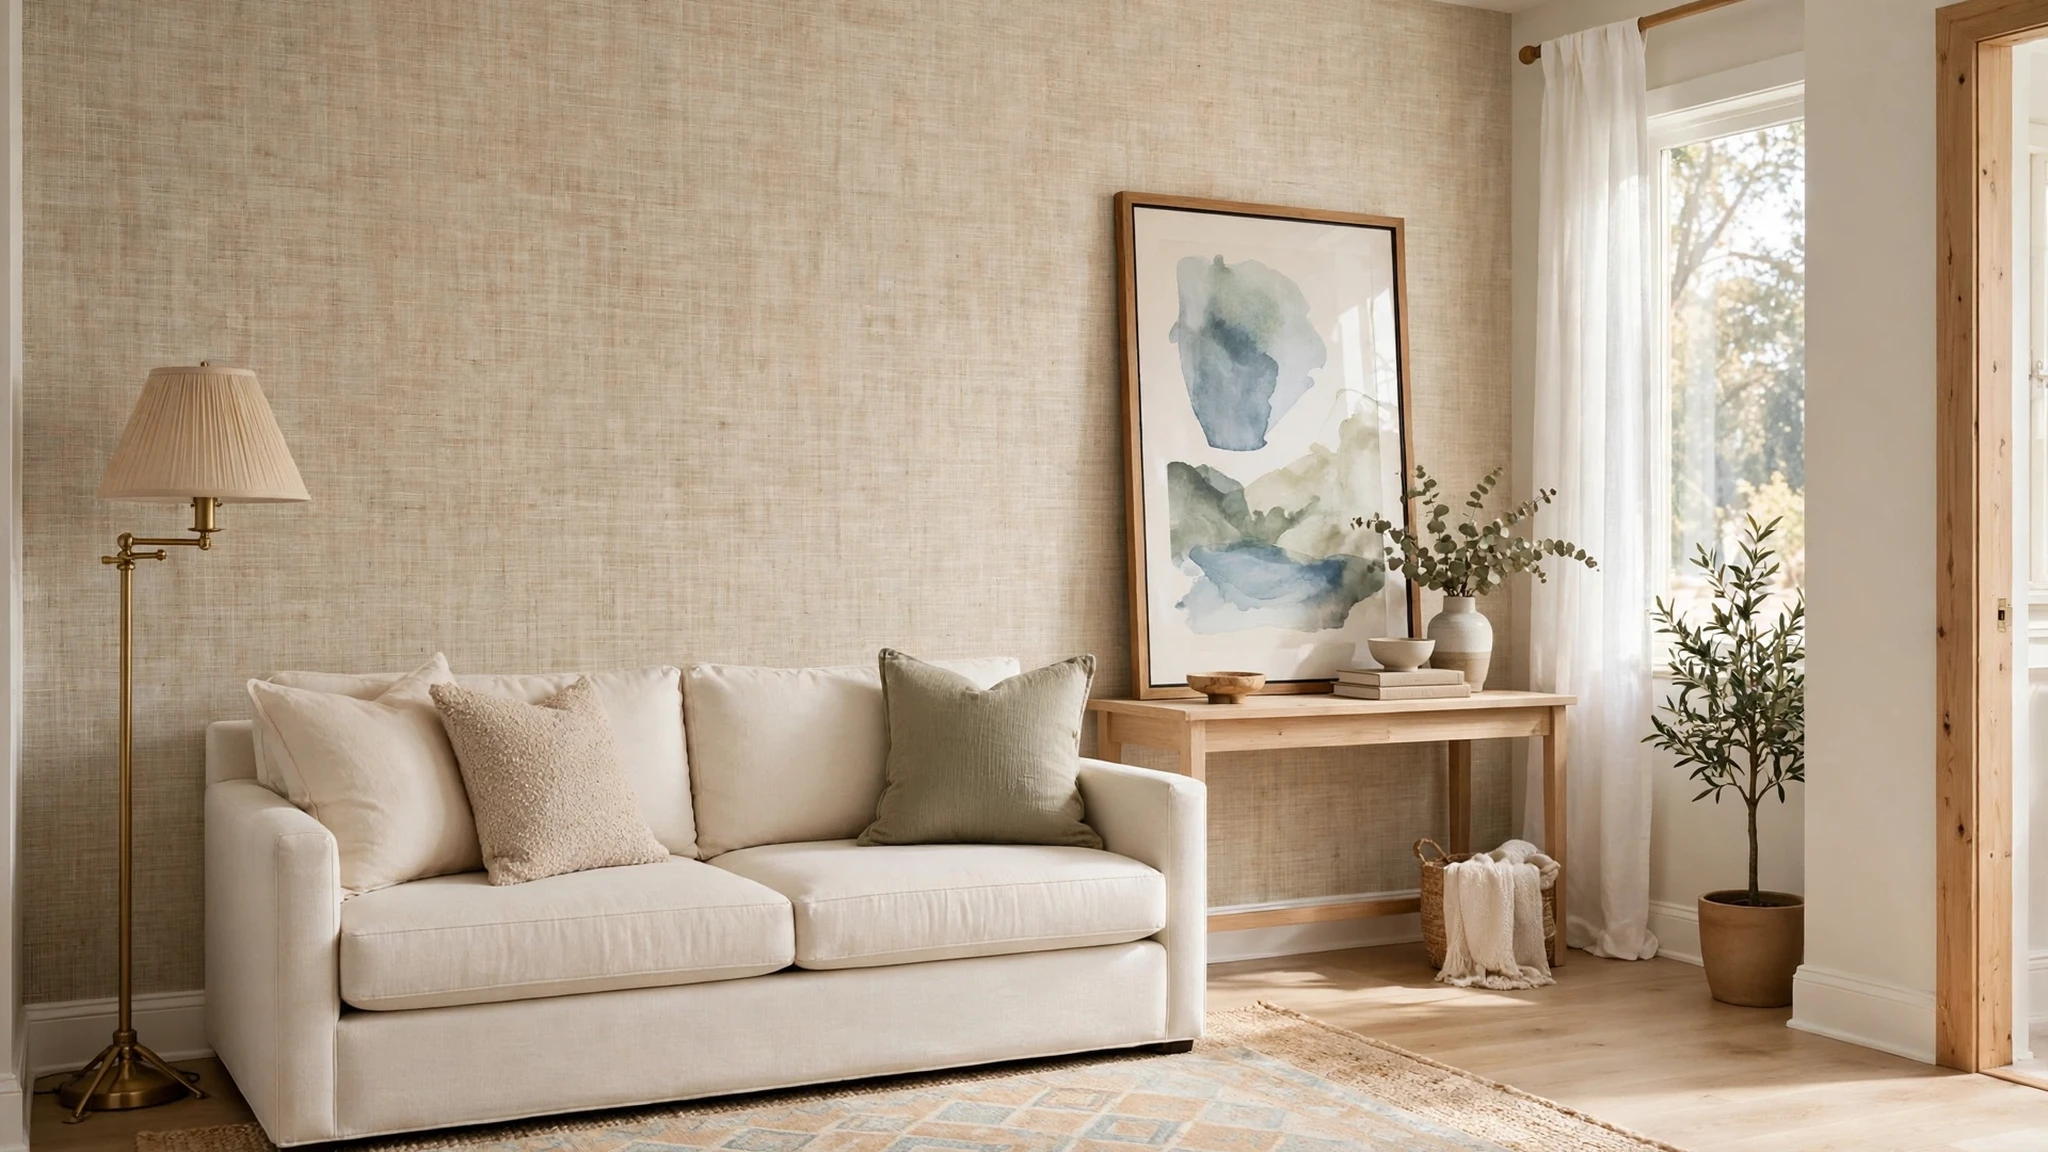

A rental apartment often comes with plain white walls, basic flooring, and fixtures chosen for durability rather than style. It can feel like the home belongs to someone else, especially when the lease bans paint, nails, and permanent changes. The good news is that expensive looking style rarely comes from permanent work. It comes from layering, light, and a few large pieces placed with confidence.
Good renter friendly apartment decor works on a simple rule: everything you add must come away cleanly at move out. Peel and stick products, tension, weight, and plug in power do the jobs that screws and paint do in owned homes. Used well, they change a room so completely that guests assume the landlord renovated.
These 15 ideas are planned for renters in small apartments who want a polished home and a full deposit back. Each one explains why it works in a rental, how to do it with sizes and prices that suit compact rooms, who it suits best, and the mistake that most often spoils it. Keep every original fitting you remove in a labeled box, and every change below can be reversed in a weekend.
What Are the Best Renter Friendly Apartment Decor Ideas That Look Expensive?
The best renter friendly apartment decor ideas change the big surfaces first and the small details second. Peel and stick wallpaper on one wall, a layered rug over the rental floor, leaning art instead of hung frames, warmer plug in lighting, and slipcovers on tired furniture give a small rental the layered look of a designed home. Every one of them removes cleanly, so the deposit stays safe.
Work in this order: walls, then floor, then light, then furniture, then details like hardware and hooks. That sequence stops the most common rental problem, which is spending on small accessories while the walls and floor still look plain. If you are starting from an empty unit, the steps in this first apartment decor guide pair well with the order here.
Start With Peel and Stick Wallpaper on One Wall
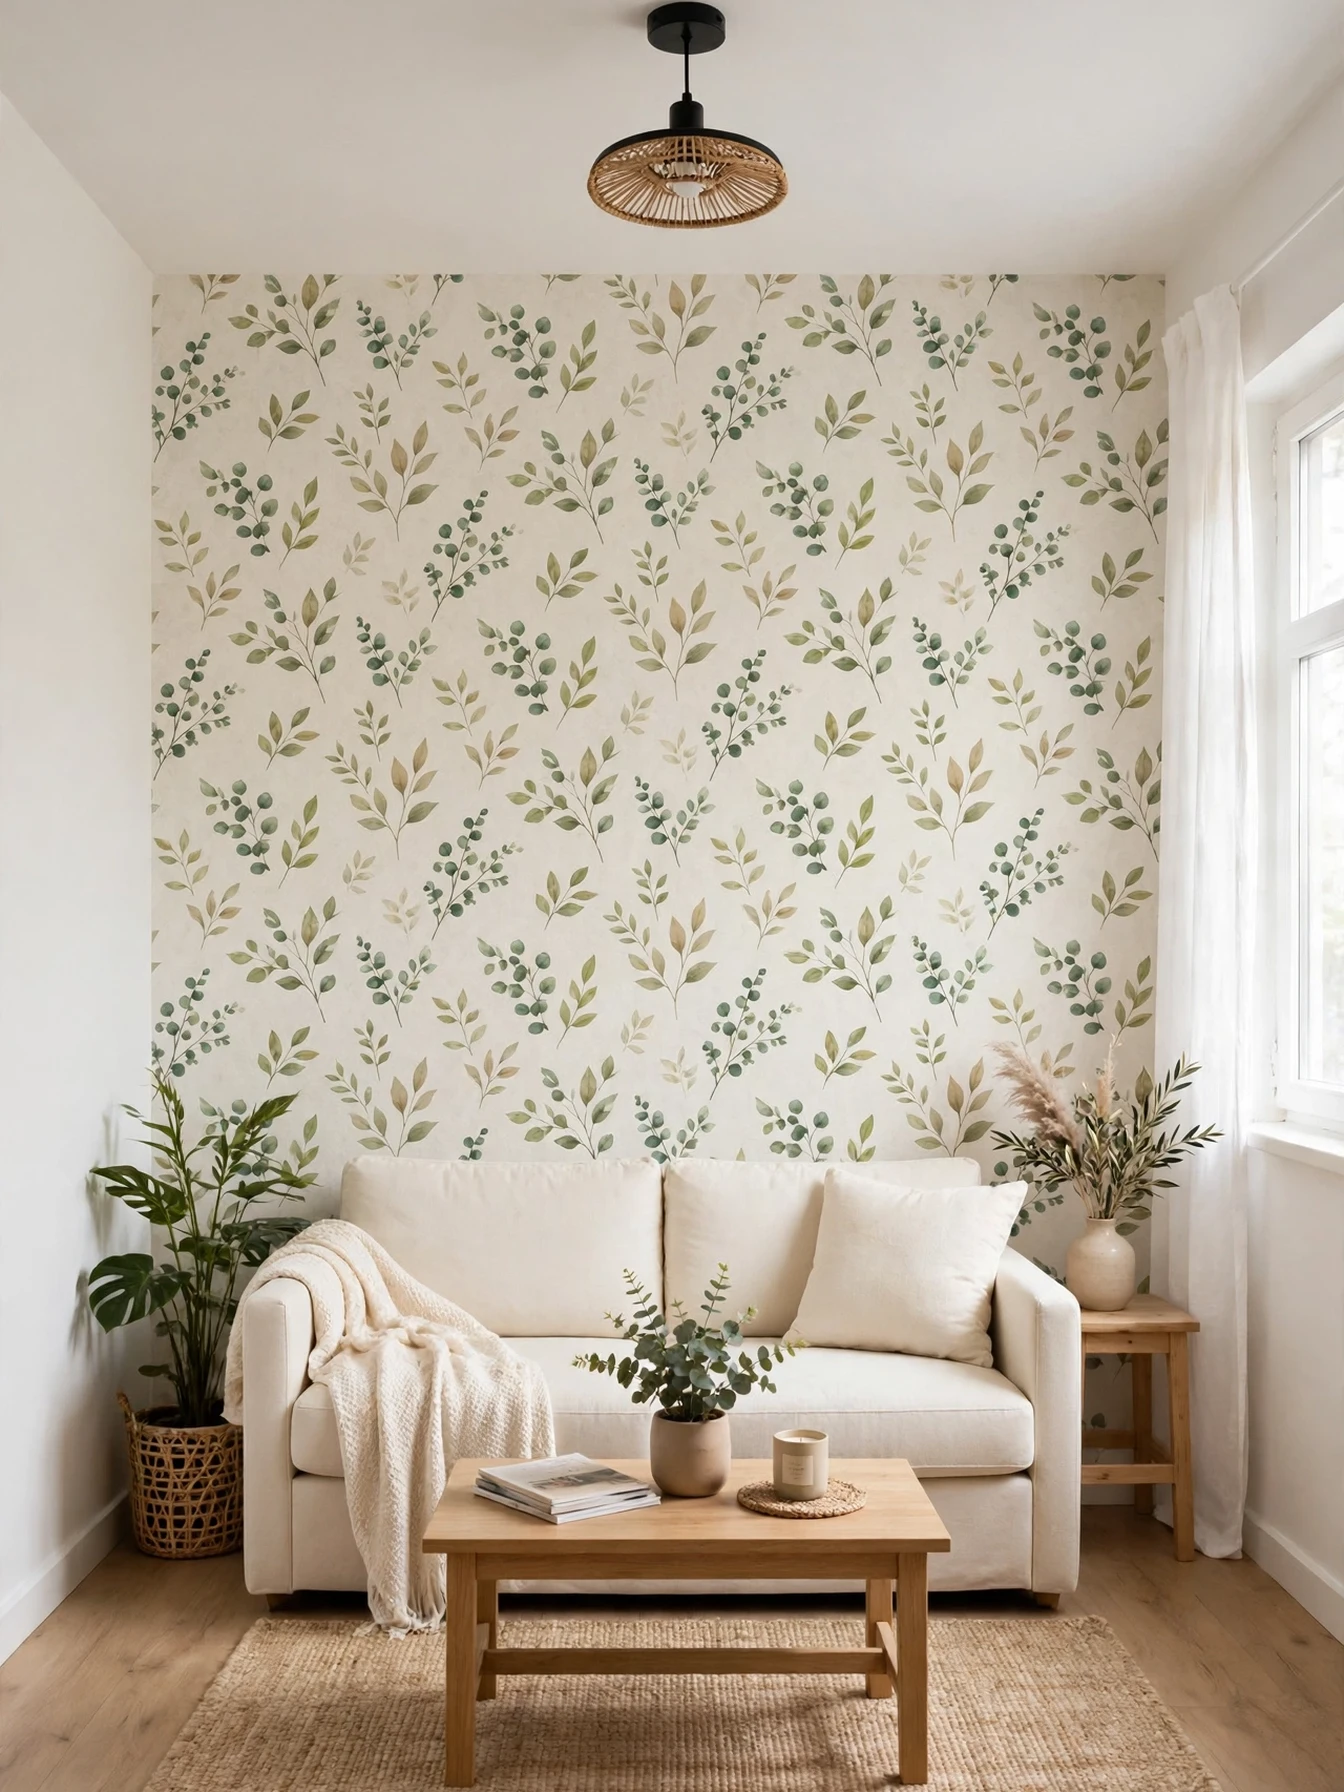
Peel and stick wallpaper is the single biggest change a renter can make, because it alters the largest surface in the room without touching the paint underneath. One covered wall behind the sofa or the bed gives the whole apartment a focal point, and modern removable papers peel away slowly in full sheets when the lease ends.
Choose a design with a calm, large scale pattern. Grasscloth textures, soft geometrics, and subtle botanical prints read as expensive, while tiny busy prints can look cheap in a small room. Most living room accent walls need two to three rolls, usually 40 to 90 dollars in total, and offcuts cover drawer fronts or the back of a bookcase. More placement and color options are in these apartment accent wall ideas.
Apply it on a clean, smooth wall and work from the top with a plastic smoother, pushing air bubbles outward as you go. Avoid textured walls, freshly painted walls under a month old, and walls with flaking paint, because adhesion fails or removal pulls the weak surface with it.
This idea suits renters staying a year or more, since the cost spreads over many months. The common mistake is papering all four walls, which overwhelms a small room and costs four times as much. One wall, done neatly, looks like a design decision.
Use Removable Wall Decals for Small Doses of Pattern
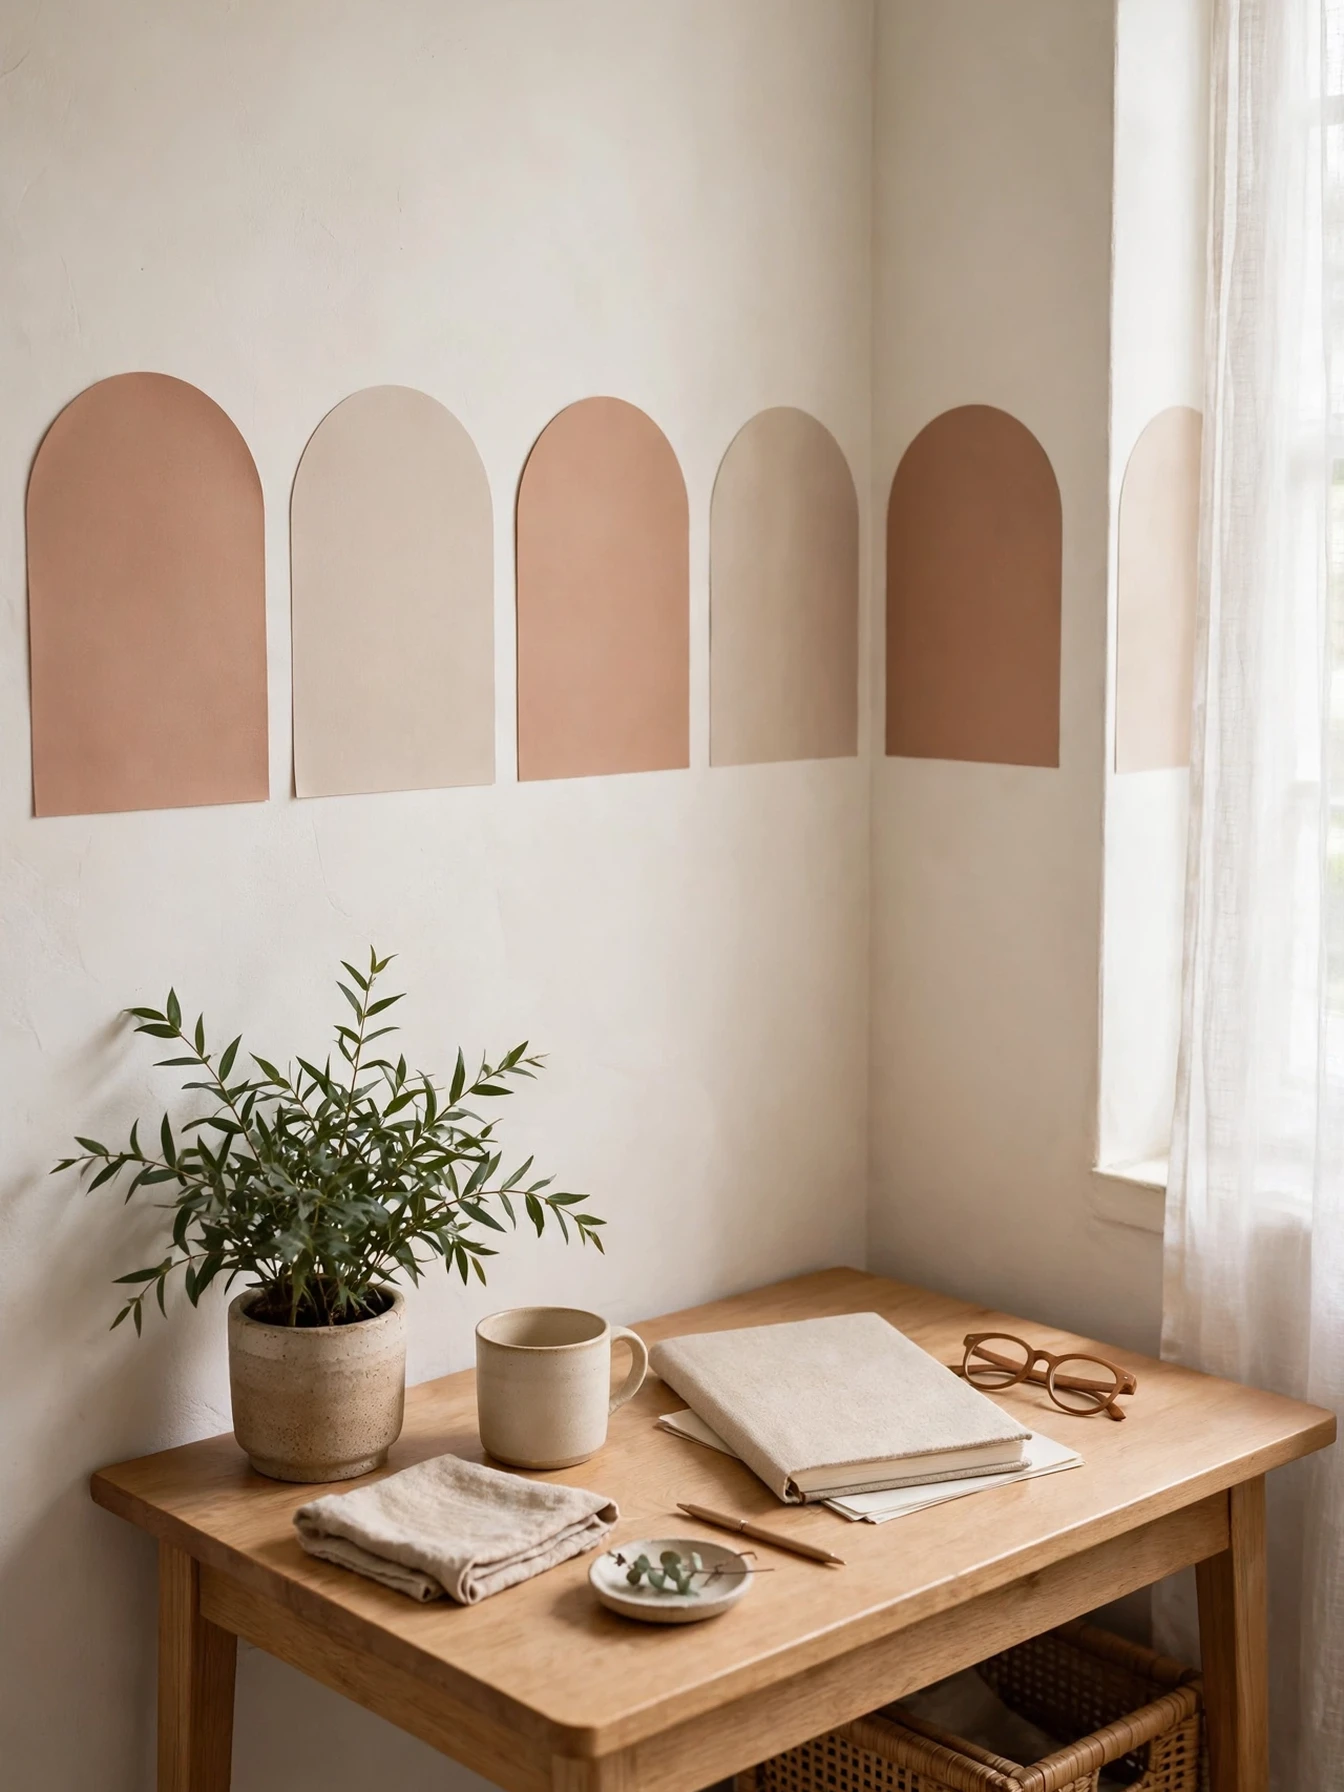
Removable decals deliver pattern in minutes and suit renters who cannot commit to full rolls of paper. Dots, arches, terrazzo chips, and simple line shapes come in peel and stick vinyl that lifts off with no residue. A scattered arch pattern above a desk or a dot pattern in a nursery corner changes the wall for the price of a takeaway meal, usually 10 to 25 dollars a pack.
Decals work best as an accent inside a defined area rather than across a whole wall. Frame them within one section, such as the wall above a console or the corner where a reading chair sits, and keep spacing even by using a paper template or painter’s tape guides before sticking anything down.
Keep the color palette tight. One or two colors drawn from your rug and cushions make decals look like printed wallpaper, while rainbow mixes look like a children’s sticker book. Matte finishes read far more expensive than shiny ones under apartment lighting.
Short lease renters and students gain the most, because decals go up and come down inside an hour. The common mistake is sticking decals on a wall that gets strong direct sun all day. Heat softens some adhesives and can leave ghost marks, so test one decal in a hidden spot first.
Hang a Gallery Wall With Command Strips
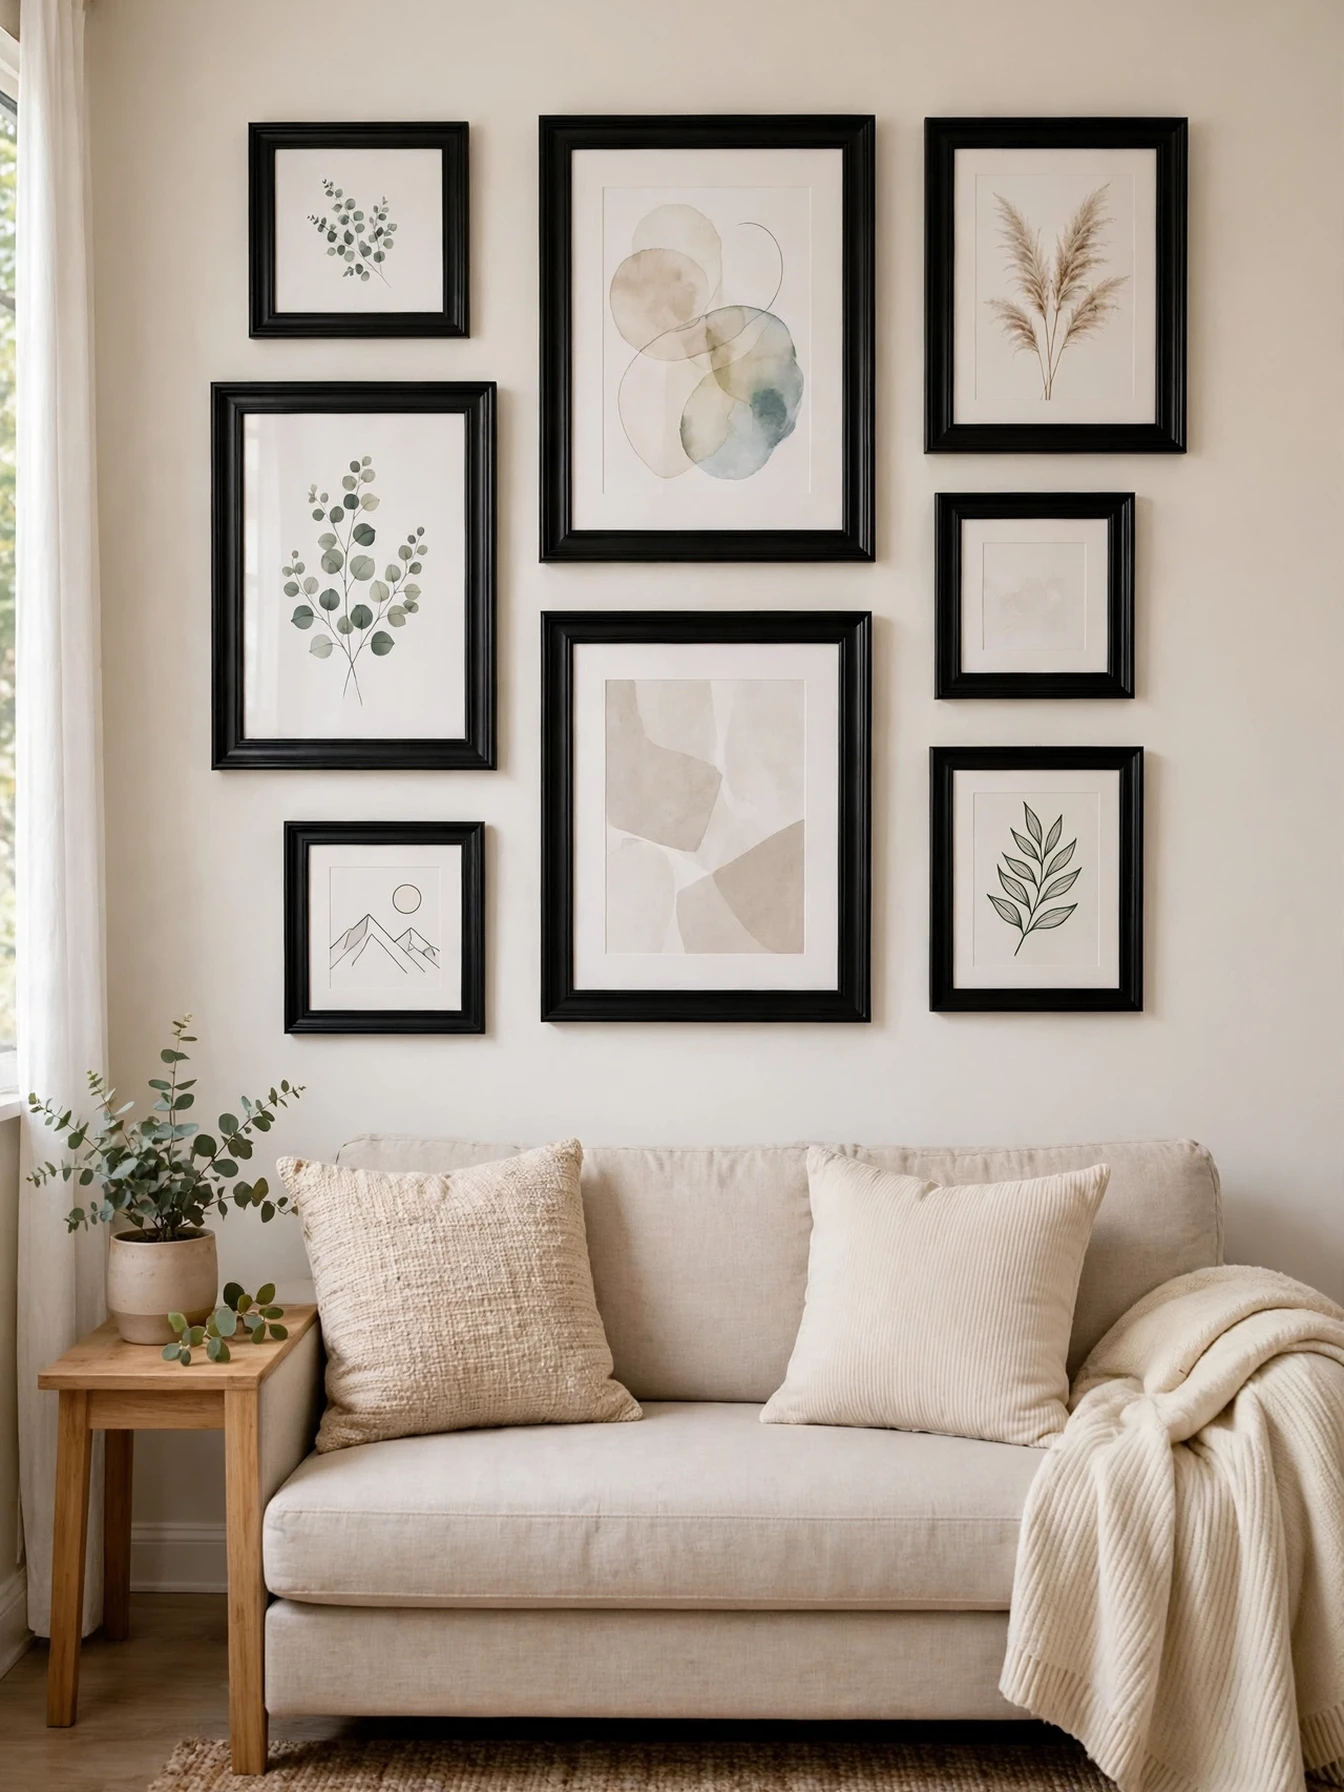
A gallery wall is the classic expensive look, and command strips make it fully rental legal. Picture hanging strips hold frames by strong velcro style pads that release with a downward pull of the tab, leaving the paint untouched. Large strips hold several kilograms each, so even a framed A3 print is safe when you use the rated number.
Plan the arrangement on the floor first, then transfer it to the wall with painter’s tape outlines. Keep frames within one family: the same frame color with different sizes looks curated, while mixed woods, metals, and plastic frames look accidental. Leave 5 to 8 cm between frames so the group reads as one artwork.
Fill frames with art prints, calendar pages, fabric offcuts, or your own photos printed large. Big images look pricier than small ones. A gallery above the sofa should span about two thirds of the sofa’s width, a rule that also anchors the styling in these apartment wall decor ideas.
This idea suits anyone whose lease bans nails outright. The common mistake is rushing the strips onto a dusty or freshly cleaned damp wall. Wipe the spot with rubbing alcohol, let it dry, and wait the full hour the packet states before hanging the frame.
Lean Oversized Art and Mirrors Instead of Hanging Them
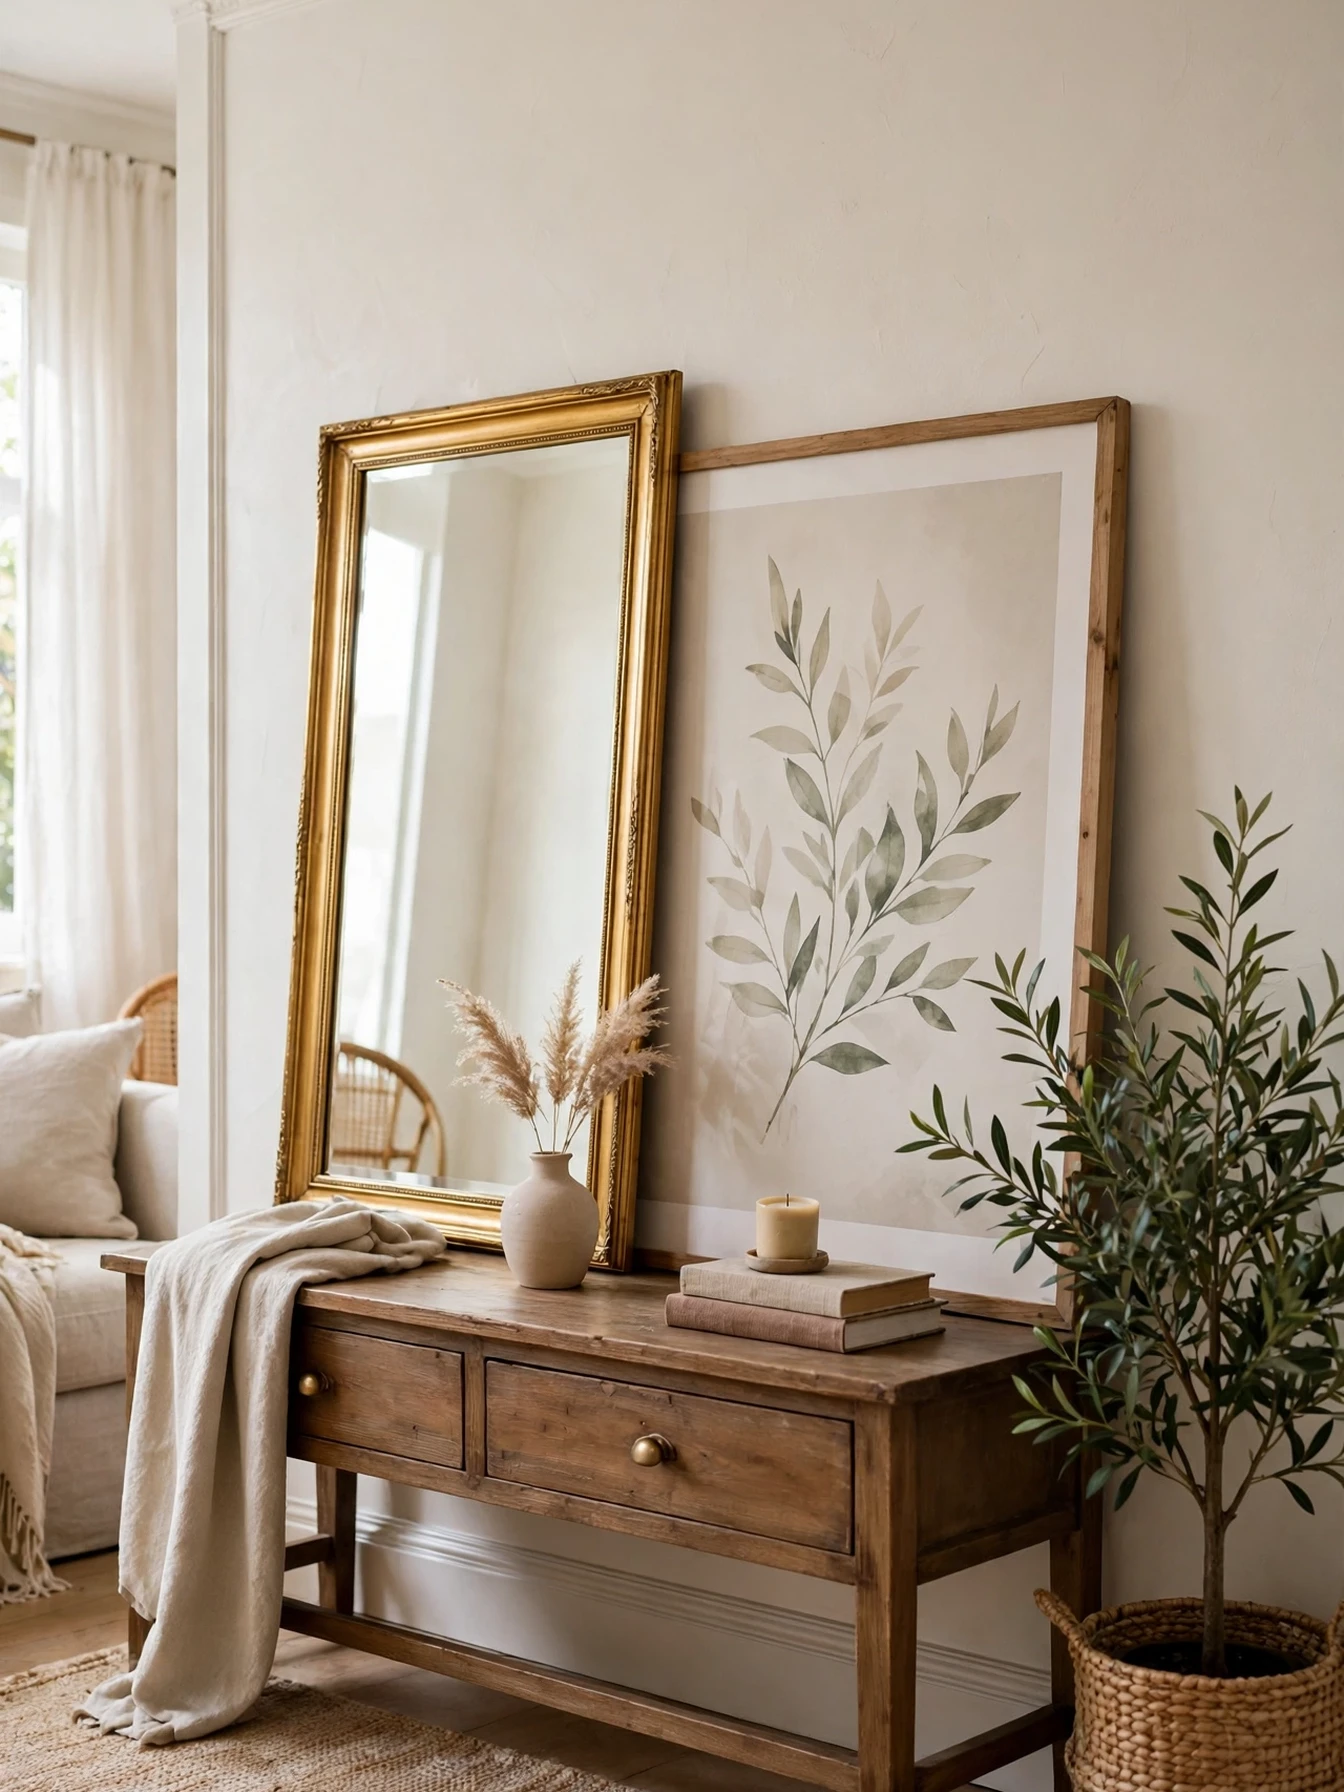
Leaning is how styled apartments and photo shoots display art, and renters can copy it exactly. One oversized framed print or mirror, 80 to 120 cm tall, leaned on a console, dresser, or mantel against the wall looks deliberate and luxurious, and it needs no fixing at all. A small strip of museum putty or a non slip pad behind the top edge stops any sliding.
A leaning mirror earns its place twice, because it bounces light into dark corners and makes a small room read larger. Place it opposite or beside a window rather than facing a blank wall. On the floor, a large leaner works in a living room corner with a plant beside it, as long as walkways stay clear.
Secondhand frames keep this cheap. Large frames cost 15 to 40 dollars used, and a fresh print or a coat of matte spray on a dated frame updates the look. Inside the frame, one big image always looks more expensive than a collage of small ones.
Renters in older buildings with hard plaster or brick walls benefit most, because drilling those surfaces is risky even when allowed. The common mistake is leaning art where doors swing or toddlers and pets brush past. Choose calm corners, and anchor anything within reach of small children.
Layer Rugs Over Rental Floors
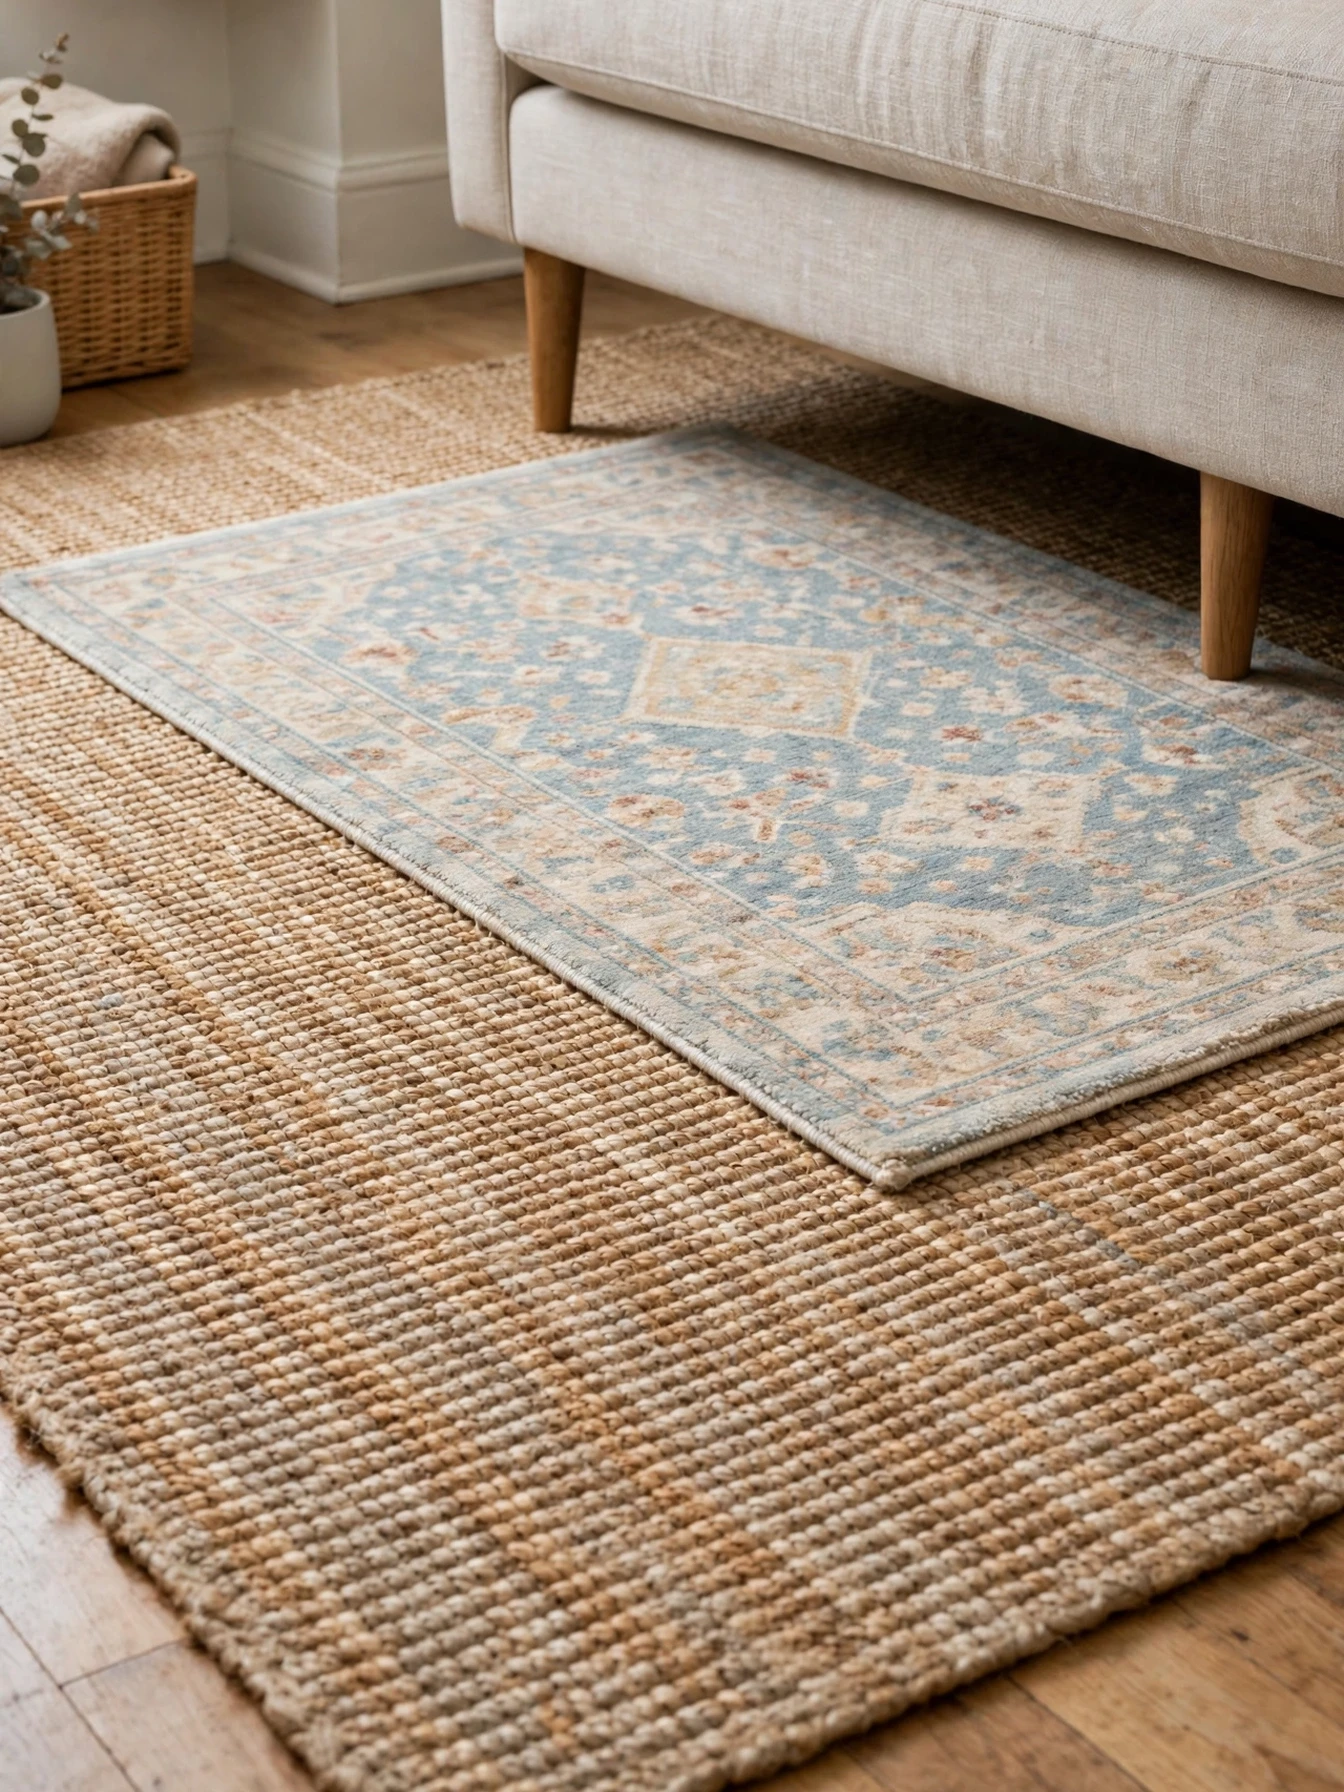
Rental floors are often scratched laminate, tired carpet, or cold tile, and a layered rug hides all of it while adding the softness that makes rooms feel finished. Put a large, low cost flatweave or jute rug down first, sized so the front legs of the sofa and chairs sit on it. Then layer a smaller, softer patterned rug on top at a slight offset.
The big base rug does the expensive work, because undersized rugs are the main reason rental living rooms look temporary. In most small apartments the base should be at least 160 by 230 cm. Washable rugs suit renters well, since they go into a machine before move out and come with you to the next place.
Under both rugs, use a rug pad or non slip underlay. It stops creeping, protects the landlord’s floor from dye transfer and scratching, and adds the padded feel of quality carpet. Photograph the floor before and after if it was already marked, so existing damage is documented.
This idea suits studios most of all, where one rug zone can separate sleeping from living, as shown in these studio apartment decor ideas. The common mistake is layering two thick rugs, which creates a tripping edge and stops doors opening. Keep the combined pile low.
Use Tension Rods for Curtains and Shelves
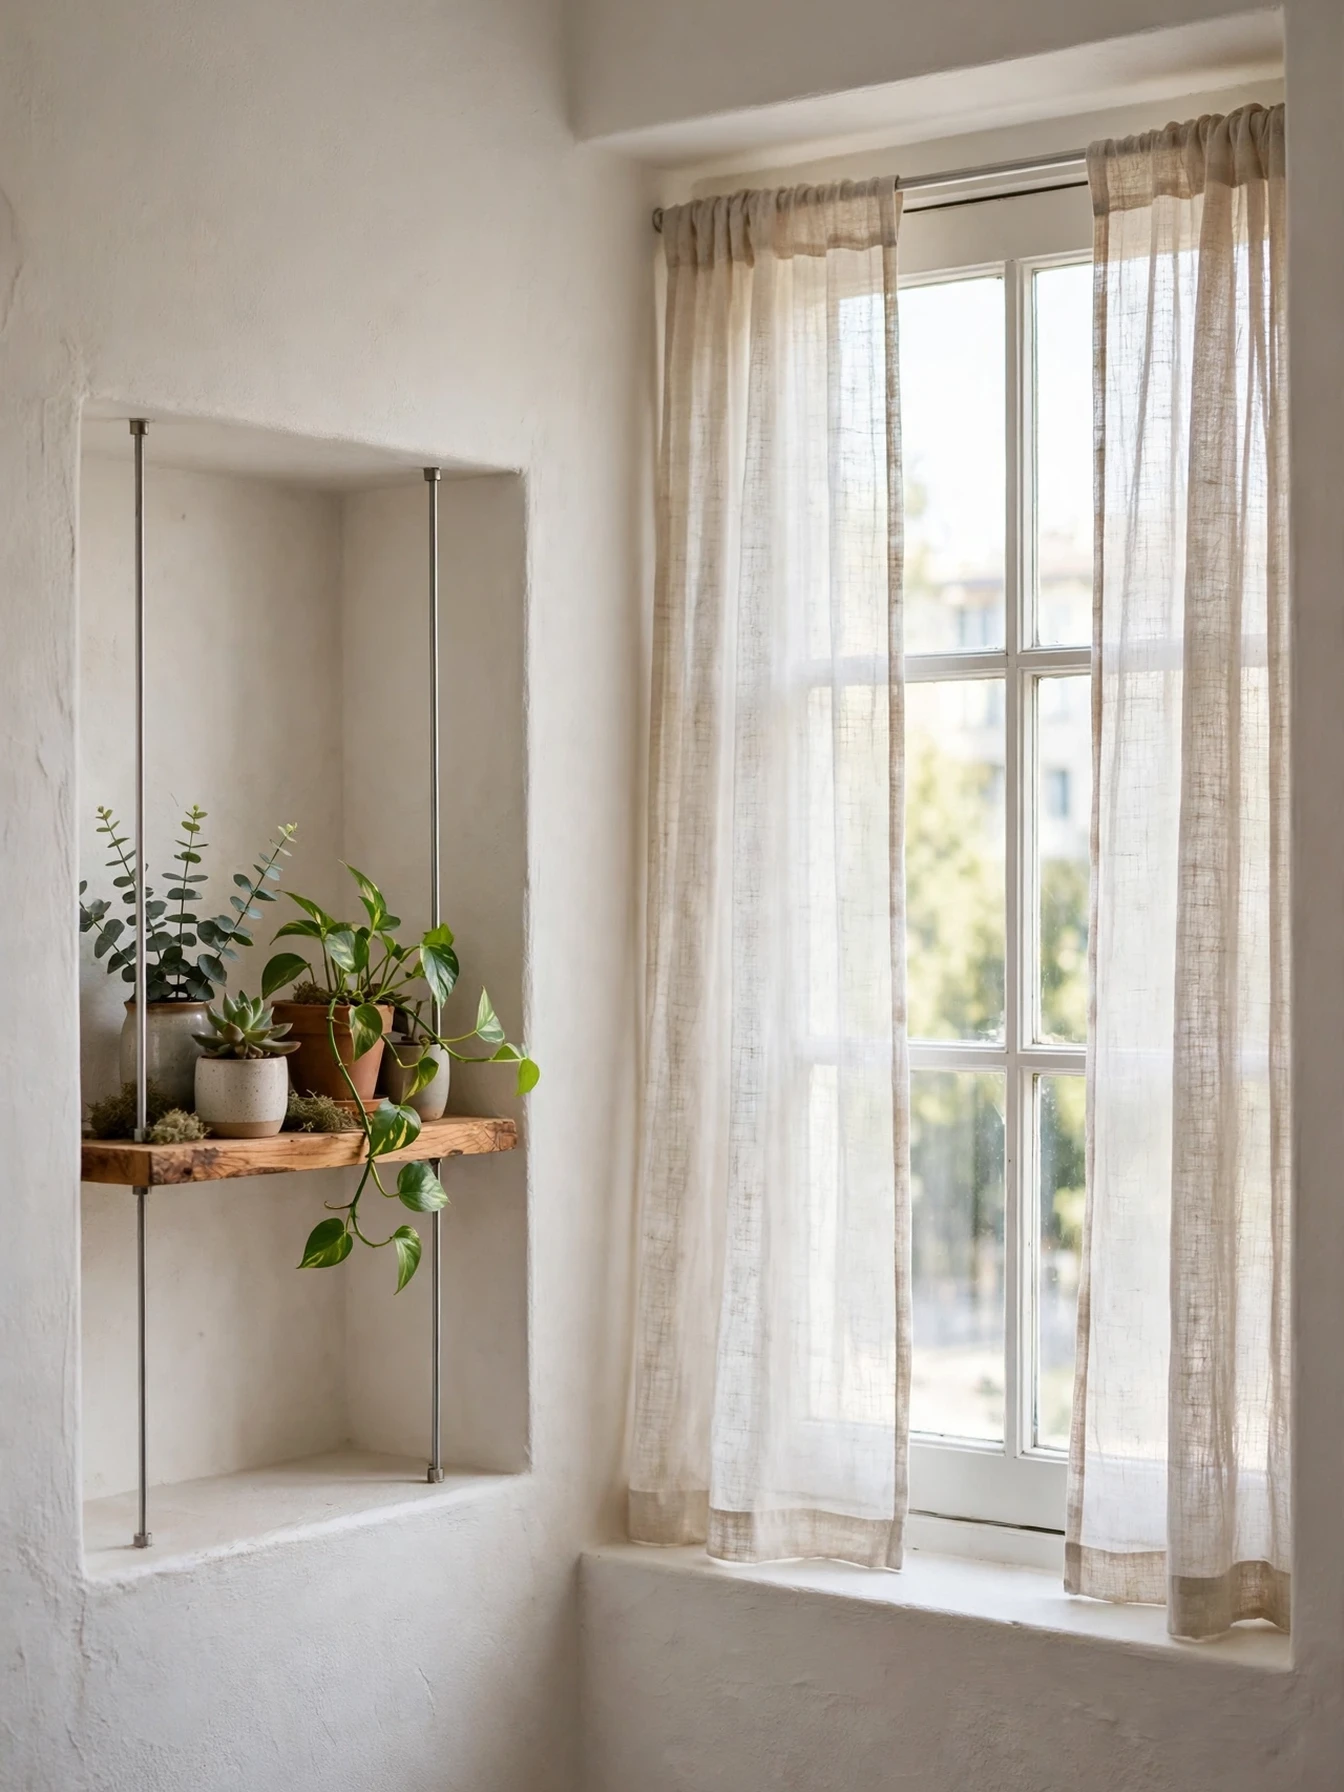
Tension rods hold themselves in place with spring pressure, so they hang curtains, create shelves, and divide spaces with zero fixings. Inside a window frame, a tension rod carries lightweight curtains or sheers right against the glass, which looks tailored and keeps the wall completely untouched.
The same rods work sideways in alcoves and between kitchen units. Two rods with a board across them make a shelf for plants or books, and one rod under the sink holds spray bottles by their triggers, freeing the cupboard floor. Rods cost 8 to 20 dollars each and come in finishes that match most hardware.
Match the rod’s weight rating to the job and measure the exact inside width before buying. Curtains on a tension rod should be light: voile, linen look panels, or unlined cotton. Heavy blackout drapes belong on the no drill brackets in the next idea instead.
Renters with deep window reveals or rental blinds they cannot remove gain the most from tension rods. The common mistake is loading a rod past its rating until it slips at night. Add the curtain weight and a safety margin, and retest the tension after the first week.
Fit No-Drill Curtain Brackets on the Frame
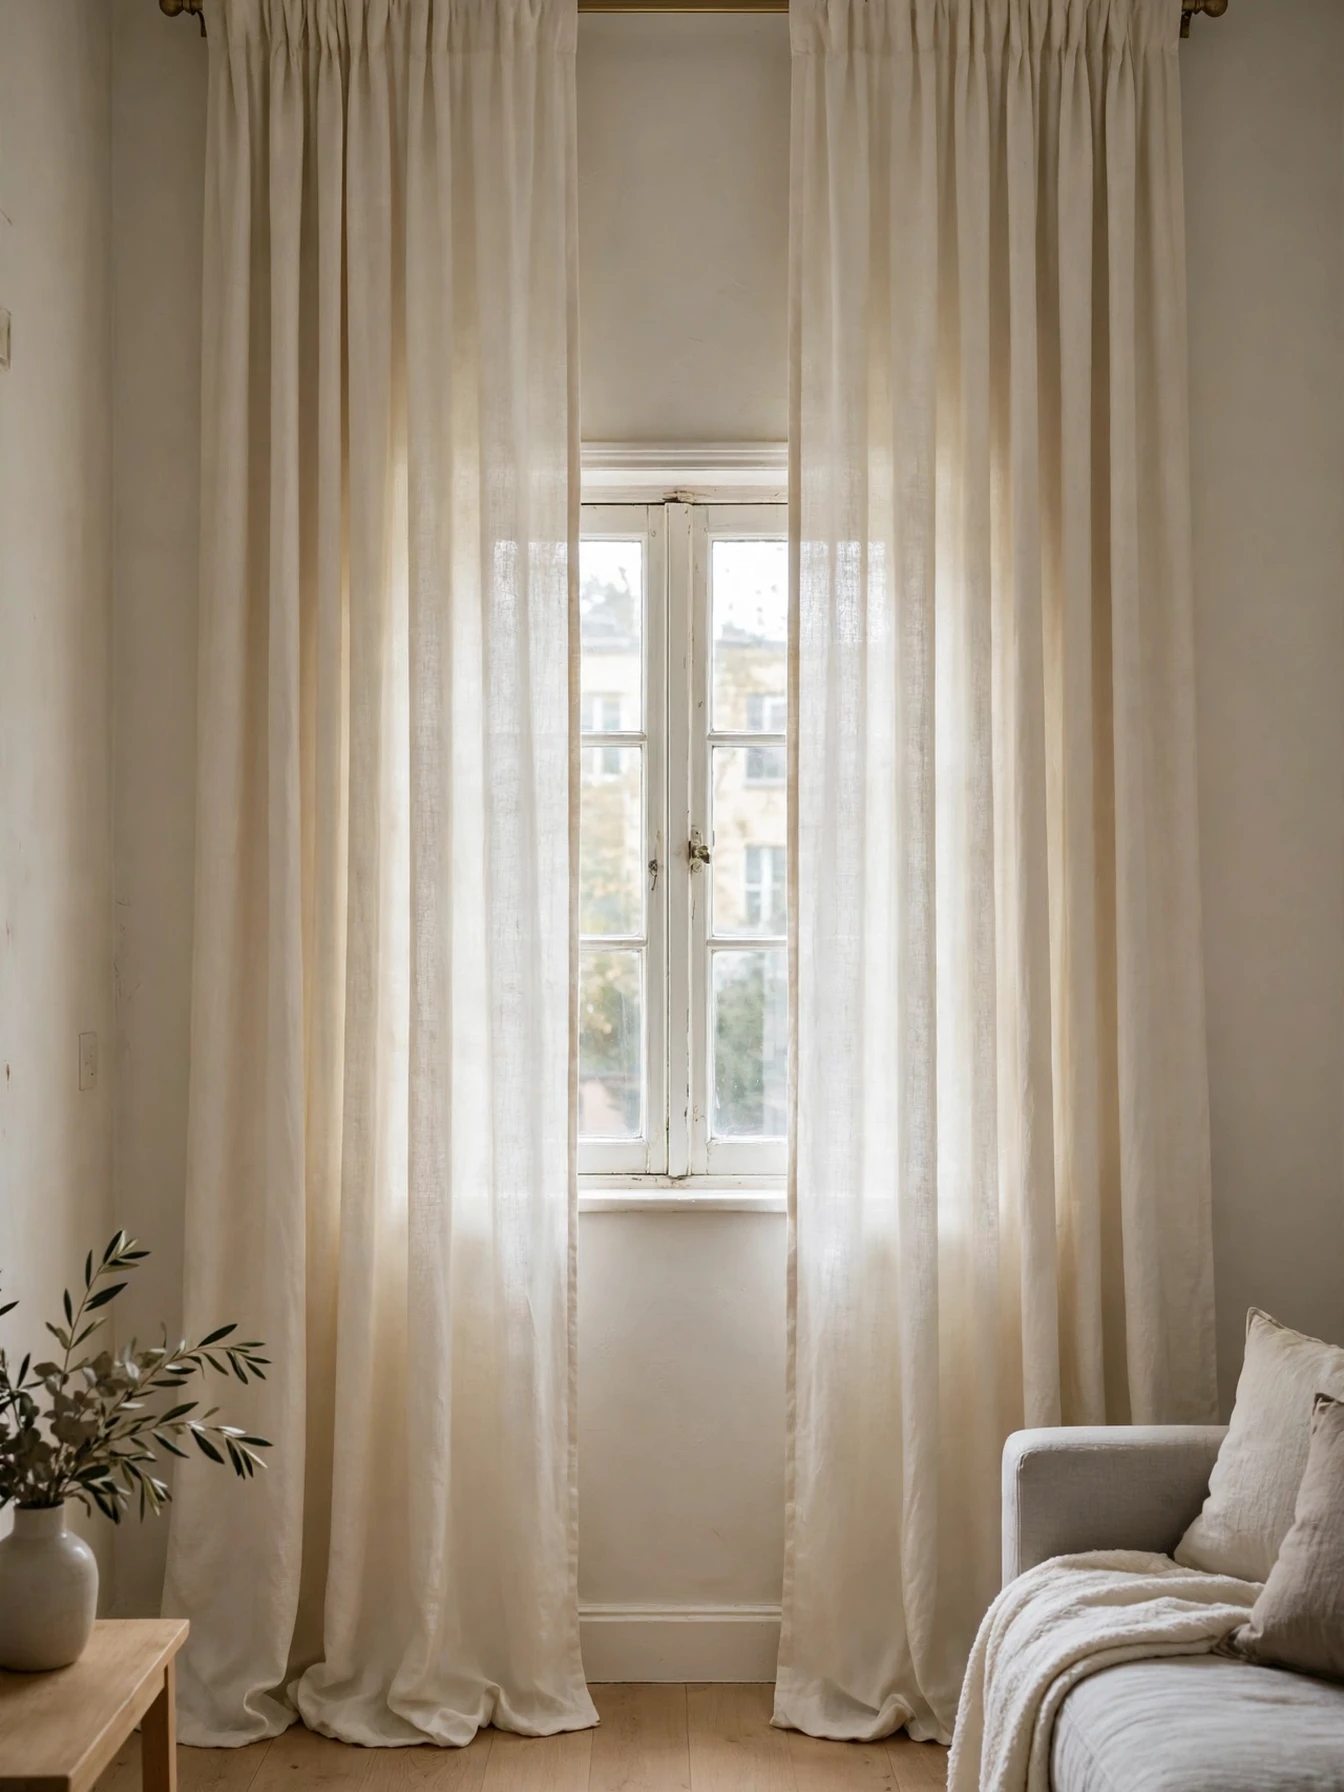
Some curtains are too heavy for tension rods, and this is where no drill brackets solve the problem. These brackets hook or clamp over the top of the window frame, or stick with heavy duty adhesive pads, and hold a standard curtain rod above the frame. The curtains then hang high and wide, which makes small windows look grander.
Hang the rod 10 to 15 cm above the frame and let panels fall to the floor or just above it. That height trick is one of the oldest designer moves, and it costs nothing extra. Panels in a natural linen texture, in cream or soft white, read expensive in nearly every rental.
Adhesive versions need a clean, flat frame surface and a full day to cure before the rod goes up. Clamp versions suit uPVC and timber frames with a lip. Either way, keep the brackets and packaging, because removal at move out takes minutes and leaves the frame as found.
This idea suits renters whose windows wear only the landlord’s mini blinds. The common mistake is mounting the rod at frame height with short curtains that end at the sill. Short, high water curtains make ceilings look lower and rooms look cheaper.
Add Plug-In Sconces With Neat Cord Covers
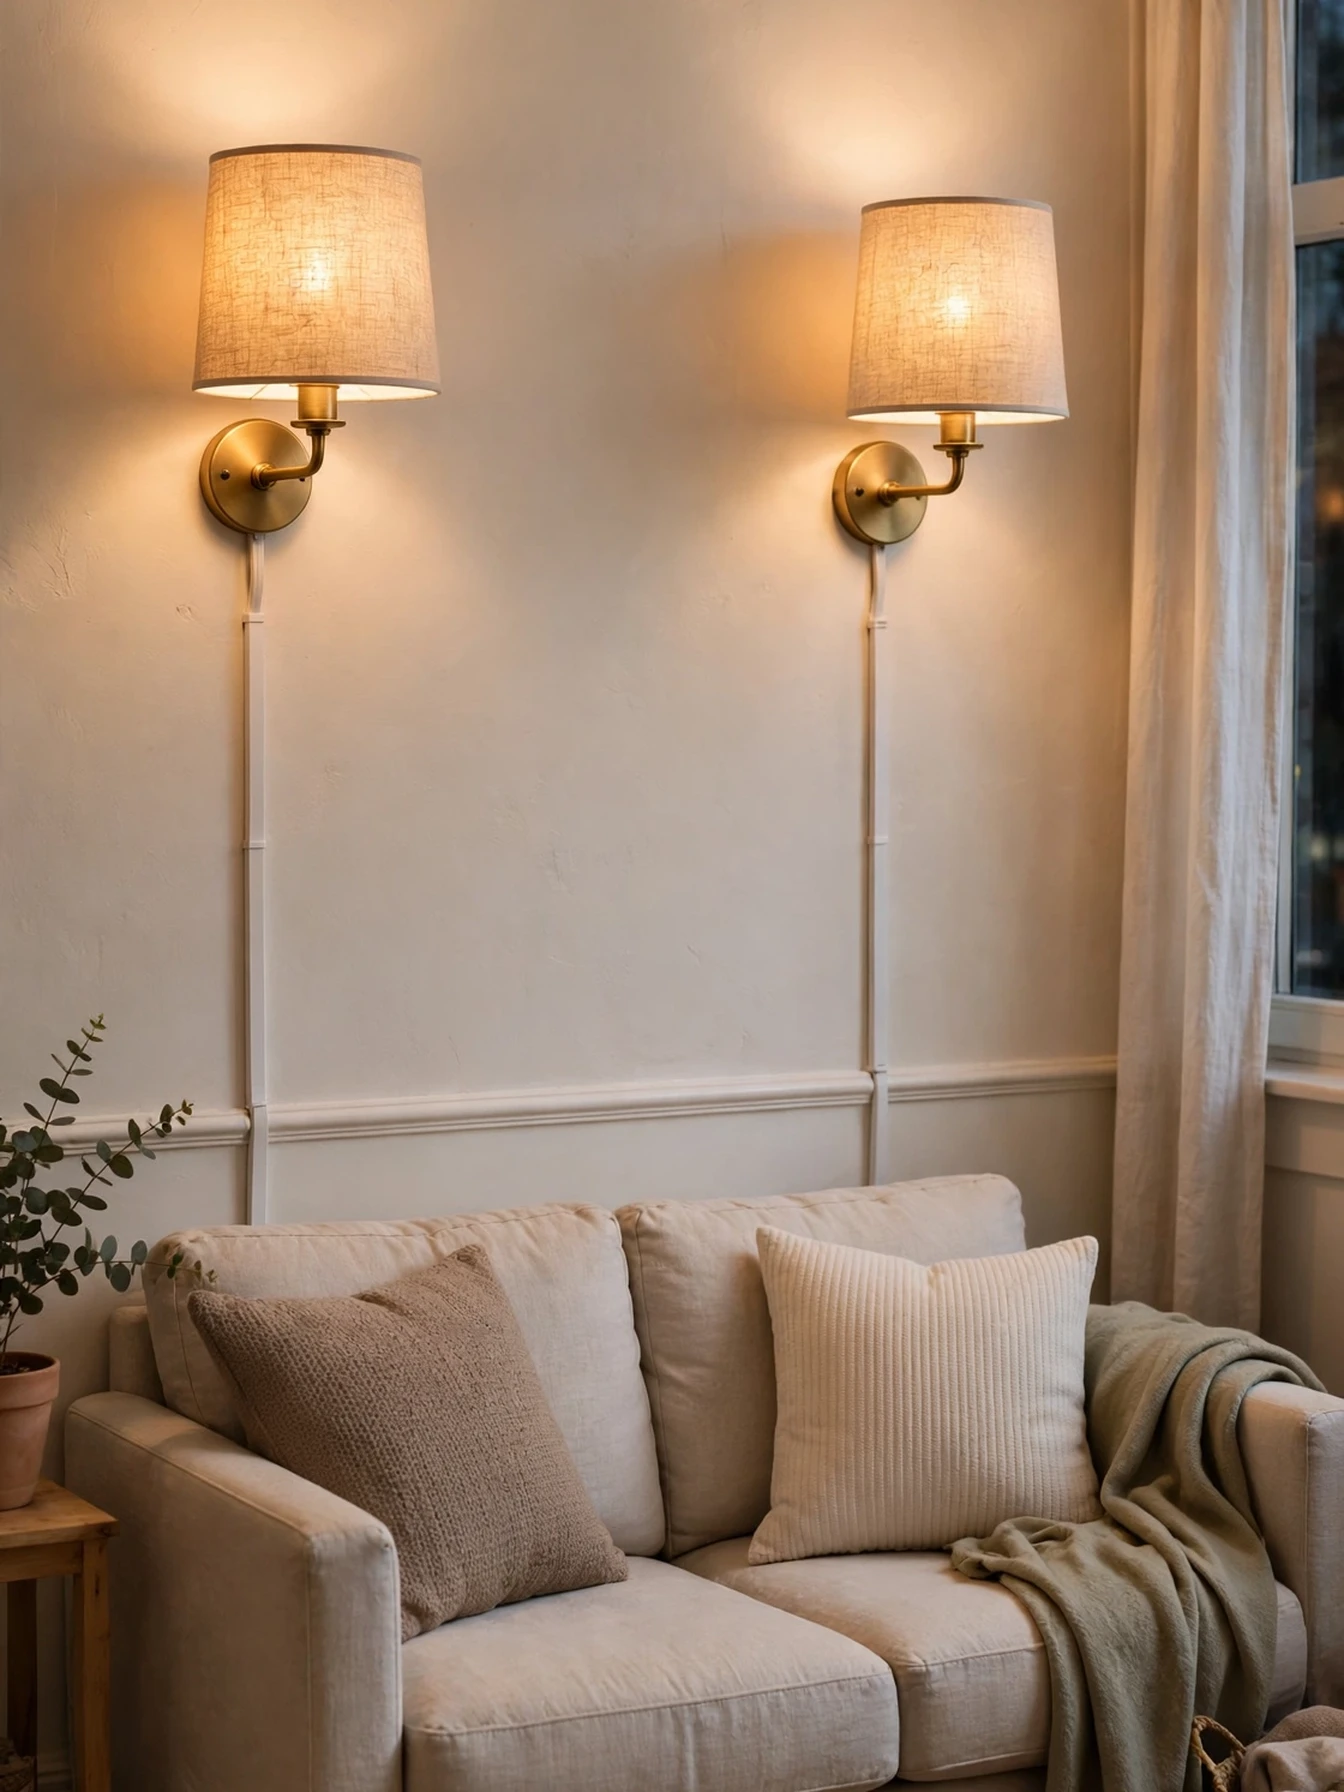
Lighting is where rentals look most basic, because a single ceiling light flattens everything. Plug in wall sconces fix that without an electrician. They mount with one small adhesive pad or a single command strip rated for the weight, plug into a normal socket, and switch on at the cord or the shade.
Place a pair at either side of the bed, a sofa, or a mirror, at about 150 cm from the floor. Symmetry is what makes sconces look architectural and expensive. Warm bulbs around 2700K keep the light kind, and matching shades in linen, rattan, or matte metal finish the look for 25 to 60 dollars a pair.
The cord is the detail that decides whether the result looks polished. Run it straight down the wall inside a paintable cord cover, or use clear adhesive cord clips in a dead straight line. A tidy cord reads as a design feature, while a dangling diagonal one reads as a workaround.
Renters in dark apartments gain the most, because layered light changes every other decor choice in the room. The common mistake is mixing bulb colors so one sconce glows warm and the other icy white. Buy bulbs in one pack and keep a spare.
Try Stick-On Backsplash Tiles in the Kitchen
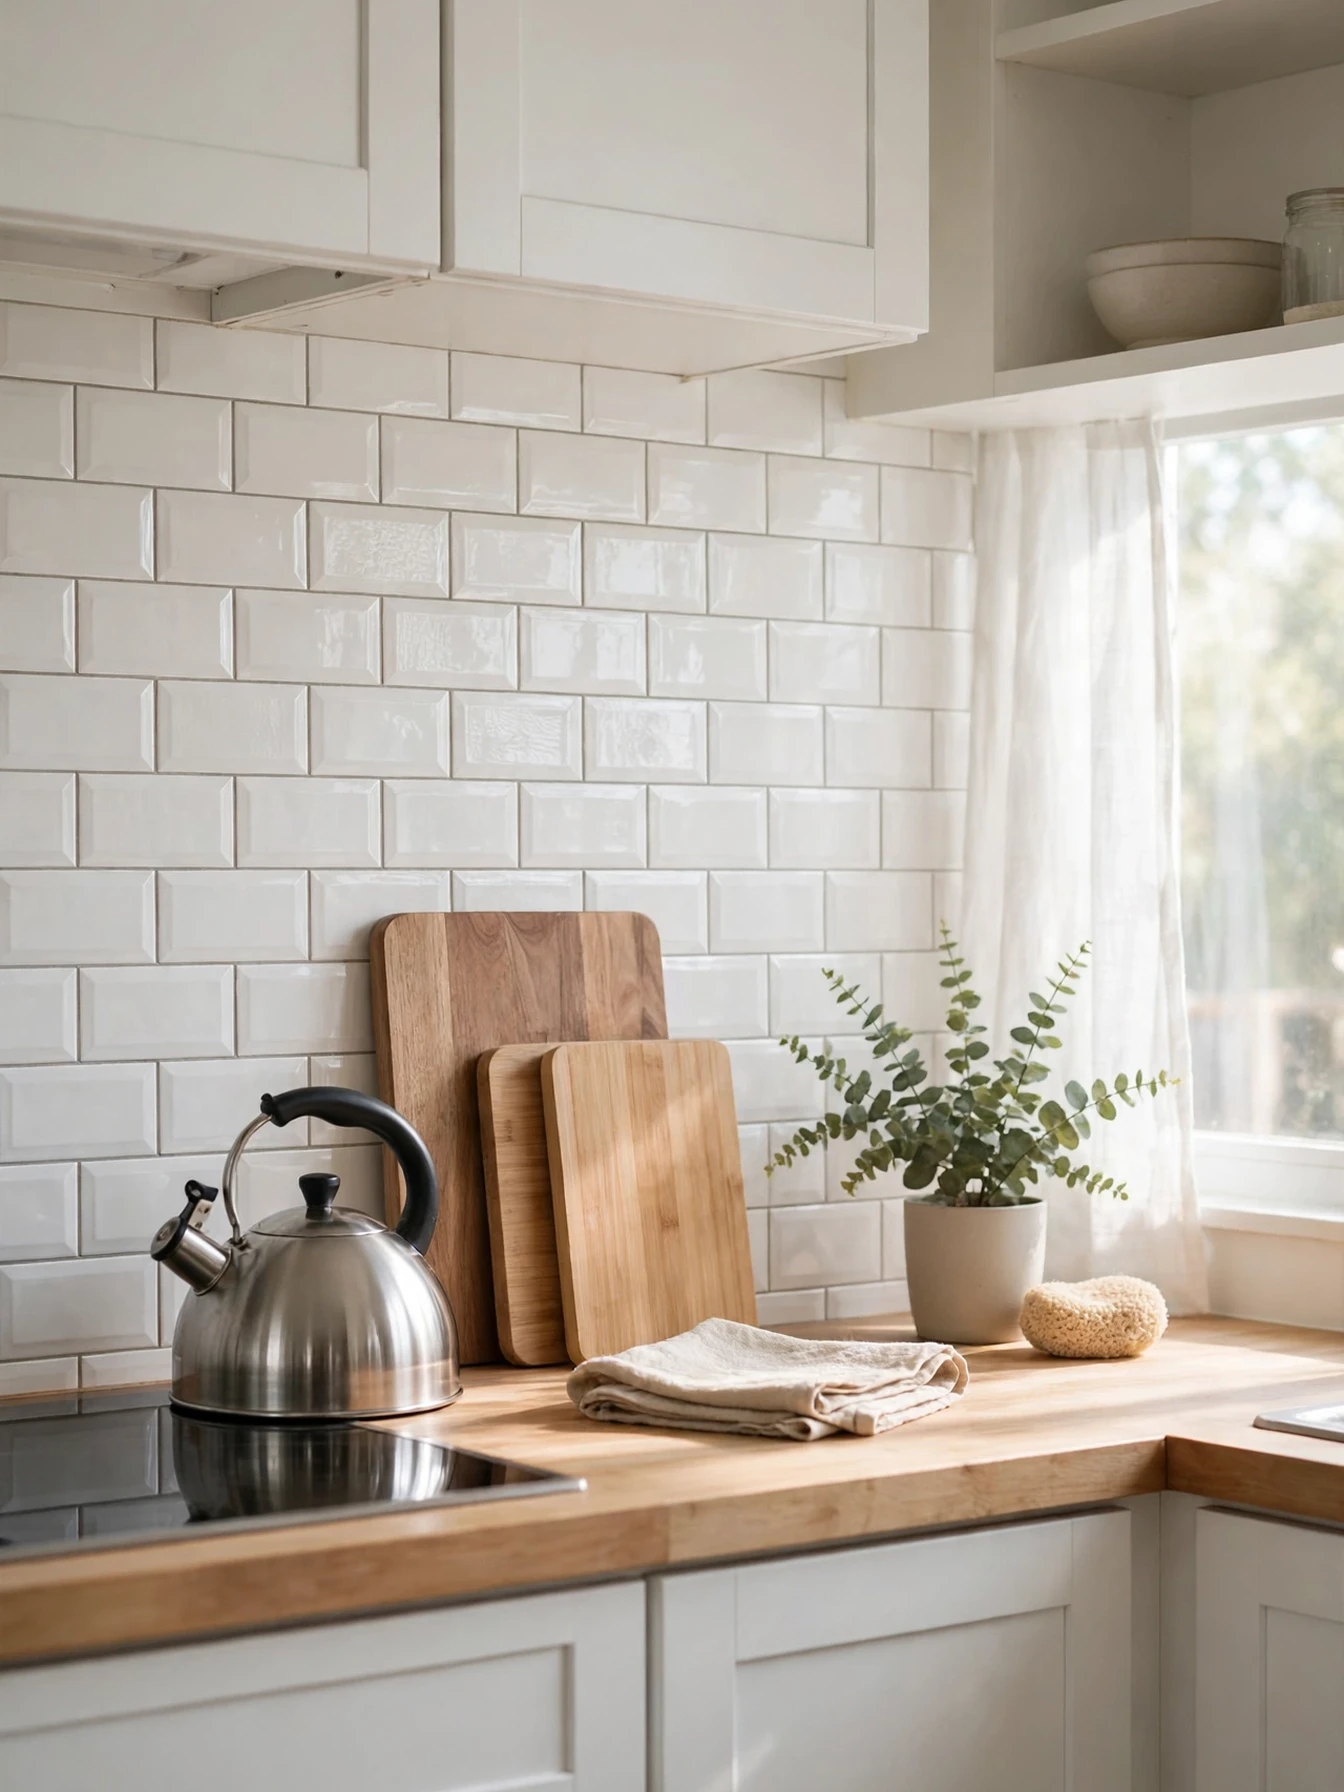
A plain rental kitchen wall above the counter is a perfect surface for stick on backsplash tiles. These peel and stick panels mimic subway tile, marble, or zellige with a raised, glossy finish that looks convincing at normal viewing distance. A typical small kitchen wall takes one to two packs, around 30 to 70 dollars.
Prepare the wall properly: degrease it, let it dry fully, and start from the most visible corner with a level first row. Small errors in row one grow across the wall, so take twenty minutes to get it straight. Cut panels with a sharp utility knife and a metal ruler for outlets and edges.
Choose products sold as removable and renters’ grade, and test one panel behind the kettle for a week before committing to the whole wall. Keep them away from direct heat behind a gas hob, where adhesive softens; many brands state a minimum distance from burners.
This idea suits renters who cook often and face their kitchen all day in an open plan layout. The common mistake is sticking panels over existing tile with deep grout lines, where the edges telegraph through and peel starts early. Flat, smooth walls give the clean, lasting result.
Cover Countertops With Contact Paper the Safe Way
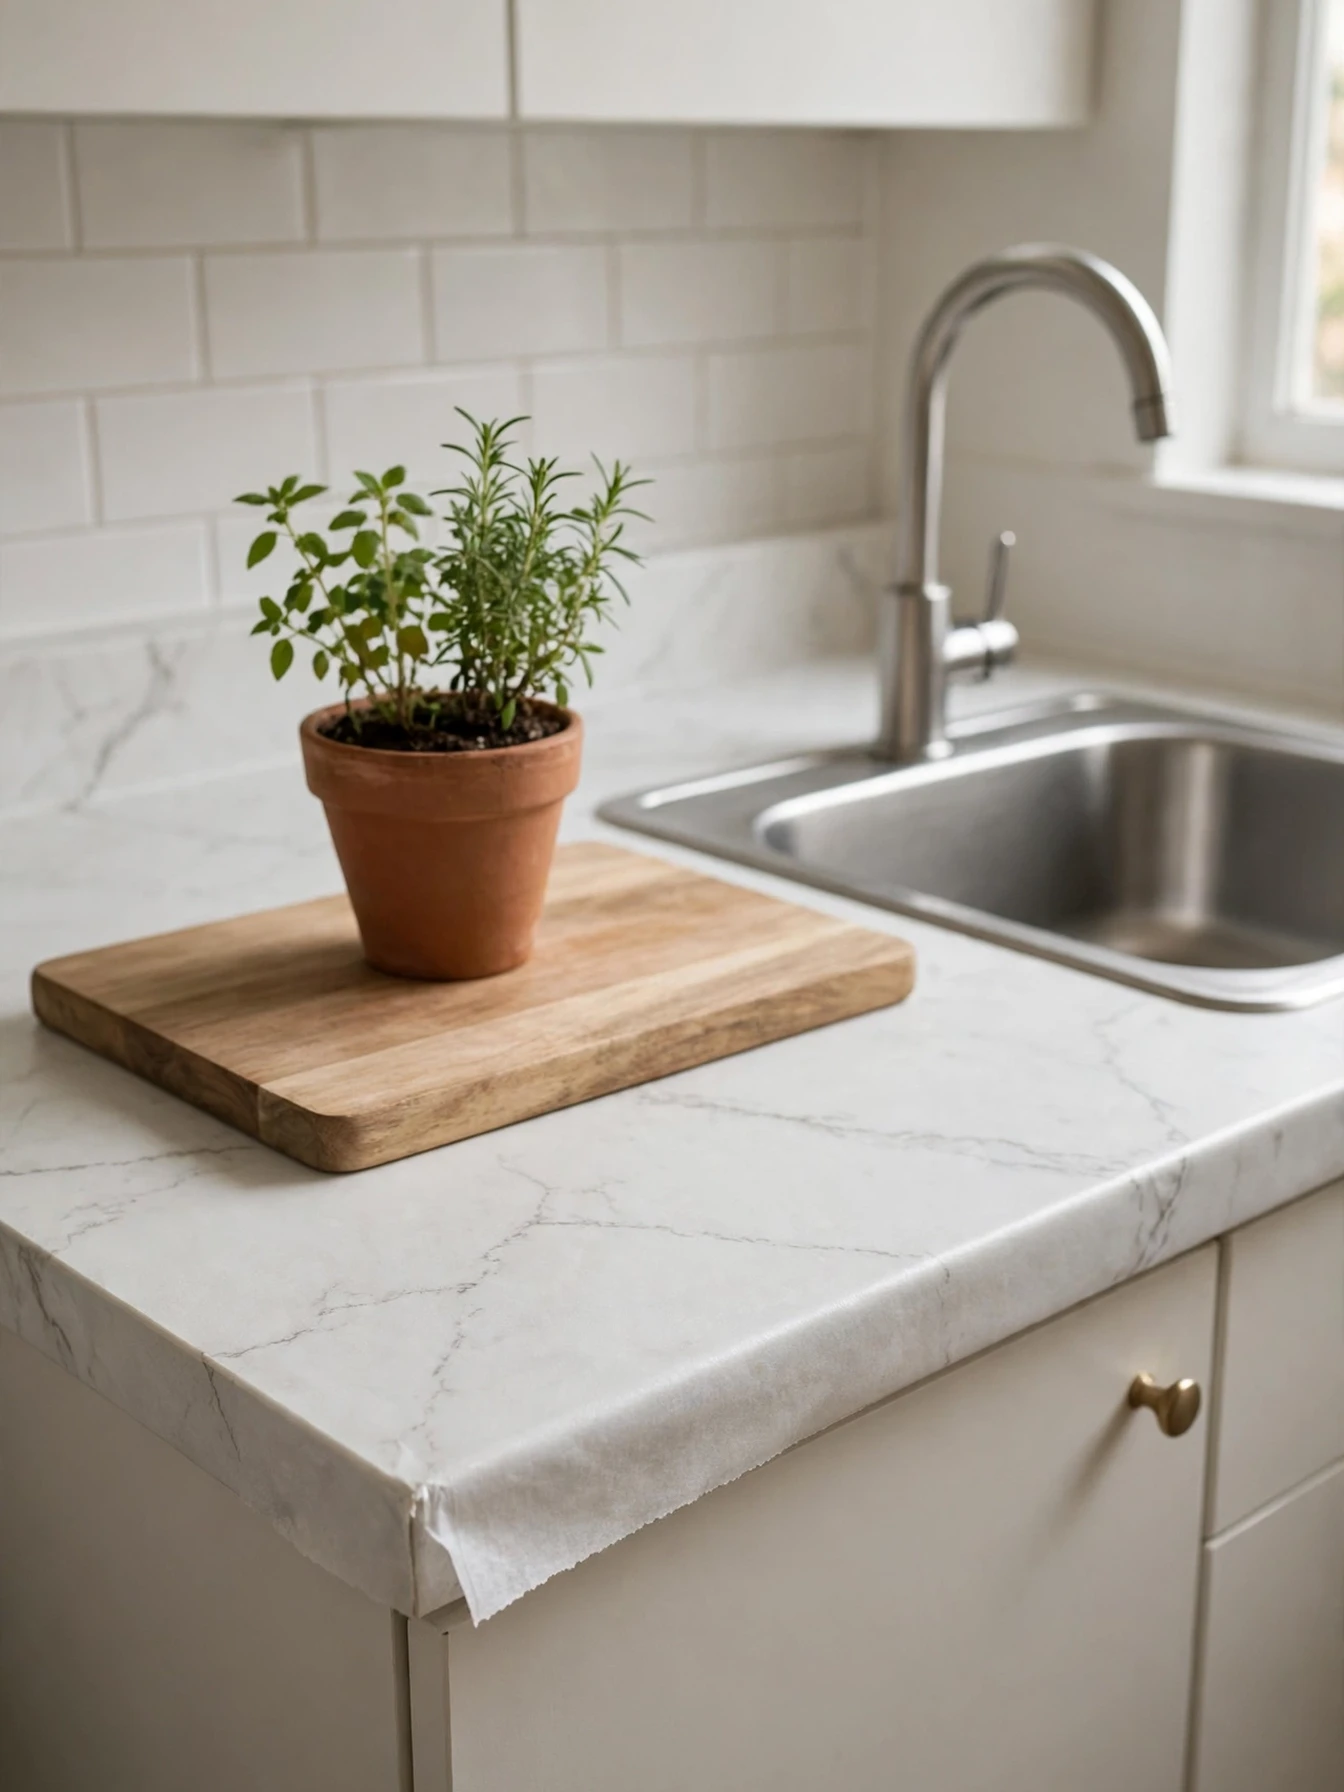
Marble and wood effect contact paper can transform stained or dated rental countertops for 15 to 30 dollars a roll, and it peels off at move out when it is applied the safe way. The safe way matters, because paper applied directly to porous stone, damaged laminate, or with permanent adhesive spray can lift the surface underneath on removal.
Apply it only to smooth, sealed, undamaged counters, and line the surface first with plain removable shelf liner if there is any doubt. Work slowly with a squeegee, wrap edges neatly underneath, and seal joins near the sink with a thin line of clear silicone that peels away later.
Treat the covered counter kindly. Use boards for cutting, trivets for hot pans, and wipe spills quickly, because contact paper is a decorative skin, not a worktop material. Around the sink and hob, water and heat are the enemies, so keep seams away from both where you can.
Renters with ugly but sound counters gain the most from this idea. The common mistake is covering a counter that is already peeling or water damaged. Photograph the surface first, and if it is damaged, ask the landlord in writing before covering anything. The before photos protect you either way.
Refresh Worn Furniture With Slipcovers
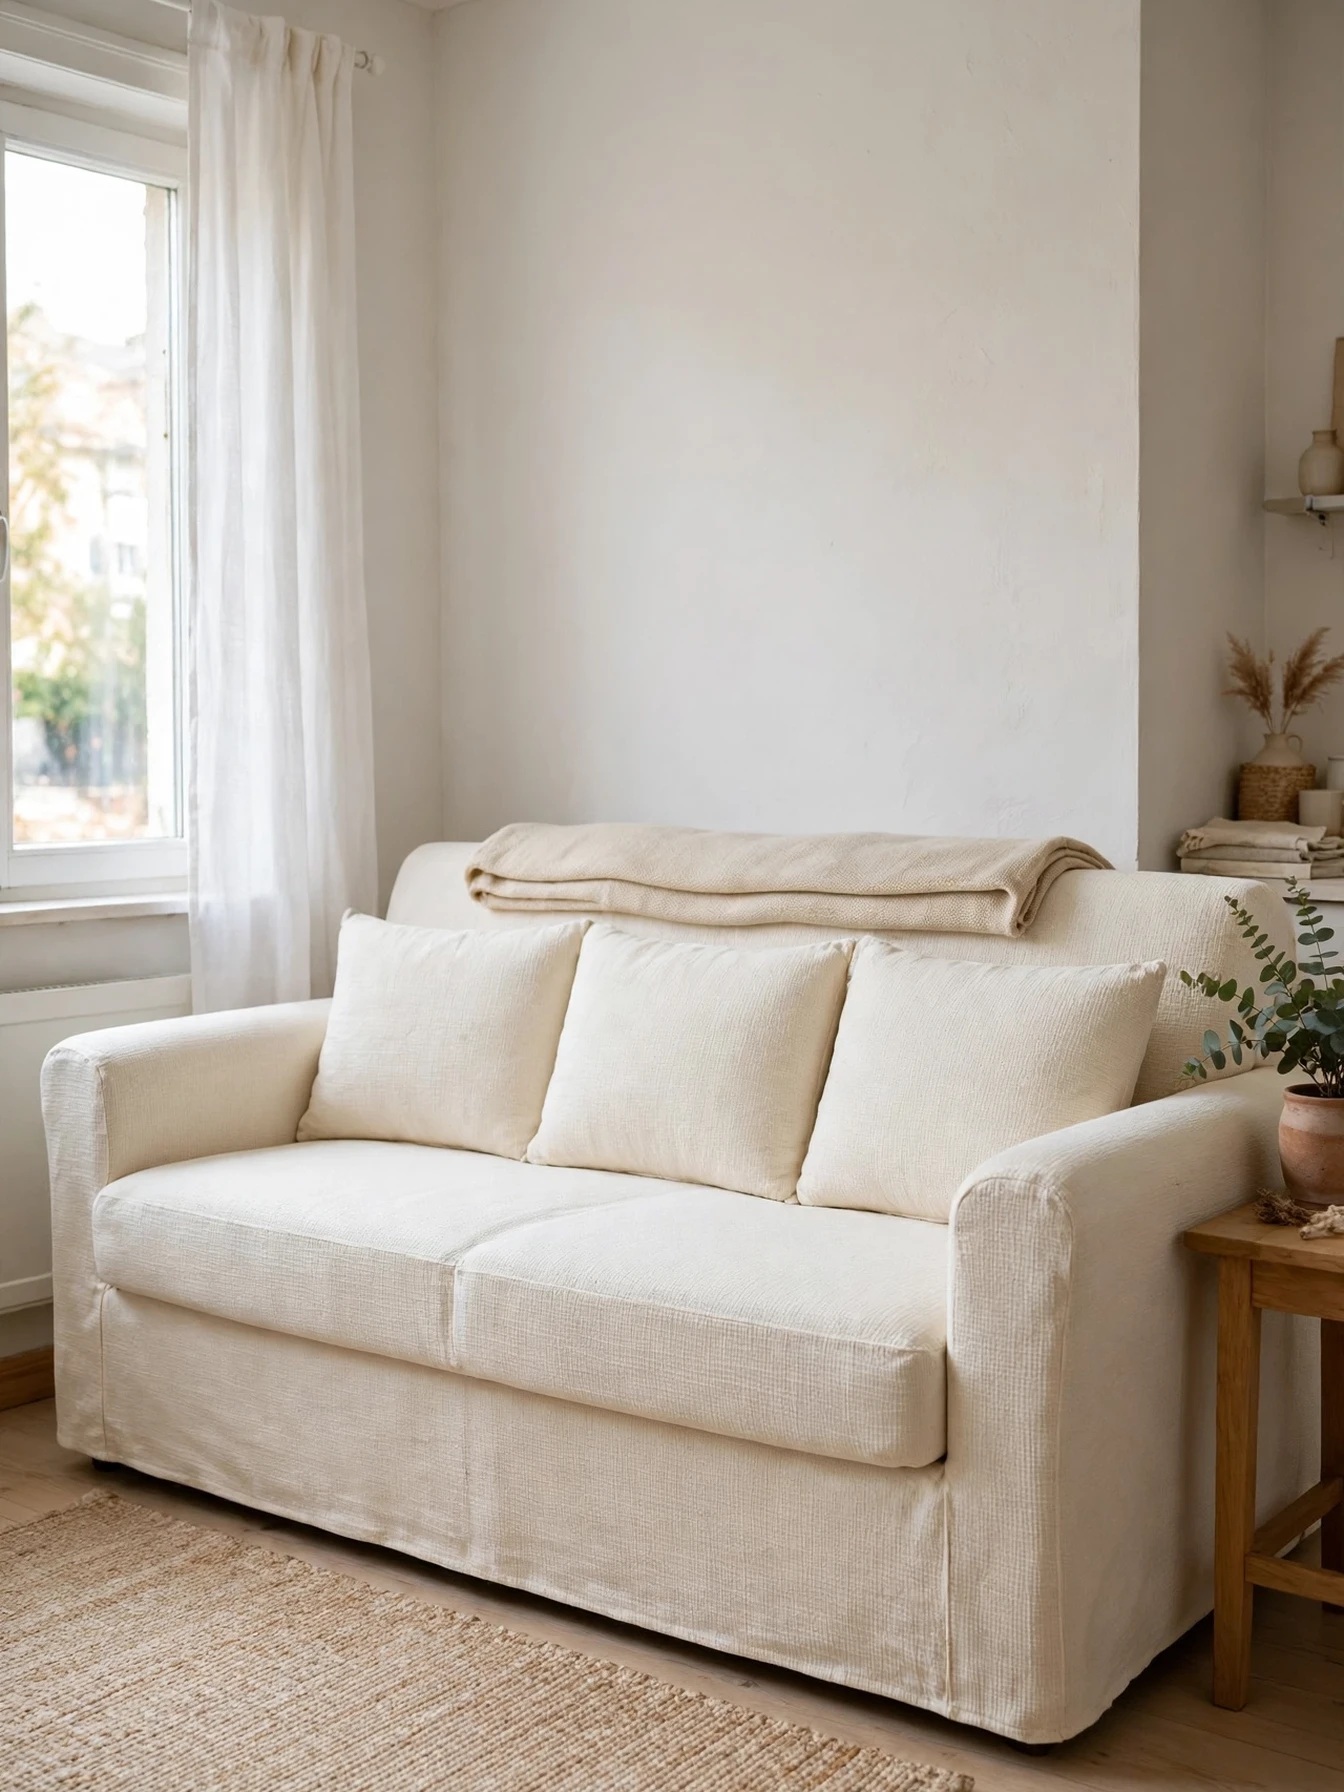
Many rentals come part furnished with a sofa or chairs that are comfortable but tired, stained, or a color nobody would choose. A well fitted slipcover changes that piece completely for 30 to 80 dollars, and it removes for washing or move out day in minutes.
Stretch covers in a textured weave, such as a small check or waffle, look far more expensive than shiny flat polyester. Choose a color that works with your rug rather than matching the old upholstery. Tuck the cover deep into the cushions with the foam rods provided, and steam or iron it once fitted so it reads as upholstery, not bedding.
Loose furniture also benefits. A linen look tablecloth over a scarred dining table, or a throw folded along the back of a worn armchair, covers damage in the same spirit. For more low cost living room changes, these budget apartment living room ideas follow the same principle.
This idea suits anyone in a furnished tenancy who cannot replace the big pieces. The common mistake is ordering a cover by sofa length alone. Measure seat depth and arm height too, because a baggy cover looks worse than the worn fabric it hides.
Define Rooms With Furniture Placement First
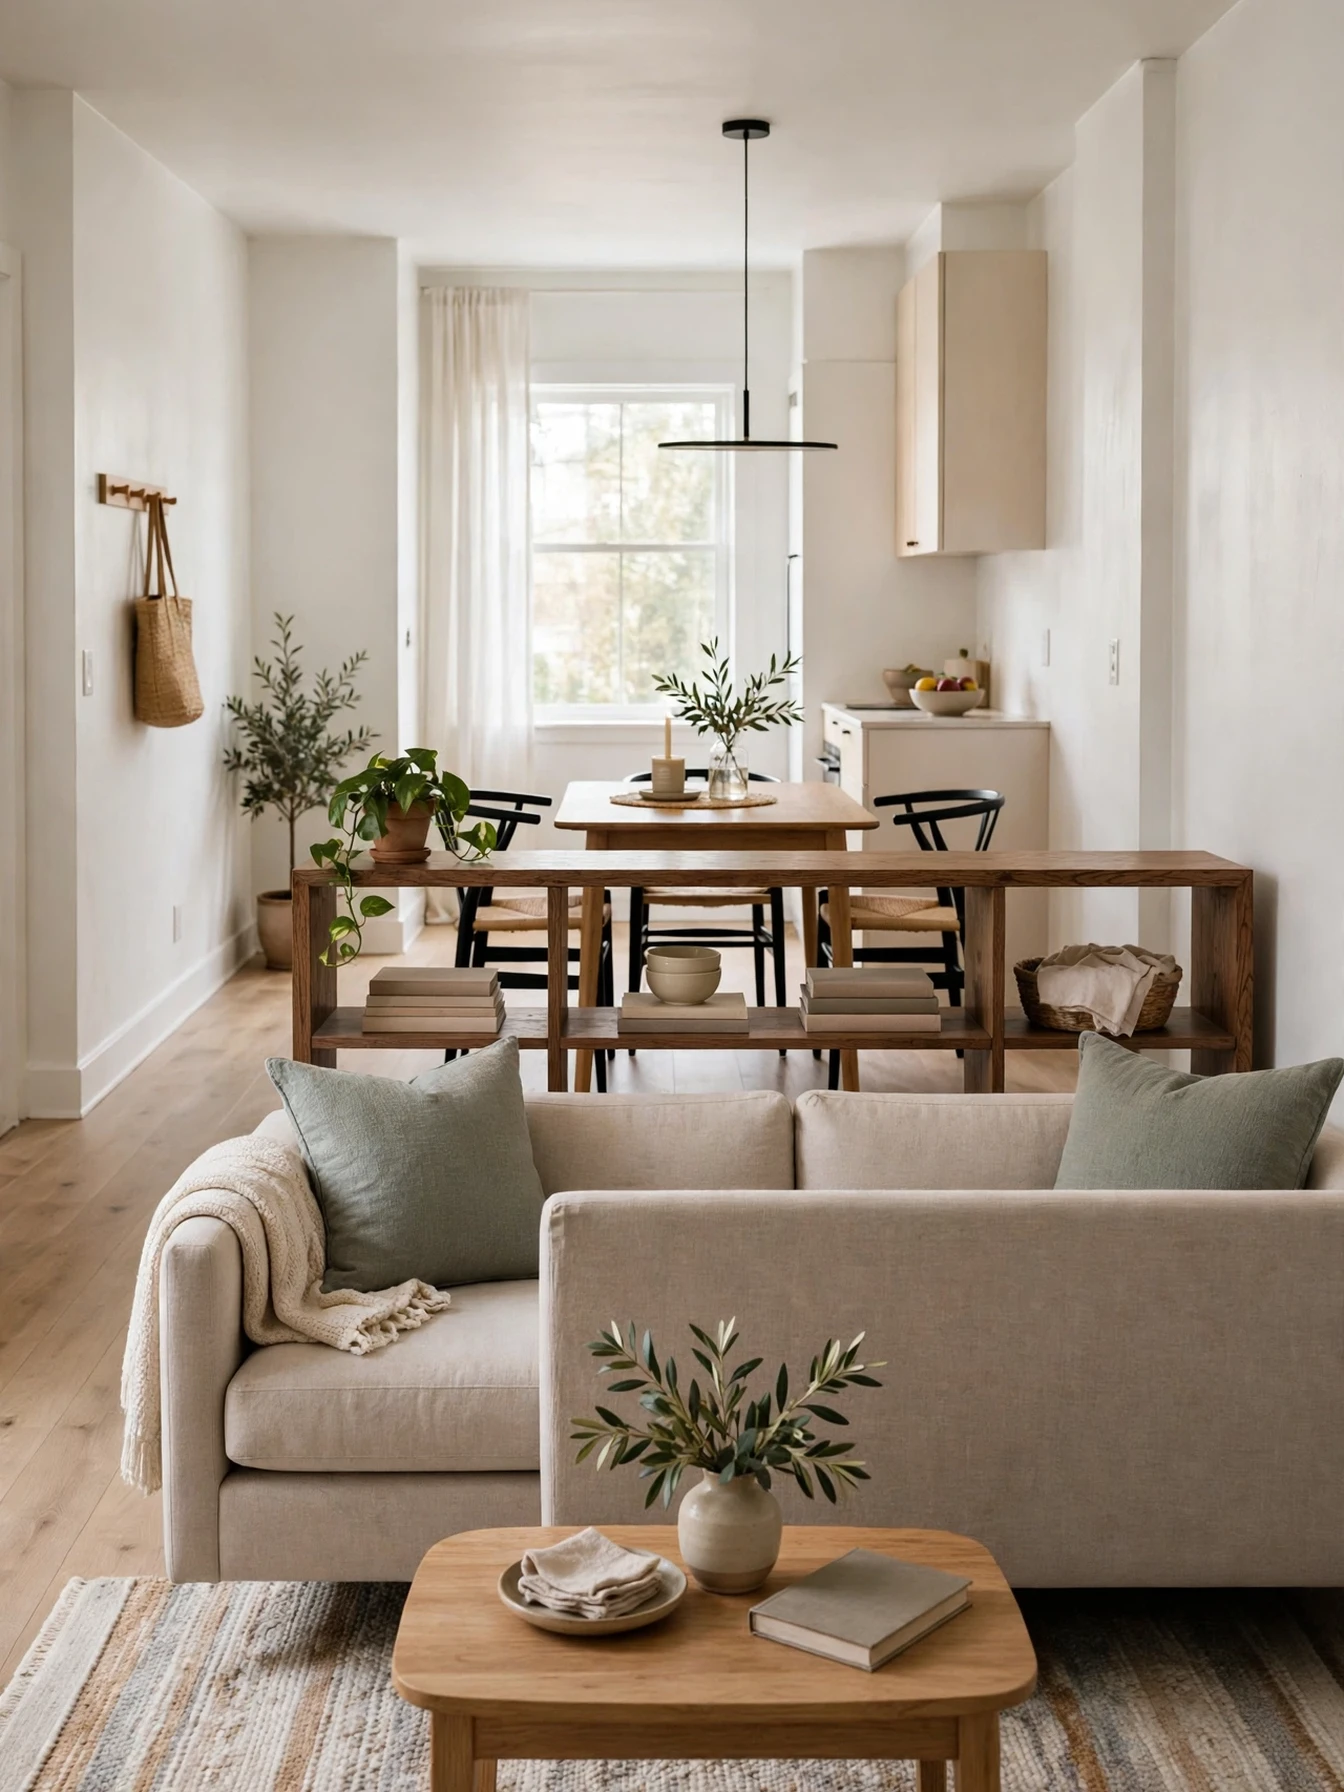
In an open plan rental, furniture is your only legal wall. Arranging the sofa with its back to the dining area, placing a rug under the seating, and setting a bookcase or console behind the sofa creates clear zones that feel planned and generous, with not a single mark on the building.
Float furniture away from the walls where the room allows it. Even 10 cm of breathing space behind a sofa makes the layout look intentional rather than pushed back. A low, open backed shelf used as a divider keeps light flowing while still separating work from rest in a tiny apartment layout.
Keep walkways at least 75 cm wide and check that every door, drawer, and cupboard still opens fully. Zones only feel expensive when the apartment still works smoothly inside them.
Studio and open plan renters gain the most from furniture first thinking. The common mistake is buying room divider screens before trying placement. Screens eat floor space and often solve a problem that moving the sofa would have fixed for free.
Swap Cabinet and Drawer Hardware That Screws Back
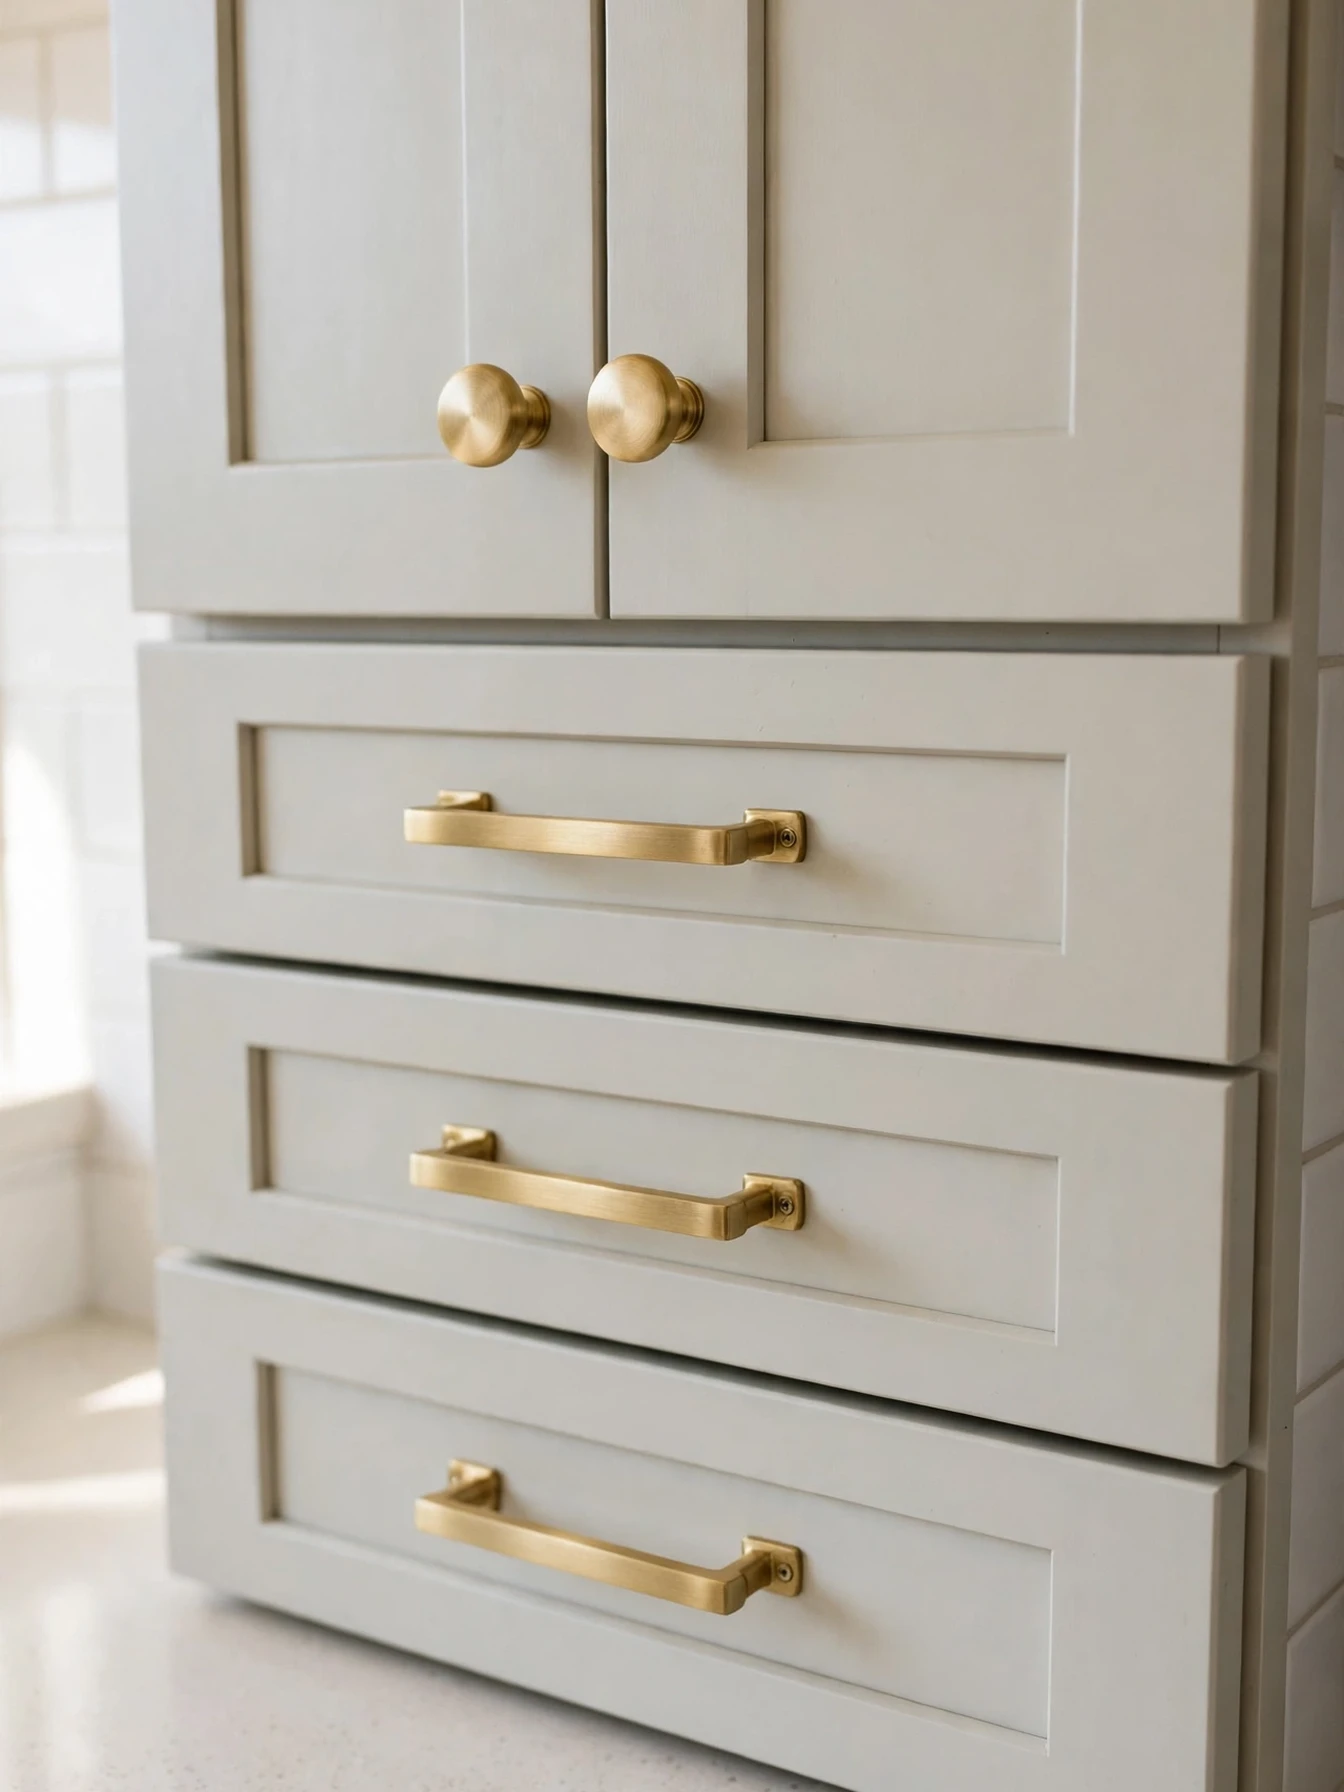
Kitchen and bathroom hardware is the jewelry of a rental, and it is usually the cheapest grade the landlord could buy. Swapping knobs and pulls for matte black, brushed brass, or simple ceramic versions transforms plain cabinets for 2 to 5 dollars a piece, and the whole kitchen can be done with one screwdriver.
This only works because the swap reverses perfectly. Unscrew each original knob, drop it into a labeled bag by room, and store the bag somewhere safe, such as taped inside a kitchen drawer or in your move in box. At move out, the originals screw back on in twenty minutes and the cabinets look untouched.
Measure the distance between screw holes on pulls before ordering, since 96 mm and 128 mm spacings are both common. Knobs are simpler still, because one screw fits almost any design. Keep the style consistent across the whole kitchen for the designed look.
Renters staying a year or longer gain the most, because the new hardware is seen and touched every day. The common mistake is throwing the original knobs into a junk drawer loose, then losing two before move out. Labeled bags, kept with your lease paperwork, are the whole system.
Stick On LED Lighting Where You Need It
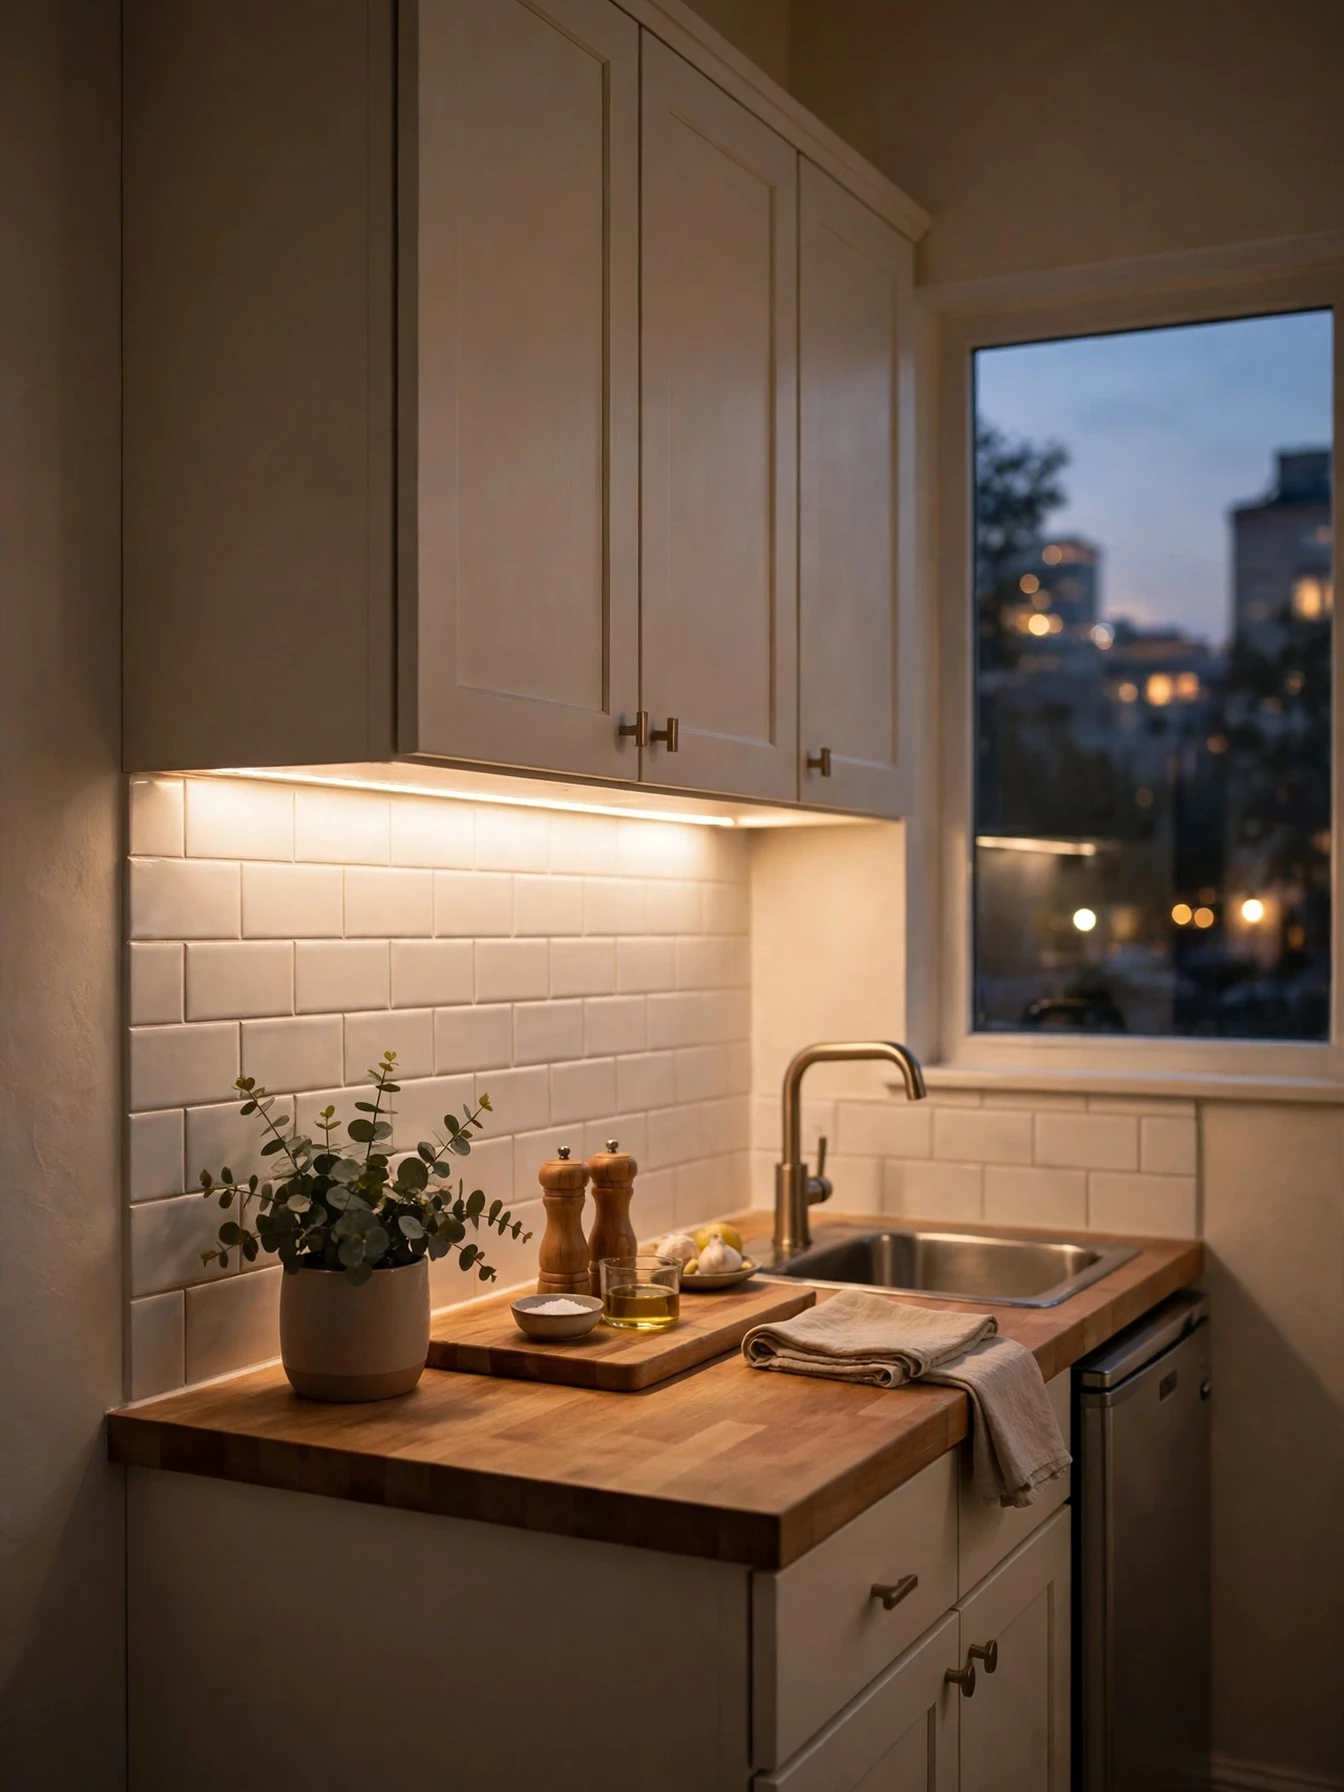
Stick on LED strips and puck lights put light exactly where rentals lack it: under kitchen cabinets, inside wardrobes, along a hallway, or behind the TV. Battery and USB versions stick up with foam pads, need no wiring, and recharge or take fresh batteries every few months. A roll of strip lighting costs 10 to 25 dollars.
Under cabinet strips are the most valuable. They light the worktop properly, hide the plain underside of wall units, and make evening cooking feel like a different kitchen. Choose warm white to match your sconces, and stick the strip toward the front edge of the cabinet so the light falls on the work surface, not the wall.
Use strips sold with removable pads, or add your own command strip pieces to the battery pack so removal is clean. Inside wardrobes, motion sensor pucks switch on when the door opens and make dark storage feel fitted and expensive.
This idea suits renters with dim kitchens and deep cupboards. The common mistake is choosing bright blue white strips, which make a home look like an office. Warm white, around 2700 to 3000K, blends with lamps and keeps rooms feeling calm.
Hang Entryway Hooks That Leave No Marks
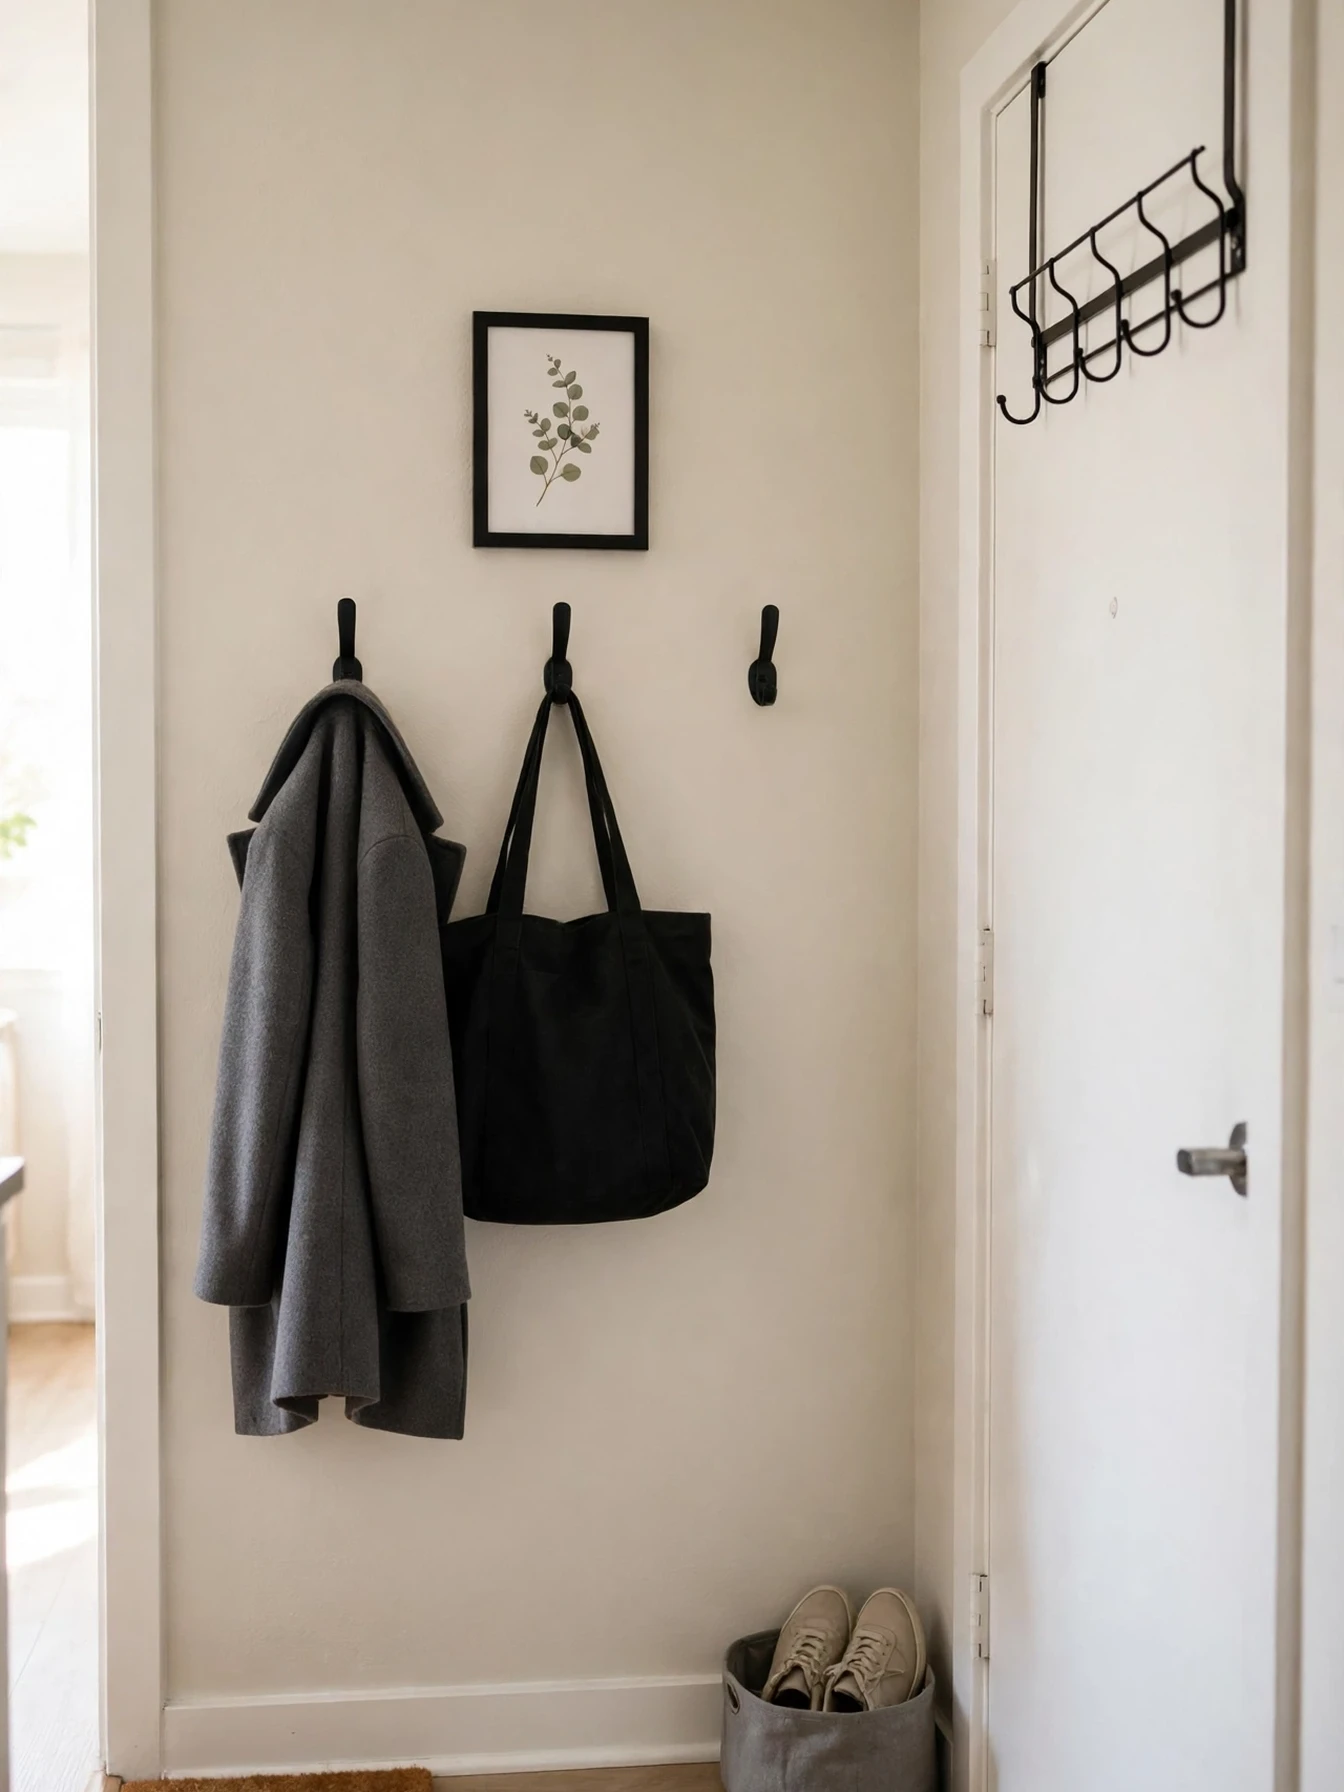
Every rental needs somewhere for coats, bags, and keys by the door, and over door hooks plus adhesive hooks provide it without a single screw. A padded over door rack holds four or five coats on the hall or bedroom door, while large adhesive hooks carry bags and hats on the wall beside it.
Group hooks at one height in a neat row rather than scattering singles around the flat. Three matching hooks in black or brass, spaced evenly, look like a fitted coat rail. Add a small mirror or framed print above them and the entryway reads as a designed moment, like the entries in these small apartment entryway decor ideas.
Check door clearance before buying an over door rack, because some fire doors close too tightly for the bracket. Adhesive hooks need their rated weight respected and a full day to cure before the first coat goes on. The front door itself can join in with a removable wreath hanger, as these apartment front door decor ideas show.
Renters in apartments with no hall cupboard gain the most. The common mistake is hanging heavy winter coats on small hooks rated for towels. Match each hook to its load and the system lasts the whole tenancy.
Common Mistakes to Avoid
Starting Before Reading the Lease
Many leases ban specific things beyond the obvious, such as adhesive products, window film, or anything on the front door. Read the decor clauses before spending money, and message the landlord about anything grey. Written permission for a borderline idea costs nothing and protects the whole deposit.
Testing Adhesives in the Middle of the Wall
Every peel and stick product behaves differently on old paint, matte paint, and wallpaper. Always test one piece in a hidden spot, behind a door or inside a cupboard, and leave it a full week before covering a whole wall. Paint that lifts with a test patch would have lifted everywhere.
Buying Small When the Room Needs Large
Dozens of small accessories cannot do what one large rug, one big mirror, or one covered wall does. Small items on big plain surfaces look like clutter in a rental. Spend on the few large changes first, then stop. Restraint is what reads as expensive.
Losing the Original Fittings
Swapped knobs, removed shower heads, and taken down blinds all have to go back. Every original fitting belongs in a labeled bag or box, stored with your lease papers, from the day it comes off. Renters lose more deposit money to missing fittings than to almost any decor damage.
Skipping Move In Photos
Photograph every wall, floor, counter, and fitting on move in day, with the date visible in the file. Without before photos, pre existing scuffs and stains can be blamed on your decor at move out. The full routine is set out in this first apartment move in checklist, and it takes twenty minutes.
Hanging Heavy Items on Light Strips
Command strips fail when they are asked to hold more than their rating, and a falling mirror can damage the floor, the frame, and the wall in one accident. Weigh the piece, use the correct strip size, and add one strip more than the minimum. Nothing heavy goes above a bed or a sofa.
Budget-Friendly Tips
Shop your own home first. A mirror moved from the bedroom to the living room, a rug rotated from under the bed to under the sofa, and frames regrouped into one gallery can deliver half of this article’s ideas for nothing. Rearranging is the only decor change that is free and fully reversible by definition.
Spend where eyes and hands go daily. Lighting, hardware, and the sofa cover carry a room, because people see them constantly and touch them. Save on decals, hooks, and LED strips, which work just as well at the lowest price points.
Buy one upgrade per month instead of a whole room at once. A wallpaper wall this month, sconces next month, and hardware the month after spreads the cost and lets each change settle before you judge what the room still needs. It also suits how these ideas layer.
Secondhand marketplaces are full of large frames, mirrors, and lamps that suit renters perfectly, because none of them fix to the building. Check measurements against your wall before buying, and budget a few dollars for fresh prints or shades to make used pieces look new.
Keep every receipt and product packet until move out. The packets carry the removal instructions and weight ratings you will need in reverse, and the receipts prove the removable grade of a product if a landlord ever questions a mark.
A Simple Move-Out Restore Checklist
Work through the apartment in the same order you decorated it, about two weeks before the final inspection. Start with the walls: peel wallpaper and decals down slowly at a low angle, warm stubborn sections with a hairdryer on low heat, and pull command strip tabs straight down exactly as the packet shows.
Next, the fittings. Screw every original knob and pull back on, refit any blind or fixture you stored, and take down hooks, rods, and brackets. Fill nothing and paint nothing unless the landlord asks in writing, because amateur repairs often look worse than the tiny marks they hide.
Then the floors and counters. Lift the rugs, check the floor beneath matches your move in photos, peel contact paper up gently from one corner, and wipe away any residue with warm soapy water. Test cleaning products on a hidden patch first, exactly as you did with adhesives on day one.
Finally, walk the whole apartment with your move in photos on your phone, room by room, and compare. That slow ten minute check catches the forgotten hook, the stray strip, and the stored fitting still sitting in its bag. Leave the labeled box of originals empty and the apartment as photographed, and the deposit conversation becomes very short.
Frequently Asked Questions
Is renter friendly apartment decor really safe for my deposit?
Yes, when the products are genuinely removable grade and you follow their instructions. Peel and stick paper, command strips, tension, and leaning all avoid holes, paint, and permanent adhesive, which are the things deposits are normally docked for. Test patches, move in photos, and keeping original fittings cover the rare cases where a surface reacts badly.
What does my lease actually allow me to change?
Most leases allow anything that leaves no trace, and ban nails, paint, and fixture replacement. The grey areas are adhesives, door hardware, and items visible from outside, such as balcony or front door pieces. If your plan touches a grey area, get the landlord’s answer in writing before you spend. Dated written permission settles any later argument.
How much does it cost to make a rental look expensive?
A strong result is possible for 150 to 300 dollars spread over a few months: one wallpaper wall, a layered rug bought on sale, two plug in sconces, new knobs, and a slipcover. Smaller budgets still work room by room. Students and first renters can borrow most of the same ideas at lower cost from these dorm apartment decor ideas, scaled up with larger pieces.
Which change makes the biggest difference first?
The covered wall or the floor, whichever currently looks worse. One peel and stick accent wall changes the room’s whole identity, while a properly sized layered rug hides the most floor and adds instant softness. Do one of those before buying any small accessories, because they often make the accessories unnecessary.
Can I use peel and stick products in a bathroom or kitchen?
Usually yes, on smooth, dry, well sealed surfaces away from direct heat and running water. Choose products rated for humid rooms, keep seams out of the shower splash zone, and test one piece first. Steam slowly softens weak adhesives, so check edges monthly and press any lifting corner back down while the room is dry.
What should I do on the day I move out to get everything back to normal?
Follow the restore checklist above: remove wall products slowly, refit every stored original, lift rugs and paper, then compare each room against your move in photos. Book half a day for it rather than an hour. Most decor comes away in minutes; it is the checking and refitting that takes the time, and rushing is how fittings get forgotten.
Conclusion
A rental becomes expensive looking the same way an owned home does: one strong wall, a floor that feels soft and planned, warm light at more than one height, and furniture that looks chosen rather than inherited. None of that needs a drill, a paint tin, or the landlord’s renovation budget. It needs reversible products, used neatly, in the right order.
Start with the wall or the floor, keep every original fitting labeled and safe, and photograph as you go. Decorate boldly where the change is large and remove everything gently when the lease ends. That is the whole method behind renter friendly apartment decor that looks expensive: a home that feels entirely yours, and a deposit that comes back entirely yours too.